
Power Rack vs Squat Stand & Beginner Arm Workout with Dumbbells
Compare power racks, squat racks, and squat stands for your home gym. Plus, a step-by-step beginner arm workout with dumbbells to test your setup.

Building a home gym in 2026 requires balancing heavy lifting capabilities with spatial efficiency. Whether you are outfitting a two-car garage or a spare bedroom, the anchor of your setup will be your squatting and racking station. However, the terminology in the fitness equipment industry can be notoriously confusing. Buyers often mix up power racks, squat racks, and squat stands, leading to costly spatial mistakes or dangerous lifting environments.
In this comprehensive guide, we will break down the exact structural differences, pricing, and safety profiles of these three rack types. Then, to help you break in your new equipment and utilize the floor space around it, we have programmed a complete beginner arm workout with dumbbells that leverages your rack's adjustable bench and footprint.
The Core Differences: Matrix Comparison
Before diving into specific models, it is crucial to understand how the industry defines these three structures. A power rack is a fully enclosed 4-post cage. A squat stand consists of two independent uprights. A squat rack traditionally refers to a 2-post or 4-post open-front rig, though the term is often mistakenly used interchangeably with power racks by big-box retailers.
| Feature | Power Rack (e.g., REP PR-4000) | Squat Stand (e.g., Rogue SML-2C) | Open Squat Rack (e.g., Titan T-2) |
|---|---|---|---|
| Uprights | 4 (Enclosed Cage) | 2 (Independent) | 4 (Open Front) |
| Footprint Depth | 36" to 48" | 24" to 30" | 24" to 36" |
| 2026 Avg. Price | $550 - $900 | $350 - $500 | $400 - $650 |
| Safety Level | Maximum (Fail-proof) | Moderate (Tipping risk) | High (If bolted) |
| Best For | Heavy compounds, band work, lat attachments | Small spaces, Olympic lifting, garage gyms | Openness, rack pulls, budget cages |
Step 1: Evaluating Space, Steel, and Budget
When selecting your rack, look beyond the marketing copy and focus on steel gauge and hole spacing. In 2026, the gold standard for home gyms is 11-gauge steel with 5/8" hardware. Avoid 14-gauge or 12-gauge racks if you plan on lifting over 300 lbs, as the uprights can flex under heavy eccentric loads.
Dimensional Constraints
- Ceiling Height: Standard racks are 90" tall. If you have an 8-foot basement ceiling, you must order a "short" version (72" or 82") to allow room for pull-ups and overhead pressing.
- Depth Requirements: A 36" deep power rack (like the REP Fitness PR-4000) requires at least 48" of total clearance when factoring in the spotter arms and your barbell sleeve overhang. Squat stands only require about 30" of depth against the wall.
Step 2: Safety Mechanisms and Failure Modes
The most critical decision you will make involves the safety spotter arms. According to biomechanical safety standards outlined by the American Council on Exercise (ACE), lifting without a spotter requires a fail-safe mechanical catch.
⚠️ WARNING: The Squat Stand Tipping HazardMany beginners buy squat stands with extended spotter arms to bench press safely. This is a severe failure mode. If you fail a bench press and drop the bar onto the front lip of the extended safety arms, the center of gravity shifts forward. An unbolted 150 lb squat stand can easily tip over, dragging the uprights and barbell onto your chest. Always bolt squat stands to a concrete floor or use heavy sandbag counterweights on the rear crossmember when benching.
For power racks, opt for strap safeties or UHMW-lined pin pipes. Strap safeties (made of heavy-duty nylon and dyneema) protect your barbell's knurling from damage during failed squats, while UHMW plastic on metal j-cups prevents the jarring sound of steel-on-steel when re-racking heavy dumbbells or barbells.
Step 3: Setting Up Your Accessory Zone
Your rack is not just for squats and bench presses. The 4-foot by 6-foot area directly in front of your rack is your "accessory zone." To protect your subfloor and dampen the acoustic impact of dropping heavy dumbbells, invest in 8mm (5/16") or 3/4" thick vulcanized rubber horse stall mats. This zone is where you will perform your isolation movements, including targeted arm hypertrophy work.
Step 4: The Beginner Arm Workout with Dumbbells
Now that your rack is secured and your matting is laid out, it is time to test the versatility of your setup. According to exercise mechanics databases like ExRx.net, maximizing arm hypertrophy requires hitting the biceps and triceps from multiple angles, specifically targeting the long head of the triceps and the brachialis.
This beginner arm workout with dumbbells utilizes the adjustable FID (Flat/Incline/Decline) bench inside your power rack or positioned just outside your squat stand.
1. Incline Dumbbell Curls (Biceps Long Head)
- Setup: Set your rack bench to a 45-degree incline. Sit back and let your arms hang straight down behind your torso.
- Execution: Curl the dumbbells up while keeping your elbows pinned back. This stretched position heavily recruits the long head of the biceps.
- Prescription: 3 sets of 10-12 reps. Select a weight that leaves you at an RPE of 8 (2 reps in reserve). Rest 90 seconds between sets.
2. Seated Overhead Triceps Extensions
- Setup: Move the bench to a 75-degree (nearly vertical) incline to provide lumbar support. Hold a single heavy dumbbell with both hands overhead.
- Execution: Lower the dumbbell behind your head by bending at the elbows, feeling a deep stretch in the triceps long head, then press back to lockout.
- Prescription: 3 sets of 8-10 reps. Tempo: 3 seconds down, 1 second up. Rest 90 seconds.
3. Cross-Body Hammer Curls (Brachialis & Forearms)
- Setup: Stand in your accessory zone holding a dumbbell in each hand with a neutral grip (palms facing your body).
- Execution: Curl the right dumbbell across your chest toward your left shoulder. Alternate sides. This builds the brachialis, pushing the biceps up for a thicker arm profile.
- Prescription: 3 sets of 12 reps per arm. Rest 60 seconds.
4. Dumbbell Wrist Curls (Flexors)
- Setup: Sit on the flat bench, resting your forearms on your thighs with your wrists hanging just off your knees, palms facing up.
- Execution: Allow the dumbbells to roll down to your fingertips, then curl your wrists upward, squeezing the forearm flexors.
- Prescription: 2 sets to failure (usually 15-20 reps). Rest 60 seconds.
Expert Maintenance and Longevity Tips
To ensure your rack lasts a lifetime, perform a bi-annual hardware audit. The vibration from dropping barbells and heavy dumbbells during your workouts will slowly loosen the M20 or 5/8" bolts on the crossmembers. Use a torque wrench to tighten all structural bolts to the manufacturer's specifications (usually around 60-80 ft-lbs for 11-gauge steel racks). Additionally, wipe down the uprights with a mild, non-corrosive cleaner to remove chalk and sweat residue, which can degrade the powder coat over time.
By understanding the distinct differences between power racks, squat racks, and squat stands, you can build a safe, highly functional home gym. Pairing that heavy infrastructure with targeted isolation routines—like the beginner arm workout with dumbbells provided above—ensures you get maximum ROI out of every square foot of your training space.
More gear to consider
All reviews
EZ Curl Bar vs Straight Bar for Your Dumbbell Home Exercise Program

Power Rack vs Squat Rack: Incline Dumbbell Curl Muscles Worked Guide
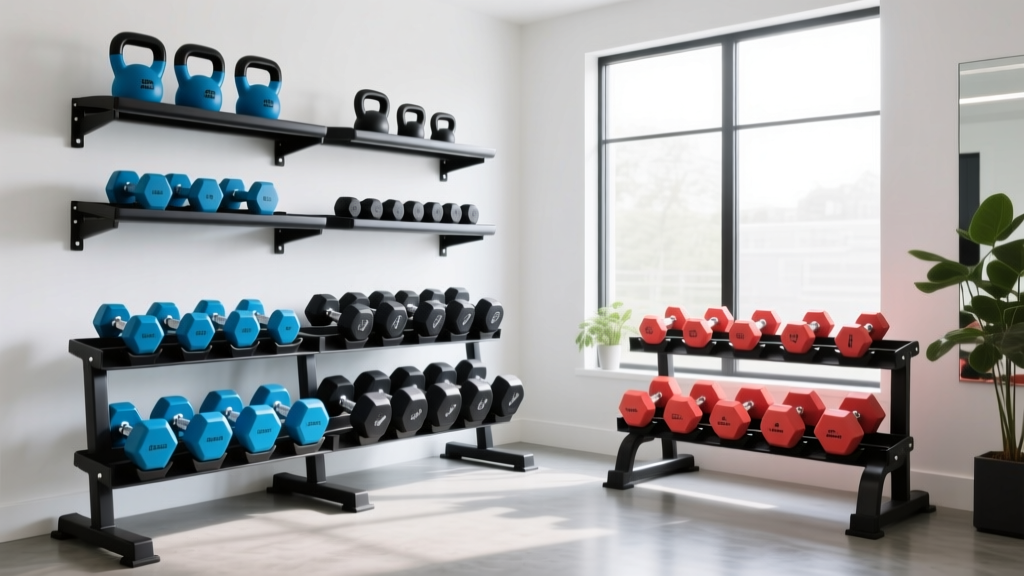
Optimize Dumbbell HIIT Training With Top 2026 Rack Picks
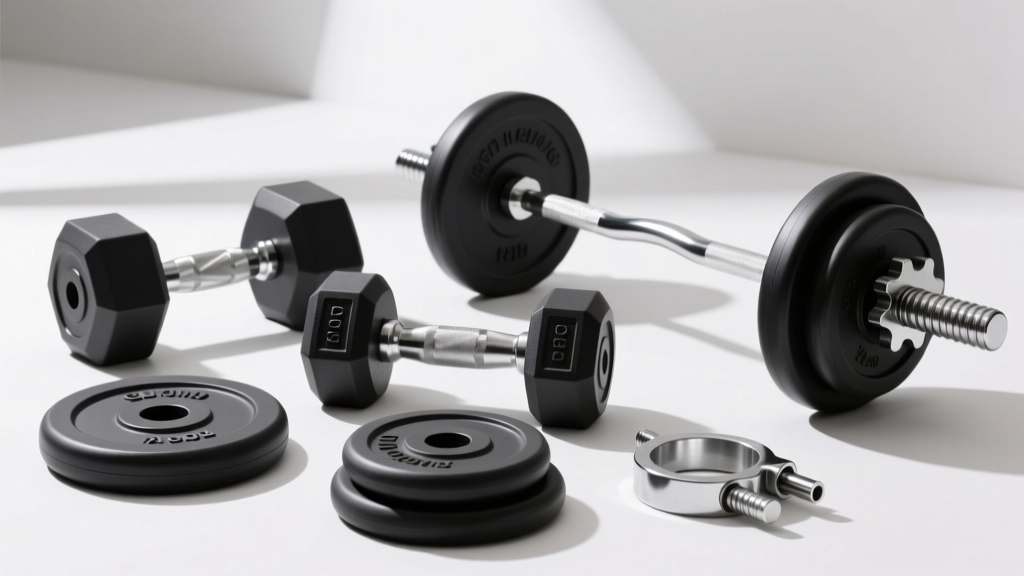
Dumbbell Side Bends for Love Handles & Barbell Collar Types Comparison

Best Adjustable Dumbbells for Seated Dumbbell Palms Down Wrist Curls
