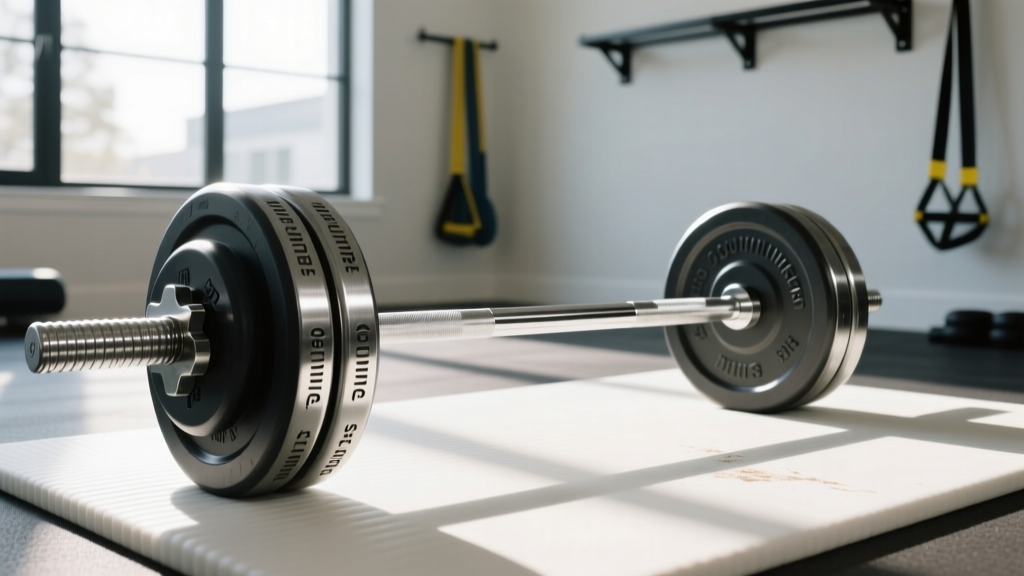
Outgrowing Things to Do With Dumbbells: Barbell Knurling Guide
Master the transition from dumbbells to barbells. This beginner step-by-step guide covers Olympic barbell weight, tensile strength, and knurling types.

The Ceiling of Dumbbell Training
There are countless things to do with dumbbells when you first start lifting. From goblet squats and walking lunges to heavy floor presses and single-arm rows, adjustable and hex dumbbells are foundational tools for building muscle and coordination. However, as your strength progresses into intermediate and advanced tiers, you will inevitably hit a logistical ceiling. Trying to hoist 120-pound dumbbells into position for a bench press wastes immense energy before the set even begins, and loading heavy dumbbell Romanian deadlifts becomes a lower-back hazard.
This is the exact moment you must transition to an Olympic barbell. But walking into the barbell market in 2026 can be overwhelming. Unlike dumbbells, where you mostly just pick a weight, buying a barbell requires understanding metallurgy, shaft dynamics, and grip engineering. This beginner-friendly, step-by-step guide will walk you through the critical metrics of Olympic barbell weight, tensile strength, and knurling to ensure you invest in a bar that lasts a lifetime.
Step 1: Demystifying Barbell Weight and Tensile Strength
Before worrying about the grip, you must understand the bar's structural integrity. A standard men's Olympic barbell weighs 20kg (44 lbs) and measures 7.2 feet long, while a women's spec bar weighs 15kg (33 lbs) and features a slightly thinner shaft. But weight is only half the equation; tensile strength is what dictates whether your bar will permanently bend under a heavy squat.
💡 The Tensile Strength Rule of Thumb:- Under 165,000 PSI: Avoid. These budget bars (often under $120) will permanently bend if you drop them or squat over 250 lbs.
- 190,000 PSI: The sweet spot for multi-purpose bars. It offers enough 'whip' (flex) for Olympic lifts but handles heavy powerlifting safely.
- 205,000+ PSI: Powerlifting spec. Extremely stiff, ideal for heavy squats and deadlifts where bar bounce is detrimental.
For a reliable 190k PSI bar, the Rogue Ohio Bar remains the industry gold standard in 2026, priced around $295. If you are on a stricter budget, the Titan Performance Bar offers similar tensile strength for approximately $245, though the finish quality is a step down.
Step 2: The Knurling Matrix (Hill, Mountain, Volcano)
Knurling is the cross-hatched pattern machined into the steel shaft to provide grip. As a beginner transitioning from the smooth, rubber-coated handles of hex dumbbells, aggressive barbell knurling can feel like sandpaper. Understanding the three primary knurl profiles will save your hands and optimize your lifts.
| Knurl Profile | Visual Shape | Grip Aggression | Best Use Case & Example |
|---|---|---|---|
| Hill | Rounded peaks, shallow valleys | Mild / Passive | High-rep conditioning, beginners. (e.g., Rep Fitness EX Bar) |
| Mountain | Sharp, pointy peaks | Aggressive / Sharp | 1-Rep Max deadlifts, competitive powerlifting. (e.g., Eleiko IPF Bar) |
| Volcano | Deep valleys with a flat, crater-like top | Moderate / Grippy | The ultimate hybrid. Grippy without tearing calluses. (e.g., Rogue Ohio Power Bar) |
According to comprehensive equipment testing by BarBend's barbell selection guide, the 'Volcano' knurl is widely considered the best all-around profile for home gym owners in 2026. It provides maximum surface area contact for heavy pulls without acting like a cheese grater during high-volume hypertrophy work.
What About Center Knurling?
If you plan to perform back squats or front squats, a center knurl is highly recommended. This small band of knurling in the exact middle of the bar bites into your shirt or back, preventing the bar from sliding laterally during heavy reps. However, if your routine consists strictly of bench presses, deadlifts, and Olympic lifts (cleans and snatches), a center knurl will scrape your shins and collarbones. Multi-purpose bars often feature a softer, passive center knurl, while dedicated powerlifting bars feature an aggressive one.
Step 3: Shaft Diameter and Bar Whip
The diameter of the barbell shaft directly dictates how it feels in your hands and how it behaves under load. When you are used to the thick, ergonomic handles of some adjustable dumbbells, a thin Olympic bar can feel foreign.
- 28mm Shaft: Standard for Olympic weightlifting. The thinner steel allows for 'whip' (elastic bounce) which aids in the transition phase of a clean and jerk. It also suits lifters with smaller hands.
- 28.5mm Shaft: The multi-purpose standard. A perfect compromise that offers enough rigidity for squatting but enough flex for occasional Olympic movements.
- 29mm Shaft: Powerlifting spec. The thicker shaft is incredibly stiff, ensuring that a 400-lb deadlift doesn't bounce unpredictably off the floor. It requires strong grip strength to wrap your fingers around it securely.
Step 4: Navigating Barbell Finishes in 2026
The finish applied to the steel shaft heavily influences both the feel of the knurl and the maintenance required. As outlined in Garage Gym Reviews' extensive barbell database, the finish is often where manufacturers cut corners on sub-$150 bars.
⚠️ Warning on Black Zinc: Avoid black zinc finishes. While they look sleek in the showroom, the black oxide layer wears off within weeks of heavy use, leaving a patchy, rust-prone bar that feels chalky and rough.The 2026 Finish Hierarchy:
- Stainless Steel ($350 - $450+): The undisputed king. It offers the exact same tactile feel as bare steel (maximum knurl bite) but is completely impervious to rust. Zero maintenance required.
- Cerakote ($280 - $350): A ceramic polymer coating originally used for firearms. It offers incredible rust resistance and comes in various colors. It slightly softens the feel of the knurl but is highly durable.
- Hard Chrome ($200 - $280): Very durable and rust-resistant, but the plating process fills in the knurl valleys slightly, reducing overall grip aggressiveness.
- Bare Steel ($150 - $250): Offers the best, most natural grip but requires weekly wire-brushing and oiling to prevent oxidation. Not recommended for humid garages.
Step 5: Your Action Plan for Upgrading
Moving from the vast array of things to do with dumbbells to barbell training opens up the world of progressive overload in a way dumbbells simply cannot match. To make your purchase, follow this checklist:
- Define your primary lift style: If you squat and deadlift heavy, seek a 29mm shaft with 205k PSI tensile strength and a volcano knurl.
- Set a realistic budget: Expect to spend between $250 and $350 for a lifetime barbell. Amortized over 10 years, that is less than $3 a month.
- Check the sleeve assembly: Ensure the bar uses bronze bushings (for slow, heavy lifts) or needle bearings (for fast, Olympic lifts). Avoid cheap composite bushings that grind and squeak.
- Factor in maintenance: If you buy hard chrome or Cerakote, a quick wipe down with a damp cloth and occasional nylon brush cleaning is all you need.
By understanding tensile strength, knurl profiles, and shaft dynamics, you will confidently select an Olympic barbell that perfectly bridges the gap between your dumbbell foundations and your future strength milestones.
More gear to consider
All reviews
Adjustable Dumbbells for Dumbbell Scapular External Rotation (2026)
Pec Deck Flyes vs Dumbbells: Hex vs Urethane Space Layouts

Rubber Hex vs Urethane: 2026 Squat Dumbbell Market Trends

Kettlebells vs Back and Biceps Dumbbell Exercises: Cast Iron Guide

Olympic vs Standard Plates: Upgrading Your Pregnancy Dumbbell Workout
