Upgrade Your Exercise With One Dumbbell: Barbell Knurling & Setup
Transition from single-dumbbell workouts to heavy lifting. This Olympic barbell buying guide covers weight, knurling, and a complete rack setup walkthrough.

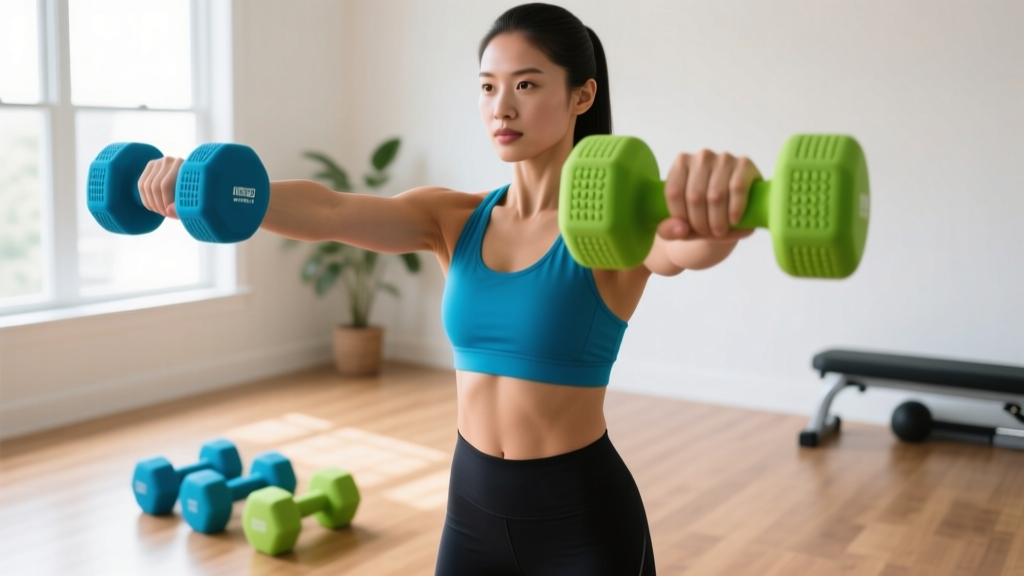
While you can build an impressive foundation of unilateral strength and stability using an exercise with one dumbbell—such as single-arm snatches, goblet squats, or heavy suitcase carries—every lifter eventually hits a loading ceiling. Dumbbells max out, grip becomes the limiting factor, and bilateral heavy loading becomes necessary to drive central nervous system adaptation. Upgrading to a full Olympic barbell and power rack setup is the definitive solution. However, selecting the right barbell requires navigating a maze of tensile strengths, shaft diameters, and knurling patterns, followed by a precise installation process to ensure safety and longevity.
The Limits of Unilateral Training: Why Upgrade?
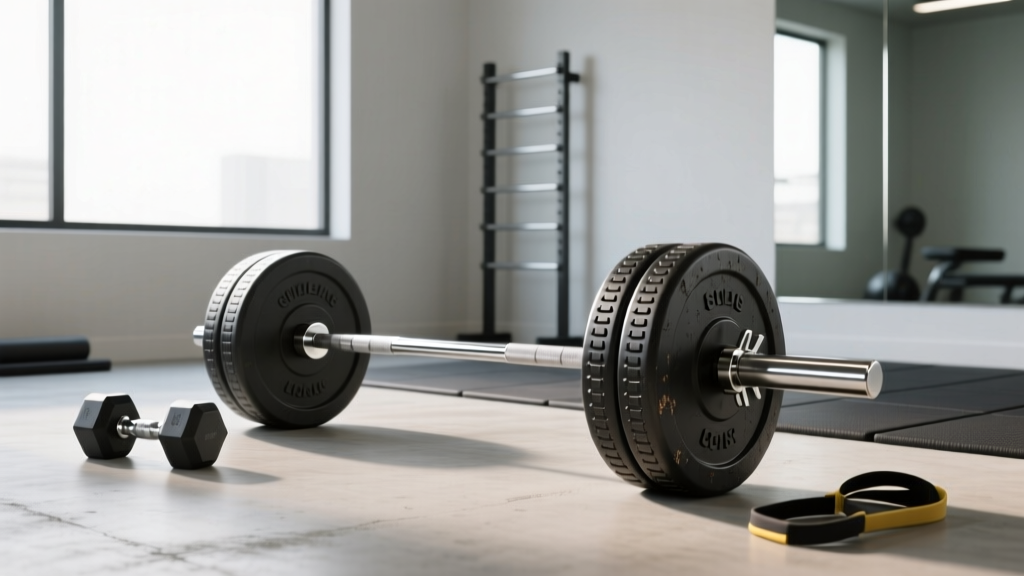
Relying exclusively on an exercise with one dumbbell is fantastic for correcting muscular imbalances and improving core stabilization. However, moving absolute maximum loads requires the bilateral stability of a barbell. A standard Olympic barbell allows you to safely load hundreds of pounds, leveraging the skeletal system's capacity for heavy axial and horizontal loading. To make this transition, you need equipment that meets international standards for weight, dimension, and grip security.
Olympic Barbell Buying Guide: Weight & Tensile Strength
Not all barbells are created equal. The International Weightlifting Federation (IWF) and the International Powerlifting Federation (IPF) dictate strict tolerances for competition barbells. According to the EXRX Barbell Specifications database, standard Olympic bars must adhere to precise weight and dimensional metrics.
Core Barbell Specifications
- Men's Olympic Bar: 20kg (44.09 lbs), 2200mm total length, 28mm shaft diameter.
- Women's Olympic Bar: 15kg (33.06 lbs), 2010mm total length, 25mm shaft diameter.
- Powerlifting Bar: 20kg (44.09 lbs), 2200mm total length, 29mm shaft diameter (stiffer for heavy squats/deadlifts).
Understanding Tensile and Yield Strength
When shopping, you will see PSI (pounds per square inch) ratings. Tensile strength is the breaking point of the steel, while yield strength is the point at which the bar permanently bends. For a home gym upgrade, look for a minimum tensile strength of 190,000 PSI. Premium bars from brands like Rogue, Eleiko, or Kabuki Strength often feature 215,000 PSI or higher, ensuring the bar's "whip" (elastic deformation) returns to center without taking a permanent set during heavy deadlifts.
Decoding Knurling: Hill, Mountain, and Volcano
The knurling—the cross-hatched pattern machined into the steel shaft—is arguably the most critical factor for grip security, especially when transitioning from the textured handles of dumbbells to smooth steel. Knurling geometry is generally categorized into three types:
| Knurl Type | Geometry & Feel | Best For | Example Model |
|---|---|---|---|
| Hill | Rounded peaks, passive feel. Often found on cheap import bars. | High-rep endurance, beginners, budget setups. | Generic Amazon Brands |
| Mountain | Sharp, aggressive peaks that dig deeply into the skin. | Heavy powerlifting, low-rep max effort. | American Barbell Elite |
| Volcano | Rimmed peaks with a slight crater. Maximum surface area without tearing skin. | Multipurpose use, Olympic lifting, hypertrophy. | Rogue Ohio Power Bar |
For lifters moving away from dumbbells, a volcano knurl is highly recommended. It provides the aggressive bite needed for heavy deadlifts but won't tear your calluses during high-volume bench press or front squat sessions. Additionally, check for a center knurl. The IPF Technical Rules Book mandates a center knurl for competition squats to grip the back of the shirt, but many modern multipurpose bars omit it to prevent chest irritation during cleans and front squats.
Complete Setup and Installation Walkthrough
Once your barbell and power rack arrive, proper installation and inspection are vital. A poorly set up rack can damage your barbell's finish and compromise safety.
Step 1: Unboxing and Shaft Inspection
- Cut, Don't Pull: Use wire cutters to snip the heavy-duty zip ties securing the bar to the cardboard sleeve. Pulling them can scratch the zinc or cerakote finish.
- The Roll Test: Place the bar on a flat, clean surface (or rubber mat) and roll it. Watch the gap between the shaft and the floor. Any visible wobble indicates a bent shaft from shipping—reject it immediately.
- Knurl Inspection: Run a paper towel along the knurl. If it snags or leaves paper fibers, the machining is too sharp or has metal burrs that need to be brushed out.
Step 2: Rack Configuration and J-Cup Spacing
Setting up your J-cups (the hooks that hold the barbell) requires attention to detail to protect your equipment.
- UHMW Plastic Inserts: Ensure your J-cups have Ultra-High-Molecular-Weight (UHMW) plastic liners. Metal-on-metal contact between the J-cup and the barbell sleeve will strip the bar's finish and lead to rust.
- Width Spacing: Standard power racks are either 24 inches or 30 inches wide (inside upright dimension). For bench pressing, a 30-inch width is vastly superior, allowing you to unrack the bar without your knuckles scraping the uprights.
- Height Calibration: Set the J-cups so that when you lie on the bench, your arms are at a 90-degree angle or slightly less when unracking. This prevents you from having to "waste" energy lifting the bar out of the hooks rather than pressing it.
Step 3: Safety Spotter Arm Installation
When transitioning from an exercise with one dumbbell (where you can simply drop the weight to the side if you fail) to heavy bilateral barbell lifts, safety spotters are non-negotiable. Install the safety spotter arms or straps one hole below your lowest range of motion. For squats, this means the bar should rest on the safeties when your hip crease is just below parallel, allowing you to unload the weight by simply collapsing downward an extra inch.
First-Day Maintenance & Knurl Care
Your barbell is a precision tool. Sweat, dead skin, and chalk will quickly pack into the knurling grooves, creating a breeding ground for rust and smoothing out the aggressive bite you paid for.
Warning: Never use a wire steel brush on a cerakote or zinc-finished barbell. It will strip the protective coating down to the bare steel, guaranteeing rapid oxidation. Always use a stiff nylon brush for coated bars.
The 5-Minute Post-Session Routine
- Brush: While the knurl is still warm and dry from your session, scrub it vigorously with a stiff nylon brush to dislodge chalk and skin cells.
- Wipe: Use a microfiber cloth lightly dampened with water or a non-corrosive gym wipe to remove surface sweat from the sleeves and shaft.
- Oil (Monthly): Once a month, apply 3-in-One oil or food-grade mineral oil to a rag and wipe down the entire shaft. Let it sit for 10 minutes, then buff it dry. This displaces moisture trapped deep in the knurl valleys.
Frequently Asked Questions
Can I use a women's 15kg bar for heavy powerlifting?
While you can, the 25mm shaft diameter and lower tensile strength of most 15kg bars make them prone to permanent bending under heavy axial loads (like low-bar squats over 300 lbs). For dedicated powerlifting, a 20kg bar with a 29mm shaft and 200k+ PSI tensile strength is required.
Do I need a center knurl if I only bench and deadlift?
No. Center knurling is primarily designed to grip the back during squats. If your routine consists mostly of bench pressing and deadlifting, a bar without a center knurl will be much more comfortable during front squats, cleans, and floor presses, as it won't scrape your collarbones or chest.
How do I transition my programming from single dumbbells to barbells?
According to strength coaches at USA Weightlifting, maintain your unilateral dumbbell work as accessory movements (e.g., Bulgarian split squats, single-arm rows) to preserve joint health and symmetry, but shift your primary compound lifts (squat, bench, deadlift, overhead press) to the barbell to capitalize on absolute load progression.
More gear to consider
All reviews
Barbell Collars Compared & Seated Cable Row with Dumbbells

Water Dumbbell Exercises vs Loadable Dumbbells: 2026 Trends
Olympic vs Standard Plates & Alternating Incline Dumbbell Press

Bumper vs Iron Plates: Trends & Dumbbell Side Bend Muscles Worked

Bumper vs Iron Plates: Care for Your Dumbbell Weight Lifting Routine