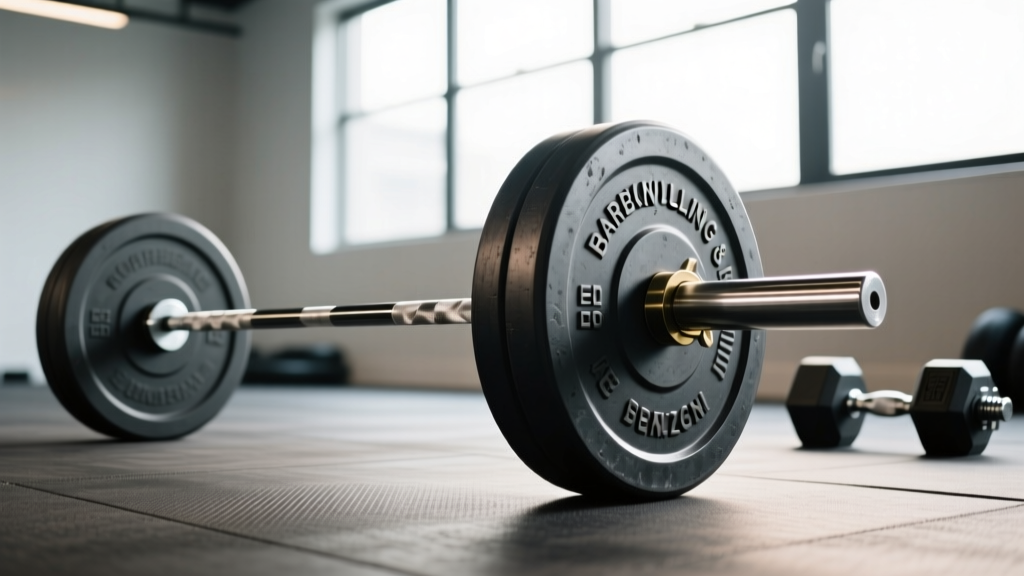
Olympic vs Standard Plates & How to Squat with Dumbbells for Glutes
Learn the critical differences between Olympic vs standard plates for your home gym, plus a step-by-step guide on how to squat with dumbbells for glutes.

The 1-Inch vs 2-Inch Dilemma: Standard vs. Olympic Plates
Building a home gym in 2026 requires making foundational choices that will dictate your training limitations for years. The most critical, yet frequently misunderstood, decision for beginners is choosing between standard and Olympic weight plates. While this might seem like a minor equipment detail, it directly impacts the type of dumbbell handles, barbells, and storage racks you can use—ultimately affecting your ability to progressively overload heavy compound movements.
Quick Definition:Standard Plates: Feature a 1-inch (25.4mm) center hole. Typically made of cast iron or cement-filled vinyl. Best for light-duty, budget-friendly setups.
Olympic Plates: Feature a 2-inch (50.8mm) center hole. Machined from high-density cast iron, rubber, or urethane. The global standard for commercial gyms and serious home lifters.
Matching Plates to Loadable Dumbbell Handles
Why does plate selection matter for dumbbell training? If you prefer loadable dumbbell handles over fixed-weight hex dumbbells or adjustable dial systems, your plates will dictate your maximum load. To effectively target lower body muscles, you need equipment that can handle heavy loads without mechanical failure.
The Standard Setup (Budget-Friendly but Limited)
Standard 1-inch plates pair with basic dumbbell handles, such as the CAP Barbell 14-inch Solid Hex Handle (typically around $15 per pair). While cost-effective, standard handles have thin 1-inch sleeves that can bend under heavy loads. Furthermore, the sleeves are short, meaning a standard 10lb plate (which is often 1.5 inches thick and bulky) will quickly run out of sleeve space. You will generally max out at 40 to 50 lbs per dumbbell.
The Olympic Setup (High Capacity and Durability)
Olympic plates pair with heavy-duty loadable handles, such as the Rogue Fitness Loadable Handles (priced around $95 per pair). These feature thick 2-inch sleeves with bronze bushings or needle bearings, allowing the plates to rotate smoothly and safely. Because Olympic plates are denser (especially machined steel or thin urethane bumpers), you can easily load 100+ lbs per hand. This heavy capacity is non-negotiable if your goal is lower-body hypertrophy.
| Feature | Standard Plates (1-Inch) | Olympic Plates (2-Inch) |
|---|---|---|
| Center Hole Diameter | 1 inch (25.4mm) | 2 inches (50.8mm) |
| Average Cost (2026) | $1.00 - $1.50 / lb | $2.00 - $4.50 / lb |
| Max Dumbbell Capacity | ~40-50 lbs per hand | 100-120+ lbs per hand |
| Best Use Case | Upper body isolation, rehab, beginners | Heavy compounds, glute training, advanced lifters |
Step-by-Step: How to Squat with Dumbbells for Glutes
Once you have secured the proper Olympic plates and loadable handles, it is time to put them to work. While standard barbell squats are highly quad-dominant, learning how to squat with dumbbells for glutes requires specific biomechanical adjustments. According to the ExRx.net Lower Body Exercise Directory, altering your stance width and foot angle shifts the mechanical tension away from the quadriceps and heavily onto the gluteus maximus, gluteus medius, and adductor magnus.
Step 1: The Sumo Stance Setup
To maximize glute recruitment, adopt a wide "sumo" or "plié" stance. Place your feet roughly 1.5 times wider than shoulder-width apart. Point your toes outward at a 30 to 45-degree angle. This external rotation of the femur places the gluteus maximus in a stretched, mechanically advantageous position before the movement even begins.
Step 2: The Grip and Brace
Load your Olympic dumbbell handles with equal weight. You have two grip options:
- Dual Dumbbell Hold: Hold one dumbbell in each hand, letting them hang at arm's length just inside your knees. This allows for heavier loading.
- Goblet Hold: Hold one heavy dumbbell vertically against your chest. This enforces a more upright torso, which is excellent for beginners learning pelvic control.
Step 3: The Eccentric Descent
Initiate the movement by pushing your hips backward (a hip hinge) rather than just bending your knees. As your hips travel back, allow your knees to track outward in the exact direction of your toes. Descend until your hip crease drops below the top of your knee (full depth). The ACE Fitness Exercise Library emphasizes that achieving full depth is crucial for maximal gluteal stretch and subsequent force production.
Step 4: The Glute-Dominant Ascent
Drive through your mid-foot and heels. As you push the floor away, consciously squeeze your glutes together and push your knees outward against the imaginary resistance. Avoid the common mistake of letting your knees cave inward (valgus collapse), which shifts the load to the quads and stresses the knee ligaments. Finish the movement by fully extending the hips, achieving a hard glute contraction at the top.
Expert Biomechanics Tip: If you struggle to 'feel' your glutes during the ascent, try the 'screw the feet into the floor' cue. Without actually moving your feet, imagine twisting your right foot clockwise and your left foot counter-clockwise. This creates massive external rotation torque, instantly firing the gluteus medius and maximus.
Programming for Hypertrophy: Sets, Reps, and Plate Loading
To build glute muscle (hypertrophy), you must apply progressive overload. Because you are using Olympic plates, you can make micro-jumps in weight (e.g., adding 2.5 lb fractional plates to your dumbbell handles).
- Volume: 3 to 4 working sets per session.
- Rep Range: 8 to 12 repetitions. If you can easily complete 12 reps with perfect form, it is time to slide a heavier Olympic plate onto your handles.
- Tempo: 3-1-1-0. Lower the weight for 3 seconds, pause for 1 second in the deep stretch (where glute tension is highest), explode up for 1 second, and do not rest at the top.
- Frequency: Train this movement 2 times per week, allowing 48-72 hours of recovery between sessions.
Common Form Mistakes and How to Fix Them
| Mistake | Why It Kills Glute Gains | The Fix |
|---|---|---|
| Knee Valgus (Caving In) | Shifts tension to quads and adductors; risks MCL injury. | Place a mini resistance band just above the knees to force outward knee tracking. |
| Butt Wink at Depth | Posterior pelvic tilt rounds the lumbar spine under load. | Widen your stance slightly and improve ankle dorsiflexion mobility. |
| Short Range of Motion | Glutes are most active in the bottom 30% of the squat. | Reduce the weight on your handles and squat to a low box to ensure depth. |
FAQ: Storing Your Plates Safely
Q: Can I store Olympic and Standard plates on the same rack?
A: No. Standard plates require 1-inch diameter pegs, while Olympic plates require 2-inch pegs. Attempting to hang 2-inch Olympic plates on a 1-inch standard tree will damage the plate inserts and create a severe tipping hazard. Invest in a dedicated Olympic plate tree or a wall-mounted rack with 2-inch steel pegs rated for at least 500 lbs.
Q: Are rubber-coated Olympic plates better for home gyms?
A: Yes. Virgin rubber or urethane Olympic plates protect your flooring from micro-fractures when you inevitably set heavy loadable dumbbells down after a grueling set of glute squats. Urethane is more expensive but resists tearing and odors better than cheap recycled rubber.
More gear to consider
All reviews
Rubber vs Urethane: Gear for a Five Minute Dumbbell Workout (2026)
Budget Loadable Dumbbells for Dumbbell Shoulder Lateral Raises (2026)

Barbell Collar Comparison: Best for Upper Pec Dumbbell Exercises
Budget Dumbbell Racks, Storage Hacks & Dumbbell Fly GIF Form Guide

Beyond a Dumbbells Image: Space-Saving Loadable Gym Layouts