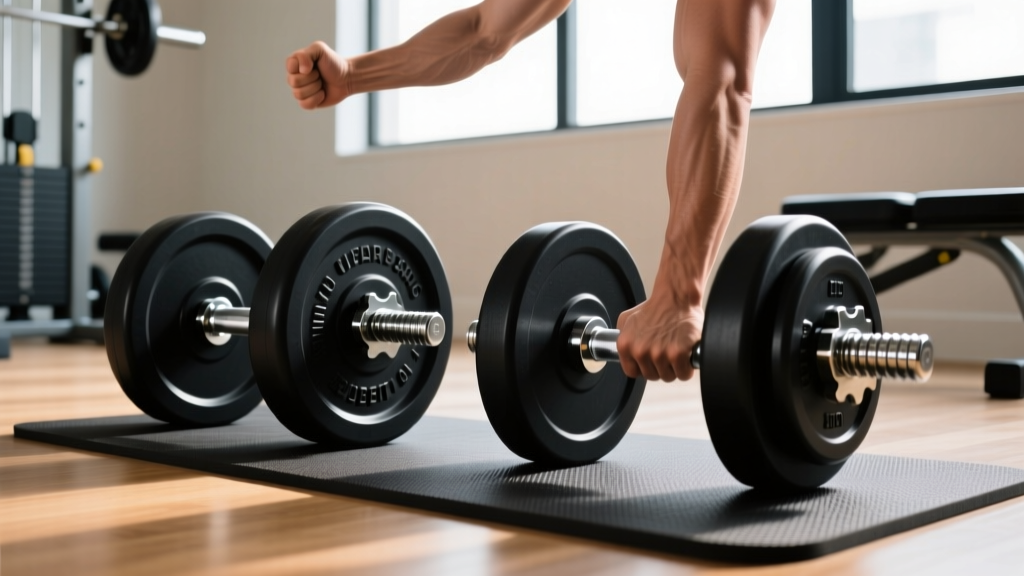
Olympic vs Standard Plates Setup: Dumbbell Rear Delt Flies Guide
Compare Olympic vs standard plates for your home gym setup. Includes installation tips and form mechanics for dumbbell rear delt flies.

The Foundation: Navigating the Olympic vs. Standard Divide
Building a comprehensive home gym in 2026 requires navigating a labyrinth of equipment compatibility, and no decision impacts your training ecosystem more than the choice between Olympic and standard weight plates. While standard plates offer a low barrier to entry, Olympic plates remain the undisputed gold standard for serious lifters. This complete setup and installation walkthrough will guide you through establishing a safe, durable plate ecosystem, before transitioning into the precise bench and dumbbell configurations required for isolation movements like dumbbell rear delt flies.
According to Wikipedia's Barbell specifications, the fundamental difference lies in the center hole diameter and the corresponding barbell sleeve. Standard plates feature a 1-inch (25.4mm) center hole, whereas Olympic plates are engineered with a 2-inch (50.8mm) aperture. This seemingly small 1-inch discrepancy dictates the structural integrity of your entire lifting setup.
Comparative Analysis: Olympic vs. Standard Weight Plates
Before unboxing your equipment, it is crucial to understand the long-term financial and structural implications of your choice. In 2026, the secondary market is flooded with cheap standard plates, but the hidden costs of upgrading later often trap beginners.
| Feature | Olympic Plates (2-Inch) | Standard Plates (1-Inch) |
|---|---|---|
| Center Hole Diameter | 50.8mm (2 inches) | 25.4mm (1 inch) |
| Barbell Whip & Flex | Engineered for dynamic load distribution | Prone to permanent bending past 200 lbs |
| Average 2026 Cost | $1.50 - $4.50 per lb (Cast Iron to Urethane) | $0.80 - $1.20 per lb |
| Max Load Capacity | 500 lbs to 1,500+ lbs | ~200 lbs (Failure point for most bars) |
| Resale Value | High (Universal demand) | Low (Often given away or scrapped) |
Complete Home Gym Installation Walkthrough
Once you have committed to the superior Olympic plate ecosystem, proper installation is non-negotiable. A poorly assembled rack or improperly loaded plate tree can lead to catastrophic tipping hazards. Follow this step-by-step setup protocol:
- Subfloor Preparation: Begin with 3/4-inch thick vulcanized rubber horse stall mats (typically 4x6 feet). These provide superior shock absorption and protect your concrete or wood subfloor from dropped Olympic plates. Avoid cheap interlocking foam tiles, which compress unevenly under heavy rack loads.
- Rack Assembly & Torquing: When assembling your power rack or squat stand, do not rely solely on hand-tightening. Use a calibrated torque wrench to tighten all 5/8-inch structural hardware to exactly 80 ft-lbs. This specific torque setting ensures the frame remains rigid during heavy eccentric loading without stripping the threads.
- Plate Tree Organization: Load your weight plate tree using a strict inverted pyramid model. Place the heaviest 45-lb (20kg) bumper or cast-iron plates on the lowest prongs, closest to the floor. This lowers the center of gravity, preventing the tree from tipping forward when you unload multiple plates simultaneously.
- Collar Integration: Always store spring collars or machined aluminum clamps on the designated rack pegs. Never leave plates on the barbell sleeve when not in use, as this accelerates the degradation of the bar's needle bearings and sleeve bushings.
Transitioning to Isolation: Dumbbell Rear Delt Flies Setup
While your Olympic plate and barbell setup builds foundational compound strength, addressing muscular imbalances requires targeted isolation work. The posterior deltoid is notoriously underdeveloped in most lifters, making dumbbell rear delt flies an essential accessory movement. However, executing this movement correctly requires a specific bench and dumbbell setup that integrates seamlessly into your newly installed gym space.
Bench Configuration and Dumbbell Selection
For optimal rear delt isolation, abandon the traditional bent-over standing position, which invites lower back fatigue and momentum cheating. Instead, utilize an adjustable FID (Flat/Incline/Decline) bench. Set the bench pad to a 15 to 30-degree incline. Lie face down (chest-supported) on the pad. This angle completely removes the lumbar spine from the equation and forces the posterior deltoids and rhomboids to handle the entire load.
Select rubber hex dumbbells in the 10 lb to 25 lb range per hand. The rear deltoid is a small muscle group; attempting to use 40 lb dumbbells inevitably shifts the mechanical load to the larger latissimus dorsi and trapezius muscles, defeating the purpose of the isolation exercise.
"The rear deltoids do not require massive loads to achieve hypertrophy. They require precise tension, strict scapular control, and an absence of momentum. A 15-lb dumbbell moved through a perfect scapular plane will yield vastly superior results than a 35-lb dumbbell swung with the lower back."
Biomechanics and Execution of Dumbbell Rear Delt Flies
Proper execution of dumbbell rear delt flies hinges on understanding the scapular plane. According to ExRx Weight Training guidelines, aligning your arm path with the natural articulation of the shoulder joint minimizes impingement risks while maximizing muscle fiber recruitment.
- The Scapular Plane (Scaption): Do not flare your elbows out at a perfect 90-degree angle to your torso (the coronal plane). Instead, angle your arms roughly 30 to 45 degrees forward. This aligns the humerus with the scapula, protecting the rotator cuff.
- Elbow Positioning: Maintain a soft, fixed bend in your elbows (about 10 to 15 degrees). Your arms should act as rigid levers. Bending and extending the elbows during the rep turns the movement into a triceps extension.
- Scapular Retraction vs. Protraction: For pure rear delt isolation, keep the shoulder blades relatively stable. If you aggressively squeeze your shoulder blades together at the top of the movement, the mid-traps and rhomboids take over. Focus on pushing the dumbbells 'out and up' toward the ceiling rather than just 'back'.
- Tempo and Tension: Utilize a 2-1-2 tempo. Take two seconds to raise the weight, hold the peak contraction for one second, and take two seconds to lower the dumbbells. The negative (eccentric) phase is where significant muscle damage and subsequent hypertrophy occur.
Troubleshooting Common Failure Modes
Even with perfect equipment, lifters frequently encounter roadblocks when integrating isolation movements into their routines. Here is how to troubleshoot the most common issues:
Problem: You feel the burn in your upper traps, not your rear delts.
Solution: You are shrugging your shoulders toward your ears during the concentric phase. Actively depress your scapula (pull your shoulder blades down toward your back pockets) before initiating the fly. Maintain this depression throughout the entire set.
Problem: Your lower back aches after the set.
Solution: Your bench incline is too steep, or you are lifting your chest off the pad to generate momentum. Lower the bench to 15 degrees and keep your sternum glued to the vinyl upholstery. If pain persists, switch to a flat bench and perform the movement lying completely prone.
Long-Term Equipment Maintenance
To ensure your Olympic plates and dumbbells last a lifetime, implement a monthly maintenance routine. Wipe down cast iron plates and dumbbell handles with a lightly oiled microfiber cloth (using 3-in-One oil or mineral oil) to prevent oxidation. Urethane plates, while more expensive upfront (averaging $3.50/lb in 2026), require zero rust prevention and absorb sound, making them ideal for garage gyms with shared walls. Regularly inspect the knurling on your dumbbells and barbells, using a stiff nylon brush to remove accumulated chalk and dead skin, which can cause premature rusting in the grooves.
Frequently Asked Questions
Can I use my Olympic plates on standard dumbbell handles?
No. Olympic plates have a 2-inch center hole, while standard dumbbell handles are 1-inch thick. The plates will simply slide off. You must use matching Olympic dumbbell handles, though these are rare and cumbersome for isolation exercises like rear delt flies. Standard hex rubber dumbbells remain the superior choice for this movement.
How often should I train my rear delts?
The CDC muscle-strengthening guidelines recommend targeting all major muscle groups at least twice a week. Because the rear delts are heavily involved in compound pulling movements like barbell rows and pull-ups, adding 3 sets of 12-15 reps of chest-supported dumbbell rear delt flies at the end of your back or shoulder days, twice a week, is optimal for balanced shoulder development and postural health.
Are bumper plates necessary for a home gym?
Only if you plan to perform Olympic weightlifting variations (cleans, snatches) or high-rep CrossFit-style workouts where dropping the barbell from overhead is required. For traditional powerlifting, bodybuilding, and isolation work, machined cast iron or urethane-coated iron plates are more space-efficient and cost-effective.
More gear to consider
All reviews
Bumper vs Iron Plates: Gym Layouts and Front Raises With Dumbbells

Dumbbell Rack Trends 2026: Storage for Heavy RDLs & Muscles Worked

Power Rack vs Squat Rack: Space for Side Plank Dumbbell Raises?
EZ Bar vs Straight Bar Care & Around the Worlds Dumbbells
Maintain Your Planet Fitness Dumbbell Weight: Rubber vs Urethane
