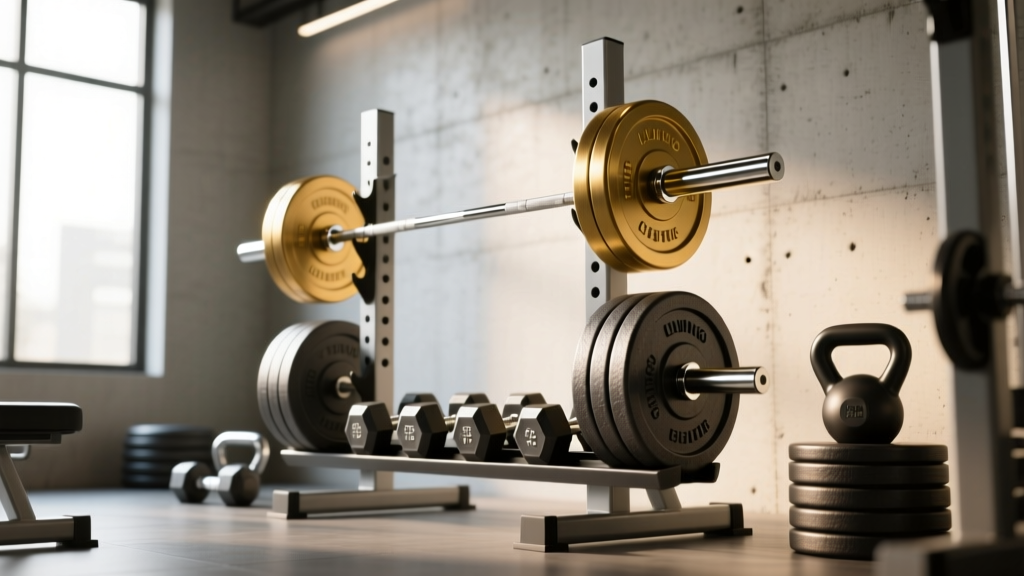
Setup Guide: Olympic vs Standard Plates & Dumbbell Push-Up Row
Master your home gym installation with our walkthrough on Olympic vs standard plate storage and setting up a dedicated dumbbell push-up row station.

Introduction: The 2026 Hybrid Home Gym Layout
Building a high-performance home gym in 2026 requires more than just dropping equipment into a spare garage. It demands a calculated floor plan that separates heavy barbell loading zones from functional bodyweight and dumbbell flow areas. Two of the most critical components of this layout are your weight plate storage system and your functional training mat zone. Whether you are outfitting a 400-square-foot dedicated space or a compact two-car garage, understanding the physical footprint and installation requirements of your gear is paramount for safety and workflow efficiency.
This comprehensive installation walkthrough will guide you through the structural mounting of weight plate storage—specifically contrasting the hardware requirements for Olympic versus standard plates—and transition into configuring a dedicated station for the dumbbell push-up row. This compound movement requires precise equipment spacing and specific dumbbell geometries to execute safely, making its integration into your floor plan a vital step in the setup process.
Quick Specs: Plate Hole Standards
Standard Plates: 1-inch (25.4mm) center hole. Typically cast iron, maxing out at 25-45 lbs per plate. Best for light-duty, budget-friendly home setups.
Olympic Plates: 2-inch (50.6mm) center hole. The global standard for commercial and serious home gyms. Accommodates heavy loading (up to 100+ lbs per plate) and dynamic dropping when paired with bumper plates.
Phase 1: Installing Weight Plate Storage (Olympic vs Standard)
The first phase of your gym buildout involves securing your weight plate storage. Loose plates are a severe tripping hazard and can easily damage flooring or drywall. While rack-attached plate horns are common, wall-mounted plate trees remain the most space-efficient solution for hybrid gyms, freeing up the perimeter for functional movements. However, the installation hardware differs drastically depending on whether you are storing standard or Olympic plates.
Sizing Your Pegs and Wall Anchors
Standard weight plates utilize a 1-inch center hole. Consequently, standard plate trees feature 1-inch solid steel pegs, usually measuring 8 to 10 inches in length. Because standard plates rarely exceed 45 lbs per plate and are not designed to be dropped, the dynamic shear force on the wall mount is relatively low. Standard 3/8-inch x 2.5-inch lag screws driven into wooden wall studs are generally sufficient.
Olympic plates, conversely, demand heavy-duty infrastructure. According to weight plate dimensional standards, the 50.6mm center hole requires storage pegs that are either 2-inch diameter steel sleeves (mimicking a barbell sleeve) or 1-inch pegs encased in thick polyurethane adapters. We strongly recommend 2-inch steel sleeves for Olympic storage; narrow pegs with adapters will eventually warp under the load of 45-lb and 55-lb cast iron plates, and they can tear the center hubs of rubber bumper plates. Because Olympic trees hold significantly more mass (often exceeding 500 lbs of total dead weight), you must use 3/8-inch x 3-inch structural lag screws, anchored directly into the center of 16-inch on-center wooden studs or secured with 1/2-inch wedge anchors if mounting to poured concrete or cinderblock.
Comparison Matrix: Storage Requirements & Clearances
| Feature | Standard Plate Tree | Olympic Plate Tree |
|---|---|---|
| Peg Diameter | 1 inch (Solid Steel) | 2 inch (Steel Sleeve) |
| Peg Length | 8 - 10 inches | 12 - 16 inches |
| Wall Anchor Requirement | 3/8" x 2.5" Lag Screws | 3/8" x 3" Structural Lags |
| Max Safe Static Load | ~300 lbs | 800 - 1,000+ lbs |
| Required Floor Clearance | 12 inches (bottom peg) | 18 inches (for 45lb bumpers) |
Phase 2: Setting Up the Functional Dumbbell Zone
With your perimeter plate storage secured, the next phase is establishing the functional training zone. In a modern hybrid gym, this area is dedicated to unilateral movements, core stabilization, and complex flows. The centerpiece of this zone for many athletes is the dumbbell push-up row (often referred to as a renegade row). This exercise demands a highly specific equipment setup to ensure joint safety and mechanical efficiency.
Selecting the Correct Dumbbells
You cannot safely perform a dumbbell push-up row with round dumbbells. The rotational force applied during the rowing phase, combined with the unstable nature of the push-up, will cause round handles to roll, leading to severe wrist sprains or facial impacts. You must procure hexagonal dumbbells. Furthermore, material selection is critical. While neoprene-coated dumbbells are popular for light aerobic work, the lateral shear force of dragging a neoprene dumbbell across a mat during a row will quickly tear the coating. According to equipment durability metrics tracked by Rogue Fitness and commercial gym outfitters, cast-iron hex dumbbells with a baked-on enamel finish or solid urethane-coated hex dumbbells are the only viable options for this movement. Urethane is highly recommended as it resists tearing, dampens noise, and lacks the pungent off-gassing odor associated with cheap recycled rubber.
Mat Installation and Subfloor Prep
The functional zone requires a 3/4-inch thick vulcanized rubber horse stall mat or interlocking high-density gym tiles. Thinner mats (3/8-inch or 1/2-inch) will compress unevenly under the concentrated point-load of a hex dumbbell edge during the push-up phase, creating an unstable base that compromises shoulder mechanics. Lay the mats flat, ensuring they are flush against the wall, and use double-sided carpet tape on the seams to prevent shifting during lateral movements.
Phase 3: Configuring the Dumbbell Push-Up Row Station
Proper spatial configuration is where most home gym owners fail. The dumbbell push-up row requires precise handle spacing and adequate peripheral clearance to allow for full elbow extension and scapular retraction without striking nearby equipment.
Spacing and Biomechanical Alignment
According to biomechanical guidelines outlined in the ACE Fitness Exercise Library, hand placement during pushing movements should align with the glenohumeral (shoulder) joint to prevent impingement. For the dumbbell push-up row, measure exactly 22 to 24 inches between the inside edges of the dumbbell handles. This spacing accommodates the average male shoulder width (biacromial breadth) while allowing enough room for the torso to descend fully between the handles without the chest striking the floor prematurely.
Clearance from Plate Storage
Your wall-mounted Olympic or standard plate tree must be installed with strict spatial awareness relative to your functional mat. When an athlete executes the rowing phase of the movement, the elbow travels backward and slightly outward. If your plate storage is positioned directly adjacent to the mat, the athlete risks driving their elbow or the dumbbell itself into the protruding iron plates. Maintain a minimum lateral clearance of 48 inches from the edge of the functional mat to the nearest protruding peg of your plate tree. This 4-foot buffer zone ensures unhindered movement and provides a safe walking path for loading and unloading barbells.
Expert Structural Warning: Before installing heavy Olympic plate trees and placing 3/4" rubber mats, verify your floor joist capacity. A fully loaded Olympic tree combined with a 400-lb barbell setup can exceed 1,500 lbs of dead weight in a 4-square-foot area. If your gym is on a second floor or above a crawlspace, ensure your joists are rated for at least 50-60 lbs per square foot live load, or reinforce them with sistered joists or adjustable lally columns.
Phase 4: Load Testing and Safety Verification
Never assume your installation is secure until it has been physically load-tested. After mounting your plate tree, hang your heaviest plates (e.g., four 45-lb Olympic plates) on the bottom pegs to lower the center of gravity. Apply 50 lbs of downward and lateral pulling force to the top pegs to simulate the dynamic shock of racking a heavy barbell. Check for drywall cracking, stud flexing, or lag screw withdrawal.
For the dumbbell push-up row station, perform a static load test. Assume the push-up position on the hex dumbbells and apply aggressive, alternating downward and lateral shear forces to the handles, mimicking the most violent rowing motion possible. The 3/4-inch mat should not slide, and the dumbbells must not pivot or rock on their hexagonal edges. If the dumbbells rock, your floor is uneven; use thin rubber shims under the mat to level the base before attempting the exercise with added weight vests or external loads.
Frequently Asked Questions (FAQ)
Can I use standard plates on an Olympic barbell with adapters?
While 1-inch to 2-inch sleeve adapters exist, they are strongly discouraged for heavy lifting. Adapters introduce a point of failure, add unnecessary sleeve length (reducing the space available for plates), and can crack under heavy axial loads. If you are investing in a serious home gym, commit fully to the Olympic standard for all barbell and plate storage infrastructure.
What weight dumbbells should I use for the push-up row?
The dumbbell push-up row is limited by your core stability and unilateral back strength, not your maximum pressing power. Most intermediate lifters should start with 35-lb to 50-lb urethane hex dumbbells. Heavier dumbbells (70+ lbs) possess a wider handle diameter and a larger physical footprint, which can alter your push-up spacing and increase the risk of wrist strain.
How do I maintain urethane hex dumbbells?
Urethane is highly resistant to sweat and moisture, but it can degrade under prolonged UV exposure. Keep your functional zone out of direct sunlight. Clean the handles weekly with a mild, non-corrosive disinfectant and a microfiber cloth to maintain the knurling grip; avoid bleach-based cleaners, which can dry out and crack the urethane coating over time.
More gear to consider
All reviews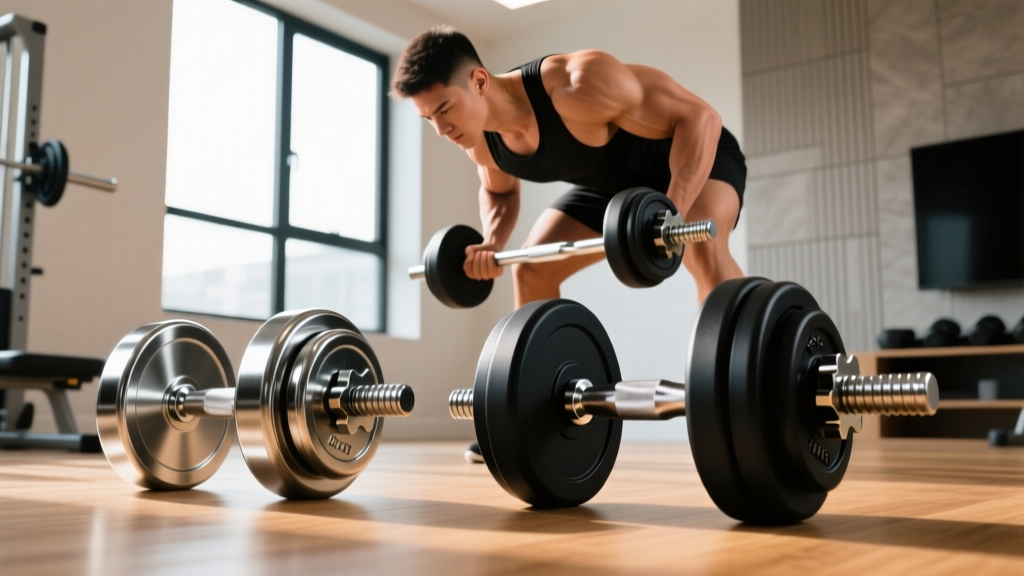
Collar & Clamp Comparison: Best Exercises for Lats with Dumbbells

Rack Maintenance for Heavy Dumbbell Sumo Deadlifts

Olympic vs Standard Plates: Avoiding the 65 lb Dumbbell Mistake

Power Rack vs Squat Rack vs Stand: Dumbbell Chest Press GIF Guide

Rubber Hex vs Urethane Dumbbells for Lawnmowers (2026)
