Olympic vs Standard Plates Setup & Dumbbell Exercises for Glutes
Master your home gym setup with our Olympic vs standard weight plate installation guide, plus top dumbbell exercises for glutes to test your new gear.

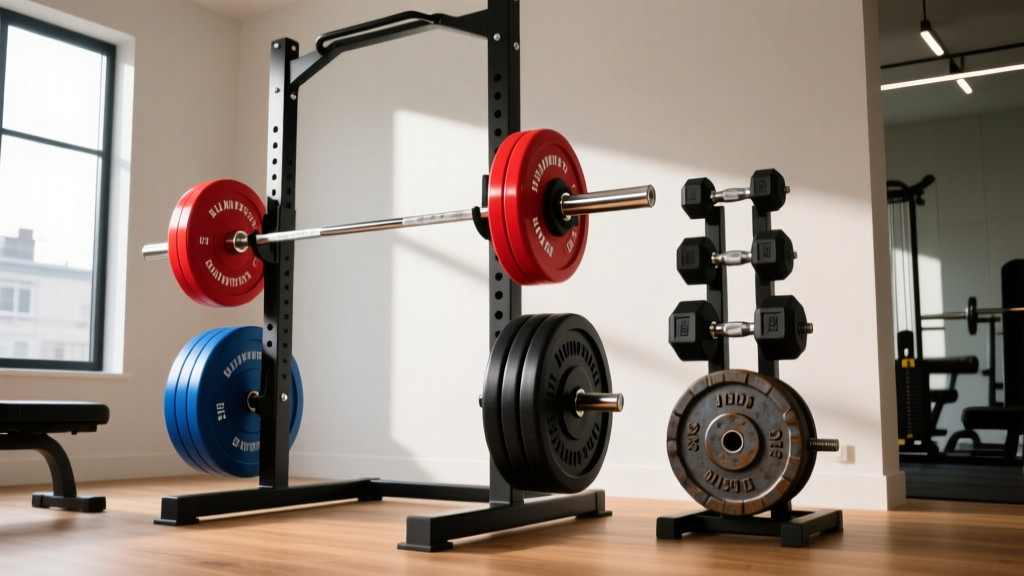
The Foundation: Olympic vs. Standard Weight Plate Systems
Building a dedicated lower-body home gym in 2026 requires more than just buying iron; it demands a strategic approach to equipment selection, spatial layout, and biomechanical programming. The cornerstone of any serious strength setup is the barbell and plate system. Before you can execute advanced programming, you must navigate the critical hardware decision: Olympic versus standard weight plates. This choice dictates your entire rack installation, storage footprint, and long-term progression ceiling.
Standard plates feature a 1-inch (25.4mm) center hole and are typically paired with lightweight, solid-steel or hollow-core bars. While budget-friendly, standard bars suffer from a critical failure mode: permanent deformation (bending) when loaded beyond 200 lbs. Conversely, Olympic plates utilize a 2-inch (50.6mm) aperture, designed to mate with high-tensile steel bars featuring rotating sleeves and bushings or needle bearings. According to equipment testing data from Rogue Fitness, a quality Olympic barbell yields at approximately 190,000 PSI tensile strength, safely supporting 1,000+ lbs without permanent whip deformation.
Expert Insight: If your goal is progressive overload for lower-body hypertrophy, standard plates are a dead end. The sleeve length on standard bars rarely exceeds 10 inches, severely limiting the number of plates you can load for heavy squats or deadlifts. Always invest in a 2-inch Olympic system for foundational compound movements.Hardware Comparison Matrix
| Specification | Standard (1-Inch) | Olympic (2-Inch) |
|---|---|---|
| Center Hole Diameter | 25.4 mm (1 inch) | 50.6 mm (2 inches) |
| Barbell Tensile Strength | ~30,000 - 50,000 PSI | 150,000 - 215,000 PSI |
| Weight Tolerance | +/- 5% to 10% | +/- 1% (Calibrated) |
| Average Cost Per Pound | $1.00 - $1.50 | $2.50 - $4.50 (Bumper/Urethane) |
| Max Safe Load (Barbell) | 200 - 250 lbs | 700 - 1,500 lbs |
Complete Installation Walkthrough: Flooring and Plate Storage
Once you have selected an Olympic plate system (such as 230 lbs of virgin rubber bumpers and 45-lb cast iron grip plates), the physical installation of your weight room begins. Dropping Olympic plates generates immense kinetic energy; proper setup is non-negotiable for structural integrity and noise mitigation.
Step 1: Subfloor and Matting Preparation
Do not place heavy iron directly on concrete or engineered wood. For a dedicated lifting platform, construct a base using two layers of 3/4-inch CDX plywood, topped with 3/4-inch vulcanized rubber horse stall mats. The plywood disperses the point-load impact of dropped Olympic plates, while the rubber absorbs high-frequency acoustic vibrations. If you are bolting a power rack into a concrete slab, use a hammer drill with a 1/2-inch masonry bit to install Simpson Strong-Tie 1/2" x 5-1/2" wedge anchors. Torque these to 90 ft-lbs to ensure the rack cannot tip during heavy barbell racking.
Step 2: Assembling the Plate Tree and Rack
Weight storage is a safety hazard if improperly installed. A fully loaded A-frame plate tree can weigh over 800 lbs and possesses a high center of gravity.
- Placement: Position the plate tree at least 24 inches away from the barbell racking area to prevent tripping hazards during heavy walkouts.
- Loading Protocol: Always load the heaviest plates (45s and 35s) on the bottom pegs. Loading 25s or 10s on the bottom while the top is heavy creates a severe tip-over risk.
- Wall-Mounted Alternatives: If floor space is limited, install a wall-mounted plate storage bracket directly into wooden wall studs using 3/8-inch structural lag screws. Never use drywall anchors for weight storage.
Designing the Auxiliary Dumbbell Station
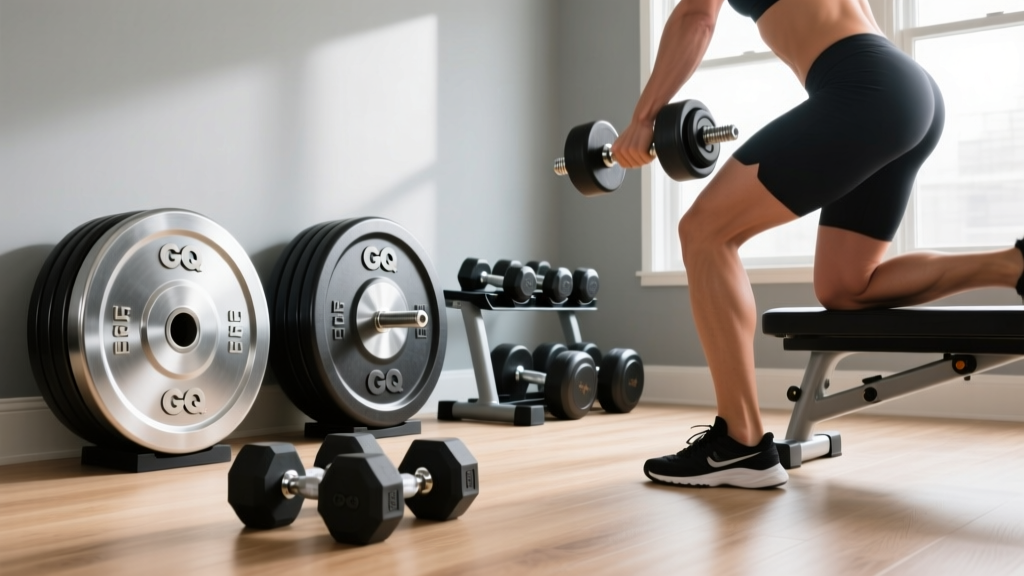
While the Olympic barbell system handles heavy bilateral loading, unilateral and isolation work requires a dedicated dumbbell station. For a space-efficient 2026 setup, adjustable dumbbells like the Nuobell (which adjusts in 5-lb increments up to 80 lbs) or PowerBlock Pro Series offer the best footprint-to-weight ratio. Position a 3-tier commercial dumbbell rack adjacent to an adjustable FID (Flat/Incline/Decline) bench. Ensure there is a minimum of 36 inches of clearance on all sides of the bench to allow for unrestricted limb movement during wide-stance or lateral exercises.
Functional Testing: Dumbbell Exercises for Glutes
With the Olympic rack bolted down and the dumbbell station assembled, it is time to functionally test the space. The gluteus maximus is the largest muscle in the human body, responsible for hip extension, abduction, and external rotation. According to kinesiology data from ExRx.net, maximizing glute hypertrophy requires loading the muscle through both its stretched (lengthened) and shortened (contracted) positions. Here are three highly effective dumbbell exercises for glutes that perfectly utilize your newly installed auxiliary station.
1. The B-Stance Romanian Deadlift (RDL)
The traditional barbell RDL is excellent, but the B-Stance (or staggered-stance) dumbbell variation eliminates bilateral asymmetries and heavily targets the gluteus maximus and medius without the lower-back fatigue associated with heavy barbell loading.
- Setup: Hold a heavy dumbbell (e.g., 60-80 lbs) in the hand contralateral (opposite) to the working leg.
- Execution: Place the working foot flat on the floor. Slide the non-working foot back so the toes are aligned with the working heel, acting only as a kickstand for balance.
- Biomechanics: Hinge at the hips, pushing the glutes back toward the wall behind you. Keep a slight bend in the working knee. Lower the dumbbell until you feel a deep stretch in the hamstring and glute (usually just below the knee), then drive through the mid-foot to return to the top, squeezing the glute forcefully.
- Prescription: 3 sets of 8-12 reps per leg, utilizing a 3-second eccentric (lowering) phase.
2. Deficit Reverse Lunges (Using Olympic Plates)
This exercise brilliantly bridges the gap between your Olympic plate storage and your dumbbell station. By utilizing your 45-lb Olympic bumper plates as a deficit step, you increase the range of motion (ROM) at the hip joint, placing the glutes under maximum mechanical tension in the fully stretched position.
- Setup: Lay a 45-lb Olympic bumper plate flat on the rubber matting. Stand on top of the plate holding a dumbbell in each hand (or a single heavy goblet dumbbell).
- Execution: Step backward off the plate into a deep reverse lunge. The elevated front foot allows your back knee to travel closer to the floor, increasing hip flexion on the working leg.
- Cue: Lean your torso slightly forward (about 30 degrees) to shift the load from the quadriceps to the gluteus maximus. Drive through the front heel to return to the starting position on the plate.
- Prescription: 3 sets of 10 reps per leg.
3. Contralateral Weighted Glute Bridges
While the barbell hip thrust is the gold standard for shortened-position glute work, dumbbell bridges are highly effective for home gyms where loading a barbell onto the hips for high-rep burnout sets can be cumbersome.
- Setup: Lie supine on the mat with knees bent and feet flat. Place a heavy dumbbell vertically on the hip crease of one leg, securing it with both hands.
- Execution: Drive through the heels to elevate the hips until the torso and thighs form a straight line. Hold the peak contraction for a full 2 seconds.
- Expert Tip: To increase glute medius activation (abduction), place a mini-resistance band around your thighs just above the knees and actively push your knees outward against the band throughout the movement.
Maintenance and Calibration Protocols
To ensure your home gym remains safe and functional through years of heavy training, implement a quarterly maintenance schedule. Inspect the knurling on your Olympic barbell for oxidation and clean it with a brass wire brush and 3-in-1 oil. Check the torque on all rack bolts and plate tree hardware, as the vibrational impact from dropped bumper plates can slowly loosen structural fasteners over time. Finally, verify the calibration of your weight plates; cheaper cast iron standard plates can drift up to 10% out of spec, which can severely skew your progressive overload tracking. By investing in calibrated Olympic plates and maintaining your auxiliary dumbbell station, you guarantee that every rep of every dumbbell exercise for glutes is accurate, safe, and optimized for maximum hypertrophy.
For more information on safe exercise programming and joint biomechanics, refer to the guidelines published by the American Council on Exercise (ACE).
More gear to consider
All reviews
Best Adjustable Dumbbells for Exercises Using Dumbbells (2026)
Complete Home Gym Setup for Dumbbell Leg Exercises

Space-Saving Incline Dumbbell Hex Press: Rubber vs Urethane Hex Bells

Olympic Barbell vs Purple Dumbbell: Grip and Weight
Loadable Dumbbell vs Dumbbell Machine: Maintenance & Care Guide