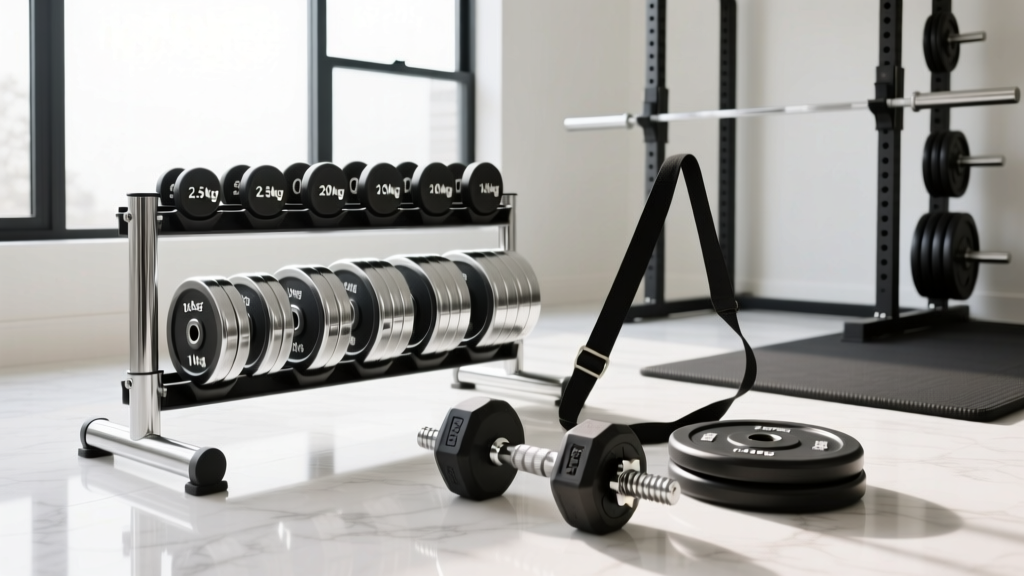
Olympic vs Standard Plates & Cross Body Dumbbell Curl Guide
Discover the key differences between Olympic vs standard weight plates, plus a beginner-friendly step-by-step guide to the cross body dumbbell curl.

Building a home gym in 2026 requires navigating a maze of equipment specifications, pricing shifts, and exercise techniques. For beginners, two of the most common hurdles are selecting the right weight plates for your barbell and mastering foundational dumbbell movements for arm development. This guide tackles both: we will break down the critical differences between Olympic vs. standard weight plates, and then transition into a meticulous, step-by-step tutorial on the cross body dumbbell curl to help you build impressive, joint-friendly arms.
The Foundation: Olympic vs. Standard Weight Plates
When shopping for free weights, you will immediately encounter two distinct sizing categories: Standard and Olympic. While they might look similar to the untrained eye, their engineering, compatibility, and long-term value are vastly different.
Standard Weight Plates (1-Inch Hub)
Standard plates feature a center hole diameter of exactly 1 inch (25.4 mm). They are designed to slide onto standard barbells and dumbbell handles, which are typically solid steel or hollow-tube constructions. In 2026, standard cast iron plates usually cost between $1.00 and $1.50 per pound, making them an attractive entry point for absolute beginners on a strict budget. However, standard bars lack rotating sleeves, meaning the momentum of the plates can transfer torque directly to your wrists during dynamic lifts like cleans or heavy curls.
Olympic Weight Plates (2-Inch Hub)
Olympic plates feature a 2-inch (50.8 mm) center hole. They are engineered to fit Olympic barbells, which possess thick, rotating sleeves equipped with bronze bushings or needle bearings. According to equipment specifications from Rogue Fitness, Olympic plates and bars are the global standard for commercial gyms, powerlifting, and Olympic weightlifting. While the initial investment is higher—ranging from $1.80 to $4.50 per pound depending on whether you choose raw cast iron, urethane-coated, or rubber bumper plates—the structural integrity is unmatched.
2026 Market Comparison: Standard vs. Olympic
| Feature | Standard (1-Inch) | Olympic (2-Inch) |
|---|---|---|
| Center Hole Diameter | 1 inch (25.4 mm) | 2 inches (50.8 mm) |
| Barbell Sleeve Spin | None (Fixed) | Bushings or Bearings |
| Max Load Capacity | 200 - 400 lbs (Bar dependent) | 1,000 - 1,500+ lbs |
| Avg. Price Per Pound (2026) | $1.00 - $1.50 | $1.80 - $4.50 |
| Plate Types Available | Cast Iron, Cement-filled | Iron, Urethane, Rubber Bumper, Technique |
Expert Verdict: If you plan to lift beyond 250 lbs or perform Olympic lifts, skip standard plates entirely. The bending point of a standard barbell poses a severe safety risk under heavy loads. Invest in an entry-level Olympic setup, such as the Rogue Echo Bumper Plates or REP Fitness Urethane Grips, to future-proof your garage gym.
Step-by-Step Guide: The Cross Body Dumbbell Curl
Now that your weight plate infrastructure is sorted, let us put your adjustable dumbbells (like the Nuobell 80 or Bowflex SelectTech 552) to work. The cross body dumbbell curl is a highly effective, beginner-friendly bicep and forearm builder. Unlike a traditional supinated curl, the cross-body variation shifts the mechanical load heavily onto the brachialis (the muscle sitting underneath the biceps brachii) and the brachioradialis (the primary forearm flexor). As noted in the kinesiology databases on ExRx.net, targeting the brachialis pushes the biceps peak upward, creating a thicker, more impressive arm profile.
Step 1: The Setup and Stance
- Foot Position: Stand with your feet shoulder-width apart, knees slightly bent to absorb force and prevent lower back swinging.
- The Grip: Hold a dumbbell in each hand using a neutral grip (palms facing your torso). Let the weights hang naturally at your sides.
- Core Bracing: Squeeze your glutes and brace your abdominal muscles as if preparing for a light punch to the stomach. This stabilizes your spine.
Step 2: The Concentric Phase (The Curl)
Initiate the movement by curling the right dumbbell upward and across your torso toward your left shoulder. Keep your right elbow pinned tightly to your right ribcage. Do not allow the elbow to drift forward or flare outward. The path of the dumbbell should resemble a diagonal line across your chest.
Step 3: The Peak Contraction
Once the dumbbell reaches the height of your opposite collarbone, pause for a full one-second count. Squeeze the bicep and forearm intensely. This isometric pause eliminates momentum and forces the muscle fibers to bear the entirety of the load.
Step 4: The Eccentric Lowering
Slowly reverse the diagonal path, taking a full 2 to 3 seconds to lower the dumbbell back to the starting position. The eccentric (lowering) phase causes the most micro-tearing in muscle tissue, which is essential for hypertrophy. Once the right arm is fully extended, repeat the sequence with the left arm curling toward the right shoulder.
Troubleshooting Common Beginner Mistakes
Warning: Elbow Tendonitis and Form Breakdown
Beginners often experience medial epicondylitis (golfer's elbow) when performing curls with heavy weights and poor wrist alignment. To avoid this during the cross body dumbbell curl:
- Keep the Wrist Neutral: Do not let your wrist curl inward (flexion) at the top of the movement. Keep the wrist locked in a straight line with your forearm.
- Avoid the Ego Swing: If you have to thrust your hips backward to heave the weight up, the dumbbell is too heavy. Drop the weight by 10-15% and focus on the 3-second eccentric lowering phase.
- Elbow Tracking: If your elbow drifts forward past your ribcage, the front deltoid (shoulder) takes over the lift, robbing your biceps of the stimulus.
Programming Your First Arm Routine
According to guidelines from the American Council on Exercise (ACE), beginners should focus on controlled tempos and moderate rep ranges to build connective tissue strength before chasing one-rep maxes. Here is how to program the cross body dumbbell curl into your 2026 training split:
- Warm-Up: 2 sets of 15 reps with very light weight (e.g., 10-15 lbs) to pump blood into the elbow joints and forearms.
- Working Sets: 3 sets of 8-12 reps per arm.
- Rest Periods: 60 to 90 seconds between sets to allow for ATP (cellular energy) replenishment.
- Progressive Overload: Once you can comfortably complete 3 sets of 12 reps with strict form, increase the dumbbell weight by 5 lbs per hand in your next session.
Final Thoughts on Building Your Arsenal
Whether you are loading up an Olympic barbell with 45-pound bumper plates for heavy deadlifts or dialing in your adjustable dumbbells for precise cross body curls, understanding your equipment and your biomechanics is the key to long-term progress. Standard plates may offer a cheap entry point, but Olympic plates provide the safety, durability, and performance required for a lifetime of lifting. Pair your high-quality gear with strict, step-by-step exercise execution, and you will build a resilient, muscular physique that stands the test of time.
More gear to consider
All reviews
2026 Adjustable Dumbbell Guide for a Dumbbell and Bench Workout Plan

Power Rack vs Squat Rack vs Squat Stand: Incline Dumbbell Curl Setup

Rep Fitness Urethane Dumbbells vs. Olympic vs. Standard Plates

Can I Lift Dumbbells Everyday? Barbell Collar Setup & Types Guide
Dumbbell Rows vs Cable Rows: Budget & Dumbbell Rack Value Guide
