Space-Saving Loadable Alternatives to Fixed 100 Pound Dumbbells
Maximize home gym space by replacing bulky fixed 100 pound dumbbells with plate-loaded handles. Discover layout designs, top models, and storage tips.

The Spatial Math: Fixed Racks vs. Plate-Loaded Systems
When designing a home or boutique gym layout, the pursuit of heavy unilateral training often collides with the harsh reality of floor space. A standard commercial dumbbell rack spanning from 5 to 100 pounds requires approximately 108 inches of linear wall space, sits 28 inches deep, and demands a 36-inch clearance zone in front for safe extraction. That single piece of equipment monopolizes over 45 square feet of prime gym real estate. Furthermore, acquiring a full commercial set of fixed urethane dumbbells in 2026 will easily cost upwards of $3,500, with a single pair of fixed 100 pound dumbbells accounting for nearly $400 of that budget.
For lifters whose programming heavily features heavy rows, presses, and shrugs, abandoning the upper echelons of the weight range is not an option. This is where loadable dumbbell handles with interchangeable plates revolutionize space optimization. By decoupling the handle from the mass, you can achieve the exact same resistance profile while reducing your equipment footprint by up to 80 percent.
Footprint Comparison: The 100-Pound Threshold
- Fixed 5-100lb Rack: 45 sq. ft. total operational footprint (including extraction clearance).
- Fixed 100lb Pair Alone: Requires 14 inches of rack shelf space; weighs 200 lbs total.
- Loadable Handle System + Vertical Plate Tree: 6 sq. ft. total operational footprint.
- Cost Efficiency: Loadable systems cost roughly 60% less than full fixed commercial racks while offering infinite micro-loading capabilities.
Top Loadable Dumbbell Systems for Heavy Lifters
Not all loadable handles are created equal, especially when you push past the 80-pound mark. The structural integrity of the locking mechanism, the knurling depth, and the sleeve diameter dictate whether a handle is a viable replacement for heavy fixed weights. Below is a breakdown of the premier options available for serious lifters.
| Brand / Model | Max Weight Capacity | Sleeve Length | Locking Mechanism | Approx. 2026 Price (Pair) |
|---|---|---|---|---|
| Rogue ML Loadable Handles | 120+ lbs (sleeve dependent) | 15.0 inches | Spring Collar / Clamp | $195.00 |
| Ironmaster Quick-Lock HD | 120 lbs (with add-ons) | N/A (Proprietary) | Screw-Lock Interchangeable | $459.00 (Base + Heavy Kit) |
| Titan Fitness Olympic Handles | 100+ lbs | 10.5 inches | Spin-Lock Nut | $119.99 |
| Yes4All Olympic Spin-Lock | 80-100 lbs | 9.5 inches | Star Nut / Spin-Lock | $75.00 |
Proprietary Interchangeable Plates vs. Olympic Plate-Loaded
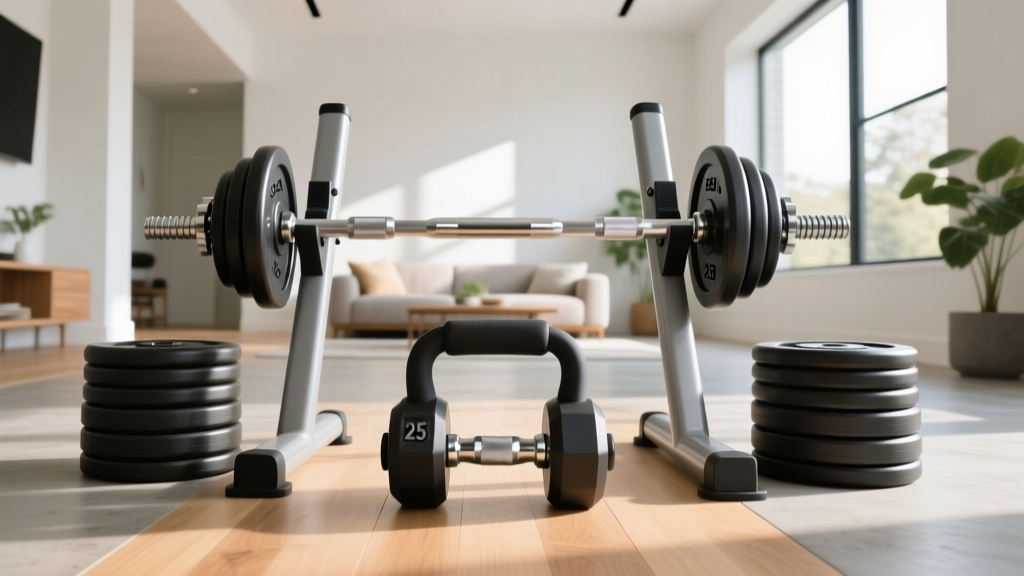
Systems like the Ironmaster Quick-Lock System utilize proprietary, precision-machined steel plates that stack and lock via a threaded pin. This design perfectly mimics the compact center of gravity of a traditional hex dumbbell, making it ideal for movements where the weight rests on the thigh during setup, such as heavy dumbbell bench presses.
Conversely, Olympic loadable handles (like those from Rogue or Titan) require you to slide standard 2-inch center-hole plates onto the sleeves. While highly versatile—allowing you to use the same plates for your barbell—this introduces a critical spatial and mechanical variable: sleeve length.
The Bumper Plate Dilemma: A Warning on Sleeve Math
One of the most common layout and purchasing mistakes lifters make when transitioning to Olympic loadable handles is failing to account for plate thickness. If your gym layout relies on rubber bumper plates to protect your flooring and reduce noise, you will run into a severe hardware limitation when attempting to load 100 pounds.
Critical Edge Case: A standard 45-pound competition bumper plate is roughly 3.2 inches thick. To reach 100 pounds, you need two 45-pound bumpers and one 10-pound bumper (approx. 2.1 inches thick). That equals 8.5 inches of solid rubber. Add the mandatory 2.5-inch space required for a safety spring collar to secure the load, and you need a minimum of 11 inches of usable sleeve space. Standard 10-inch loadable handles will physically fail to accommodate 100 pounds of bumper plates.
The Solution: If you are committed to bumper plates, you must purchase extended 15-inch sleeve handles, such as the Rogue ML Dumbbell Handles. Alternatively, you can maintain a shorter handle profile by investing in calibrated steel plates or thin urethane iron plates, which are significantly denser and allow you to stack 100 pounds within a standard 9-inch sleeve footprint.
Designing the Layout: Plate Storage and Workflow Zones
Eliminating the massive 100-pound fixed rack is only the first step in space optimization. To maintain a seamless workout flow, you must design a dedicated 'Loading Zone' that minimizes the distance you carry heavy, unbalanced loads. According to ergonomic guidelines highlighted in the Garage Gym Reviews Adjustable Dumbbell Guide, minimizing transition time and physical strain during weight changes is paramount for maintaining workout intensity and safety.
Zone 1: The Lifting Platform (8x8 Feet)
This is your primary operational area, floored with 3/4-inch thick vulcanized rubber mats. This zone must remain entirely clear of loose plates, collars, or storage trees. When lifting heavy unilateral loads, your spatial awareness decreases; tripping over a stray 10-pound plate while holding 100-pound dumbbells is a catastrophic injury risk.
Zone 2: The Vertical Loading Station (3x3 Feet)
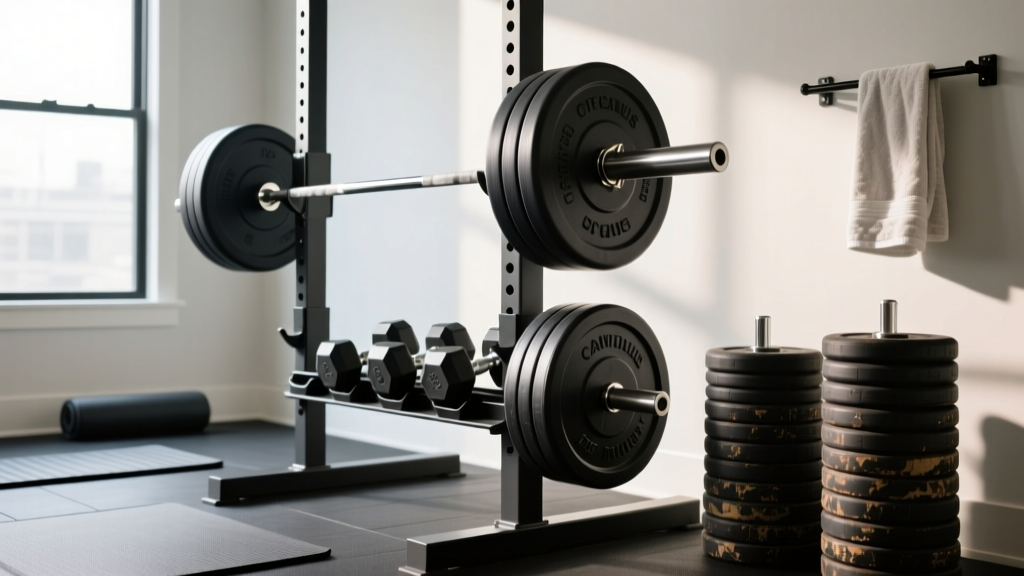
Position a vertical plate tree or a wall-mounted weight horn exactly two steps outside the perimeter of your lifting platform. Layout Rule: Never place your plate storage behind your lifting zone. The loading station should be positioned at a 45-degree angle to your primary bench or lifting stance. This allows you to step off the mat, load the handles on the tree or floor, and step backward into your lifting zone without having to walk laterally while carrying 100 pounds of assembled iron.
Zone 3: Micro-Plate and Collar Magnetic Docks
When working near the 100-pound threshold, micro-loading (adding 1.25 or 2.5 pounds) becomes essential for progressive overload. Install a small magnetic parts tray or a wall-mounted hook system directly on the vertical plate tree to hold your spring collars, spin-lock nuts, and fractional plates. Searching the floor for a rogue collar with heavy dumbbells in hand disrupts the central nervous system's priming for a heavy set.
Step-by-Step: Transitioning Your Gym Layout
If you are ready to reclaim your floor space and sell off your fixed rack, follow this systematic transition plan:
- Audit Your Plate Inventory: Measure the exact thickness of your heaviest plates. Calculate the total sleeve length required to hit your 100-pound target per hand, factoring in 2.5 inches for collars.
- Select the Handle Architecture: Choose proprietary interchangeable systems (like Ironmaster) for a compact, fixed-dumbbell feel, or extended-sleeve Olympic handles if you already own a vast array of barbell plates.
- Reallocate the Rack Footprint: Remove the 9-foot commercial rack. Use the reclaimed 45 square feet to install a functional trainer, a dedicated deadlift platform, or a cardio zone.
- Install Vertical Storage: Mount an A-frame or vertical plate tree in the newly designated 'Loading Zone' adjacent to your lifting space.
- Standardize Your Collars: Purchase high-tension locking collars (such as HG2 or Rogue Monster collars) to prevent plate rattle and shifting, which drastically alters the center of gravity during heavy unilateral movements.
Final Thoughts on Heavy Unilateral Training at Home
Reaching the 100-pound threshold with dumbbells is a significant strength milestone, but it should not dictate the architectural limitations of your training space. By leveraging modern loadable handles and interchangeable plate systems, you can replicate commercial-gym resistance while maintaining a lean, highly optimized, and safe home gym layout. Whether you opt for the modular precision of proprietary screw-locks or the raw versatility of Olympic sleeves, the key lies in respecting the spatial math, understanding sleeve limitations, and engineering a workflow zone that keeps the iron moving safely.
More gear to consider
All reviews
Budget Racks for Amazon Basics Neoprene Dumbbell Hand Weights

Beyond Quadricep Workouts with Dumbbells: Kettlebell Buying Guide

Heavy Dumbbell Storage: Space-Saving Rack Layouts & Designs

Power Rack vs Squat Rack vs Squat Stand: The Dumbbell Door Factor

Power Rack vs Squat Rack vs Stand: 20 lb Dumbbell Workout Rigs