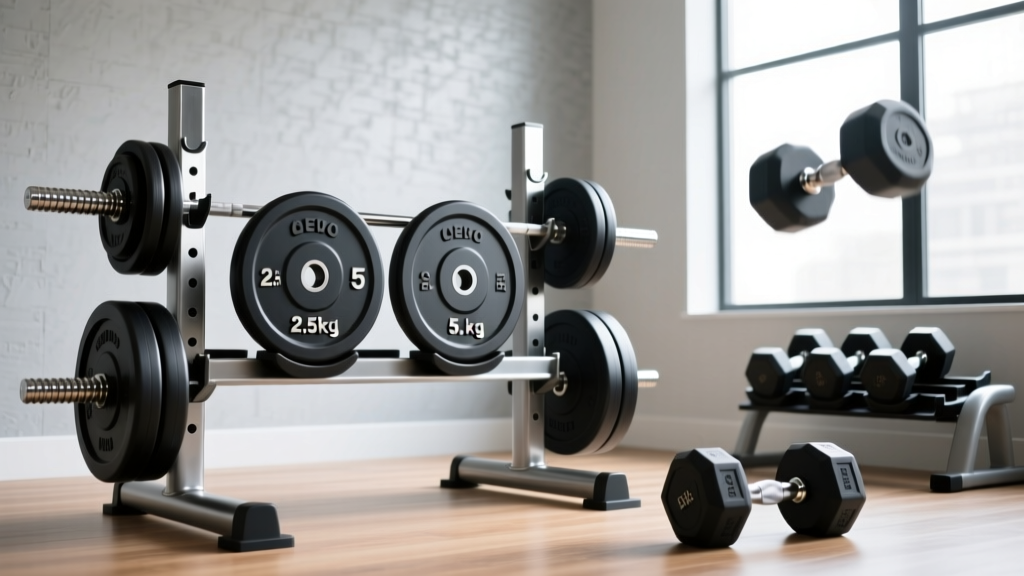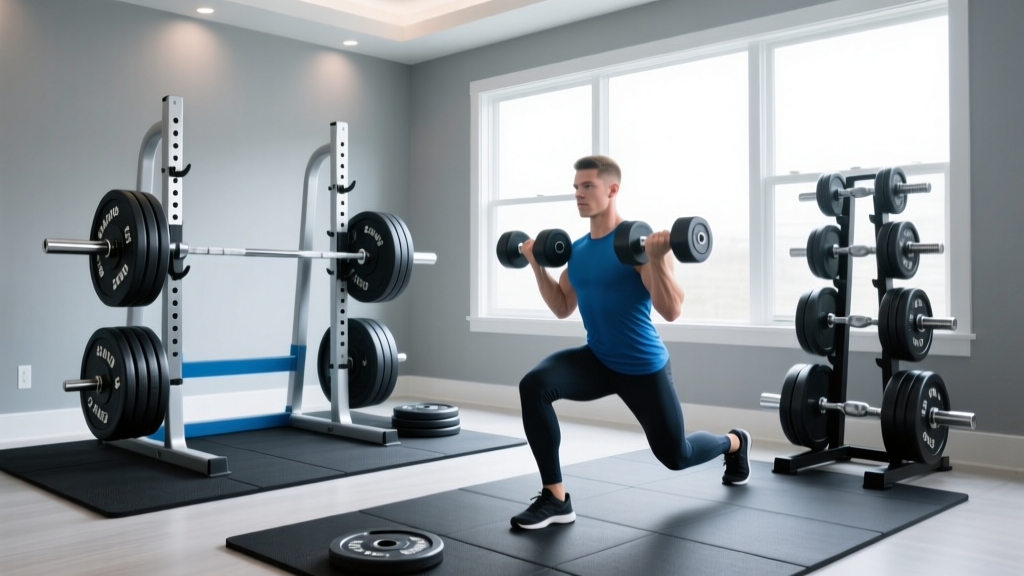
Olympic vs Standard Plates: Setup for Forward Lunges with Dumbbells
Master your home gym layout with our Olympic vs standard weight plate setup guide, optimizing floor space for barbell work and forward lunges with dumbbells.

The Architecture of Iron: Planning Your Weight Plate Station
Designing a functional home gym in 2026 requires more than just buying equipment; it demands precise spatial engineering. The foundational decision every garage gym owner faces is choosing between Olympic (2-inch center hole) and standard (1-inch center hole) weight plates. This choice dictates not only your barbell compatibility but also the structural installation of your weight trees, floor protection requirements, and the open 'movement zones' necessary for dynamic exercises.
While a power rack handles static barbell lifts, auxiliary exercises like forward lunges with dumbbells require a dynamic linear clearance of 6 to 8 feet. If you improperly bolt down a heavy Olympic weight tree or place a standard A-frame rack in the primary stride path, you compromise both safety and workout flow. This complete setup and installation walkthrough will guide you through the technical assembly of plate storage while optimizing your floor plan for heavy loading and unilateral dumbbell movements.
Core Specifications: Olympic vs Standard Weight Plates
Before unboxing your gear and grabbing a hammer drill, you must understand the physical limitations and load capacities of both plate ecosystems. Standard plates are often marketed to beginners due to a lower entry price, but they introduce severe structural bottlenecks as your strength progresses.
| Feature | Olympic Plates (2-Inch / 50mm) | Standard Plates (1-Inch / 25mm) |
|---|---|---|
| Center Hole Diameter | 2.0 inches (50.8mm) | 1.0 inch (25.4mm) |
| Barbell Load Capacity | 500 lbs to 1,500+ lbs | 200 lbs to 300 lbs (Max) |
| Plate Weight Range | 2.5 lbs to 100+ lbs per plate | 2.5 lbs to 50 lbs per plate |
| Average 2026 Cost (Cast Iron) | $1.60 - $2.20 per lb | $1.10 - $1.50 per lb |
| Storage Tree Footprint | Large (Requires bolt-down anchoring) | Compact (Freestanding A-Frame) |
Step-by-Step Installation: Anchoring Your Weight Trees
Weight trees are subjected to extreme lateral torque when loading and unloading heavy plates. A fully loaded Olympic tree can easily exceed 1,000 lbs, making proper installation a critical safety requirement.
Step 1: Subfloor Assessment and Preparation
Most garage gyms are built on concrete slabs. You need a minimum of 3,000 PSI concrete to safely install wedge anchors. If your floor is older or cracked, use a stud finder with masonry capabilities to avoid drilling into post-tension cables. Lay down your primary floor protection first—specifically 3/4-inch thick vulcanized rubber stall mats (such as the Rogue Stall Mat) to absorb dropped plates and protect the concrete from spalling.
Step 2: Positioning for Movement Clearance
This is where spatial planning intersects with your exercise selection. Map out an 8-foot by 8-foot 'dynamic zone' in the center of your gym. This zone is strictly reserved for movements that require stride length and lateral stability, such as forward lunges with dumbbells, kettlebell swings, and dumbbell walking lunges. According to ExRx.net's biomechanical breakdown of the dumbbell lunge, the deceleration phase of a forward lunge requires significant linear space to prevent knee shear forces caused by abrupt stopping. Your weight trees must be pushed to the perimeter walls, completely outside this 8-foot stride zone.
Step 3: Drilling and Anchoring (Olympic Trees)
- Mark the Holes: Position your Olympic tree (e.g., Titan Fitness 10-Peg Olympic Tree) against the perimeter wall, ensuring a 2-inch gap from the drywall to prevent scuffing.
- Drill: Use a hammer drill with a 1/2-inch masonry bit to drill 4 inches deep into the concrete through the tree's base flanges.
- Clean: Vacuum out the concrete dust from the holes. Dust prevents the wedge anchors from expanding properly.
- Anchor: Insert 1/2-inch x 3-3/4-inch zinc-plated wedge anchors. Tighten with a torque wrench to 60 ft-lbs to ensure the tree cannot tip when unbalanced (e.g., when all 45-lb plates are on one side).
Step 4: Standard A-Frame Placement
If you are utilizing standard plates for lighter dumbbell-loading bars or accessory work, freestanding A-frame trees (like the CAP Barbell 12-Peg Standard Tree) do not require bolting. However, they must be placed in low-traffic corners. Because standard plates max out at lower weights, the tipping risk is lower, but they should still be kept away from the primary walking paths to prevent toe-stubbing injuries.
The Lunge Stride Rule: Spatial Callout
When setting up your gym, hold a pair of 50-lb dumbbells and perform a dry run of forward lunges with dumbbells across your planned floor space. Measure the distance from your back foot's starting position to your front foot's furthest extension, then add 2 feet of buffer space on either end. This total linear measurement is your 'No-Anchor Zone.' Never bolt heavy equipment or place standard plate racks inside this measured corridor.
Material Science: Cast Iron vs. Urethane vs. Rubber
When purchasing your plates, the material composition affects both the acoustic footprint of your gym and the longevity of your equipment. In 2026, supply chain stabilizations have made premium urethane plates more accessible, though cast iron remains the standard for budget-conscious builders.
- Machined Cast Iron: The most accurate and durable option. Look for plates with a machined face and hub, which ensures they sit perfectly flush against the barbell collar. Pricing hovers around $1.80/lb. Rogue Fitness plate specifications highlight that machined iron plates maintain a tighter weight tolerance (usually within 1-2% of the stated weight) compared to cheap poured iron.
- Virgin Rubber: Excellent for drop-heavy environments, but beware of the 'off-gassing' phase. New rubber plates can emit a strong chemical odor for 3 to 6 weeks. Ensure your garage gym has active cross-ventilation before installing rubber plates in an enclosed space.
- Urethane: The premium choice (often $3.50+ per lb). Urethane is highly resistant to UV degradation, scratching, and odor. If your weight tree is near a garage window with direct sunlight exposure, urethane will outlast rubber by a decade without becoming brittle or sticky.
Real-World Failure Modes and Edge Cases
Even with a perfect installation, improper plate management leads to equipment failure. Here are the most common edge cases we see in home gym setups:
The Standard Bar 'Whip' and Permanent Deformation
Many beginners buy standard plates to save money, pairing them with a $40 standard barbell. When loading a standard barbell past 150 lbs, the 1-inch diameter steel experiences severe 'whip' (flexion). Over time, this causes plastic deformation—the bar permanently bends. Once a standard bar bends, the 1-inch sleeves warp, making it physically impossible to slide standard plates on or off. Solution: If you are lifting over 150 lbs, the transition to Olympic plates and a 2-inch, 190k PSI tensile strength barbell is non-negotiable.
Hub Wear on Weight Trees
Repeatedly sliding cast iron plates onto metal tree pegs grinds away the inner hub, eventually creating sharp metal burrs that can scratch your barbell sleeves. Solution: Install UHMW (Ultra-High Molecular Weight) polyethylene sleeves over your weight tree pegs. A pack of 10 UHMW sleeves costs under $25 and will completely eliminate metal-on-metal grinding.
Frequently Asked Questions (FAQ)
Can I mix Olympic and Standard plates in the same gym?
Yes, but they require entirely separate storage and barbell ecosystems. Keep your Olympic tree bolted to the primary lifting platform wall for heavy squats and deadlifts, and use a standard A-frame tree in a secondary corner for lightweight accessory bars or adjustable dumbbell handle loading.
How do bumper plates factor into this setup?
Bumper plates are strictly Olympic (2-inch). If you plan to do Olympic weightlifting (cleans, snatches) or high-rep deadlifts where plates are dropped, you must use bumper plates. Standard plates will shatter if dropped from waist height, sending dangerous cast-iron shrapnel across your gym floor.
What is the best way to clean and maintain cast iron plates?
Cast iron plates are prone to surface oxidation (rust) if your garage lacks climate control. Wipe them down monthly with a light coat of 3-in-One oil or mineral oil. Avoid WD-40, as it strips existing protective coatings and leaves a slippery residue that makes gripping the plates during loading and unloading hazardous.
More gear to consider
All reviews
EZ Curl Bar vs Straight Bar & Top Weight Plates for Dumbbells

Rubber Hex vs Urethane: Gym Layouts and the Dumbbell Pullover for Lats

Gym Setup: Seated Dumbbell Shoulder Press & Barbell Knurling Guide

Best Dumbbell Racks for a Safe Dumbbell Single Leg RDL Setup (2026)

Rubber Hex vs Urethane for Alternating Supinated Dumbbell Curls