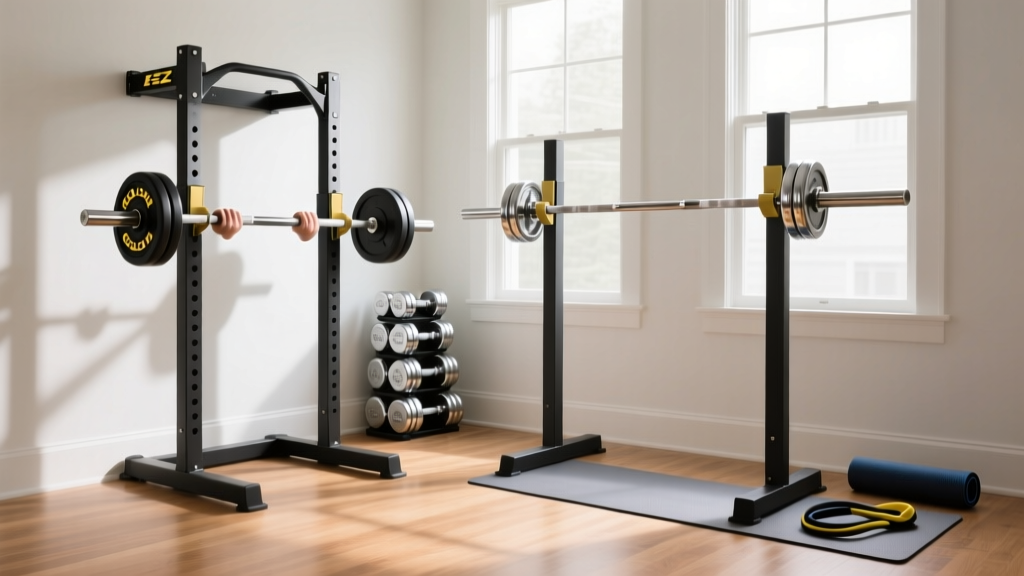
Olympic vs Standard Plate Setup & What Muscles Do Dumbbell Rows Work
Master your free weight zone setup comparing Olympic vs standard plates, then learn how to configure a row station and what muscles do dumbbell rows work.

Building a functional, safe, and versatile free weight zone in your home gym requires more than just buying iron and dropping it in the corner. A proper setup demands an understanding of equipment specifications, structural installation, and biomechanical application. Whether you are outfitting a commercial facility or a garage gym in 2026, the foundation of your strength training area relies on the plates you choose and the stations you build.
This comprehensive walkthrough will guide you through the critical decision of Olympic versus standard weight plates, provide a step-by-step installation guide for your plate storage, and transition into configuring a dedicated dumbbell row station. Finally, we will break down the exact biomechanics of the movement so you understand precisely what muscles do dumbbell rows work and how your setup influences muscle recruitment.
The Core Decision: Olympic vs. Standard Weight Plates
The most common mistake new home gym owners make is purchasing standard 1-inch plates to save money upfront, only to realize they cannot upgrade to Olympic barbells later without replacing their entire inventory. According to BarBend's comprehensive equipment guide, the center hole diameter dictates not just bar compatibility, but the structural integrity of your lifts.
Dimensional and Load Capacity Differences
Standard plates feature a 1-inch (25.4mm) center hole and are typically paired with lightweight, solid-steel barbells. These bars are prone to bending under loads exceeding 200 lbs, which introduces a dangerous whip and rotational instability during heavy deadlifts or squats. Olympic plates, conversely, feature a 2-inch (50.8mm) center hole designed for barbells with rotating sleeves and high-tensile steel shafts rated for 800 to 1,500+ lbs.
2026 Pricing Insight: As of this year, standard cast iron plates average $0.90 to $1.30 per pound, while Olympic plates (especially calibrated or urethane-coated) range from $1.60 to $3.50 per pound. Always buy Olympic if your budget allows for the initial barbell investment.| Feature | Olympic Plates (2-inch) | Standard Plates (1-inch) |
|---|---|---|
| Center Hole Diameter | 50.8mm (2 inches) | 25.4mm (1 inch) |
| Max Load Capacity | 800 - 1,500+ lbs | 200 - 300 lbs |
| Barbell Whip/Flex | Controlled (High-Tensile Steel) | High (Prone to permanent bending) |
| Resale Value | High (Universal Standard) | Low (Niche Market) |
Installation Walkthrough: Anchoring Your Plate Storage
Once you have selected your plates, you must install a storage solution that mitigates tipping hazards. Freestanding plate trees are notorious for tipping forward when heavily loaded on the top pegs, while wall-mounted racks require structural stud alignment.
Step-by-Step Freestanding Tree Installation
- Locate Floor Joists: Use a stud finder to locate the wooden joists beneath your subfloor or identify the concrete slab thickness. Do not anchor solely into plywood or laminate flooring.
- Position the Tree: Place the freestanding plate tree against a wall to limit backward tipping. Ensure a 36-inch clearance in front for loading 45lb plates.
- Drill Pilot Holes: Through the base plate flanges, drill 3/8-inch pilot holes directly into the floor joists or concrete.
- Secure with Lag Bolts: For wood subfloors, use 3/8" x 3" galvanized lag bolts with washers. For concrete, use 3/8" wedge anchors. Torque to 40 ft-lbs to prevent wobble.
- Load Symmetrically: Always load the heaviest plates (45s and 35s) on the bottom pegs to keep the center of gravity low.
Configuring the Dumbbell Row Station
With your plates safely racked, it is time to configure the adjacent dumbbell zone. The single-arm dumbbell row requires a stable, flat utility bench. Position the bench parallel to your dumbbell rack, leaving exactly 24 inches of lateral clearance. This specific measurement allows you to hinge at the hips, grab a heavy dumbbell from the rack, and step back into position without the weight plates clipping the bench frame.
Pro Setup Tip: Place a 3/4-inch thick horse-stall mat under your bench and dumbbell rack. This not only dampens acoustic vibrations when dropping heavy iron but also prevents the bench feet from micro-sliding on smooth concrete during heavy eccentric rowing phases.
Anatomy in Action: What Muscles Do Dumbbell Rows Work?
When executing the movement on your newly configured station, understanding the biomechanics is crucial for mind-muscle connection. According to the ACE Fitness Exercise Library, the single-arm dumbbell row is a multi-joint, compound pulling movement that targets the entire posterior chain of the upper body.
To answer the question of what muscles do dumbbell rows work, we must break down the movement into its two primary phases: scapular retraction and shoulder extension.
- Latissimus Dorsi (The Lats): The primary mover. As you drive the elbow toward the ceiling, the lats perform shoulder extension. A 15-degree bench incline can actually increase lat stretch at the bottom of the movement compared to a flat bench.
- Rhomboids and Middle Trapezius: Located between the scapulae, these muscles are responsible for scapular retraction (squeezing the shoulder blades together at the top of the row).
- Posterior Deltoids (Rear Delts): Act as synergists during the transverse extension phase, especially if you flare the elbow slightly outward rather than keeping it tucked tight to the ribs.
- Biceps Brachii and Brachialis: Act as secondary movers to flex the elbow. Grip width and dumbbell handle thickness (e.g., using thick-grip adapters) will drastically alter forearm and bicep recruitment.
- Erector Spinae and Core: The isometric stabilizers. Your lower back and obliques must fire continuously to prevent torso rotation and maintain a neutral spine while pulling a 100+ lb dumbbell.
For a deeper kinesiological breakdown of joint angles and muscle activation percentages, the ExRx.net Kinesiology Directory remains an invaluable resource for mapping exercise mechanics to specific muscle bellies.
Troubleshooting Common Home Gym Setup Flaws
Even with the best equipment, installation errors can compromise your training. Here are three common failure modes and how to fix them:
1. The 'Wobbly' Plate Tree
The Issue: The tree shakes when racking 45lb plates, causing adjacent plates to rattle or fall.
The Fix: Check the leveling feet on the base. Most commercial trees have adjustable threaded rubber feet. Twist them clockwise until all four make firm contact with the floor, then re-tighten the locking nuts against the base frame.
2. Dumbbell Bench Slipping During Heavy Rows
The Issue: When pulling heavy loads (80+ lbs), the bench feet slide backward on the floor.
The Fix: Standard plastic end-caps on bench feet offer zero friction on epoxy or sealed concrete. Remove the plastic caps and replace them with 2-inch diameter rubber anti-vibration pads, or bolt the bench frame directly to the floor using masonry anchors if it is a dedicated, permanent station.
3. Standard to Olympic Adapter Friction
The Issue: You bought standard plates but an Olympic barbell, and you are using plastic sleeve adapters. The adapters crack under heavy loads.
The Fix: Discard plastic adapters immediately. They are a severe safety hazard for dynamic lifts. Upgrade to machined aluminum or steel sleeve adapters, or better yet, liquidate the standard plates and reinvest in Olympic iron to ensure a flush, secure fit on the barbell sleeves.
By meticulously selecting Olympic plates, securely anchoring your storage, and understanding the deep anatomical mechanics of your row station, you build a home gym that is not only safe but optimized for long-term hypertrophy and strength gains.
More gear to consider
All reviews
Mastering the Hip Hinge With Dumbbells: Step-by-Step Guide & Adjustable Set Reviews
Power Rack vs Squat Rack: Proper Way to Do Dumbbell Curls Safely

Rubber Hex vs Urethane: Gear for Great Dumbbell Workouts
2026 Market Trends: Finding a Leg Press Alternative with Dumbbells

Home Gym Setup: Standing Abs with Dumbbells Using Neoprene Weights