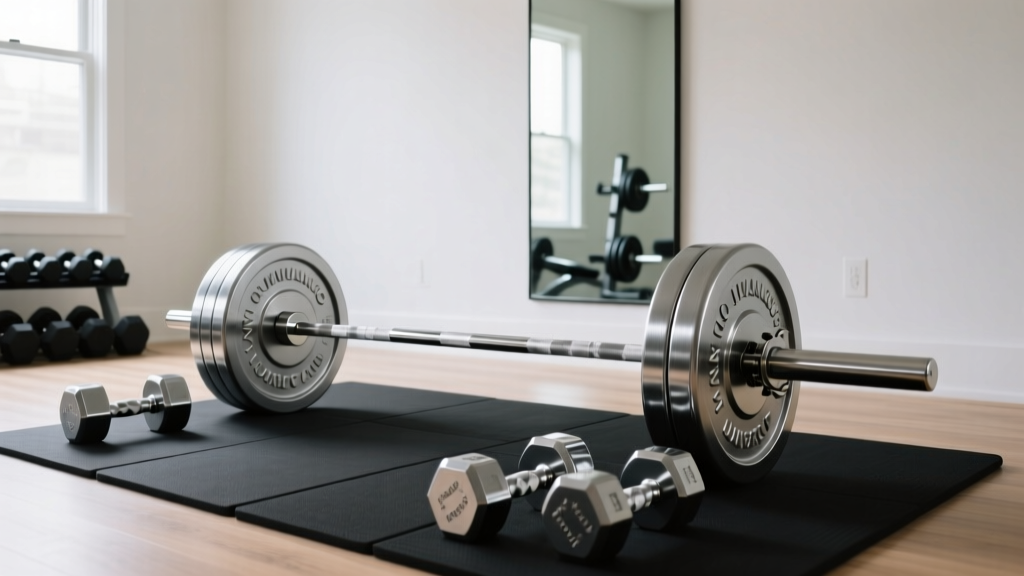
Olympic Barbell Knurling & Chest Day Dumbbells Setup
Master your pressing station setup. This walkthrough covers Olympic barbell weight, knurling profiles, and integrating the best chest day dumbbells.

The Foundation: Decoding Olympic Barbell Weight and Knurling
Building a dedicated pressing station requires more than simply sliding a barbell onto J-cups. The biomechanics of the bench press demand specific equipment tolerances. When selecting an Olympic barbell for your setup, understanding weight specifications and knurling profiles is the difference between a stable, confidence-inspiring lift and a dangerous, oscillating failure. This complete setup and installation walkthrough will guide you through configuring your barbell, rack, and supplementary equipment for maximum hypertrophy and strength gains.
Standard Olympic Barbell Baselines (IWF & IPF Specs)- Men's Standard: 20kg (44.09 lbs), 2200mm total length, 28-29mm shaft diameter.
- Women's Standard: 15kg (33.06 lbs), 2010mm total length, 25mm shaft diameter.
- Loadable Sleeve Length: Minimum 415mm to accommodate modern thick bumper plates.
Shaft Diameter and Tensile Strength for Pressing
For a dedicated chest and pressing setup, you should actively avoid standard 28mm weightlifting bars. Weightlifting bars are engineered with high 'whip' (elastic deformation) to assist in the clean and jerk. During a heavy bench press, this whip causes the bar to oscillate, destabilizing your bar path and increasing the risk of shoulder impingement.
Instead, opt for a 29mm power bar. The thicker shaft provides a rigid, dead feel that translates perfectly to the bench press. Furthermore, verify the tensile strength. As a baseline, any barbell rated below 190,000 PSI is prone to permanent bending under heavy eccentric loads. Premium options like the Rogue Ohio Power Bar (29mm, 205k PSI, retailing around $295 in 2026) or the Eleiko IPF Powerlifting Competition Bar offer the rigidity required for elite pressing.
Knurling Profiles: Volcano vs. Mountain
Knurling is the machined pattern on the steel shaft that provides grip. According to the Rogue Fitness Barbell Guide, knurling geometries generally fall into three categories: Hill (shallow, found on cheap commercial bars), Mountain (sharp, aggressive peaks), and Volcano (peaks with small craters).
For bench pressing, Volcano knurling is the undisputed gold standard. The 'crater' design increases the surface area of the grip, biting into the calluses of your palm without tearing the skin during high-rep sets. Mountain knurling, while excellent for deadlifts, will shred your hands during high-volume chest days. Additionally, ensure the bar features IPF-spec knurl rings spaced exactly 810mm apart, providing a consistent tactile reference for your grip width without needing to measure before every set.
Rack Installation & Spotter Arm Calibration
Once you have selected the correct barbell, the next phase of the setup walkthrough involves calibrating your power rack or squat stand. Improper installation of J-cups and safety spotter arms is a leading cause of home gym injuries.
Step 1: J-Cup Height Calibration
When lying supine on the bench, your eyes should be directly under the bar. The J-cups should be set at a height where, with your arms fully extended and locked out, the bar rests 1 to 2 inches below your wrists. Failure Mode: Setting the J-cups too high forces you to unlock your elbows and protract your shoulders to lift off, wasting energy and compromising your scapular retraction before the set even begins.
⚠️ Critical Safety Warning: Spotter Arm PlacementSet your safety spotter arms exactly 1 to 1.5 inches above your sternum at the absolute bottom of your range of motion. If set level with your chest, the bar must crush your sternum before the safeties engage. If set too high, you will prematurely terminate your range of motion, eliminating the stretch-mediated hypertrophy stimulus at the bottom of the press.
Expanding the Arsenal: Integrating Chest Day Dumbbells
While the barbell is king for absolute overload, a complete pressing station is incomplete without the right chest day dumbbells. A biomechanical analysis published in the Journal of Strength and Conditioning Research demonstrated that dumbbell bench presses elicit significantly greater pectoralis major activation compared to barbells. This is due to the increased range of motion (allowing the hands to converge at the top) and the requirement for frontal plane stabilization.
Adjustable vs. Fixed Urethane: 2026 Market Reality
When integrating dumbbells into your rack setup, you must choose between space-saving adjustables and commercial-grade fixed sets.
| Equipment Type | Top 2026 Recommendation | Weight Range | Approx. Cost | Setup Integration |
|---|---|---|---|---|
| Adjustable (Dial) | Nuobell 80lb Set | 5 - 80 lbs | $449 | Requires flat storage tray; do not drop. |
| Adjustable (Pin) | PowerBlock Elite USA | 5 - 90 lbs | $419 | Blocky shape limits deep stretch; highly durable. |
| Fixed Urethane | Rogue Urethane Dumbbells | Sold in 5lb increments | $2.50/lb | Requires bolt-on vertical dumbbell rack to the uprights. |
Installation Tip: If using fixed dumbbells, install a tiered dumbbell tray attachment to the front uprights of your power rack. This keeps the weights within arm's reach for drop sets and prevents the hazardous practice of leaving heavy dumbbells on the floor where they become tripping hazards during barbell loading.
Step-by-Step Pressing Station Assembly Walkthrough
- Base Stabilization: Bolt your power rack to the lifting platform or use heavy-duty rear weight storage pegs loaded with at least 200lbs of plates to prevent forward tipping during heavy barbell lift-offs.
- Attachment Mounting: Install the J-cups with UHMW plastic liners to protect your barbell's knurling and zinc/black oxide finish from steel-on-steel abrasion.
- Dumbbell Tray Alignment: Mount the dumbbell tray at waist height (approx. 36 inches from the floor) to minimize lower back shear when picking up heavy 80lb+ dumbbells for your chest day dumbbell variations.
- Collar Preparation: Keep competition-style aluminum collars (weighing exactly 2.5kg or 5.5lbs) on the storage pegs. Never bench press without collars; asymmetrical plate shifting during a unilateral press failure can flip the bar.
Maintenance: Preserving Knurling and Grip Integrity
The International Weightlifting Federation (IWF) mandates strict equipment maintenance for competition bars, and the same principles apply to your home gym. Chalk and dead skin will rapidly pack into the 'craters' of your volcano knurling, turning an aggressive grip into a smooth, slippery hazard.
The 5-Minute Post-Workout Protocol
- Brush: Use a stiff nylon brush (never brass or steel, which will strip the zinc or ceramic coating) to aggressively sweep the knurling immediately after your session.
- Wipe: Apply a microfiber cloth lightly dampened with water to remove residual sweat salts, which cause rapid oxidation.
- Oil (Monthly): Once a month, apply a few drops of 3-in-One oil to the bar shaft, work it into the knurling with a brush, and wipe off the excess. This displaces moisture and prevents rust, ensuring your barbell remains ready for your next heavy pressing cycle.
"A pressing station is only as reliable as its weakest mechanical link. By prioritizing a rigid 29mm barbell shaft, calibrating your spotter arms to the millimeter, and strategically integrating chest day dumbbells for unilateral hypertrophy, you transform a simple rack into a comprehensive muscle-building laboratory."
By following this complete setup and installation walkthrough, you ensure that every ounce of force you generate on chest day is transferred efficiently, safely, and directly into muscle growth.
More gear to consider
All reviews
Olympic Barbell Knurling Guide: Bench vs. Incline Pec Fly Dumbbell

Urethane vs Rubber Hex: 2026 Trends for Dumbbell Workouts for Lats

Dumbbell Weight Lifting Exercises to Kettlebells: 2026 Buyer's Guide
Cast Iron vs Competition Kettlebells & Dumbbell T Raise Value Guide

Dumbbell Racks for Seated Dumbbell Strict Press: 2026 Budget Guide
