Home Gym Setup: Neoprene Gear & Bicep Exercises Using Dumbbells
Master your home gym setup with neoprene dumbbells. Learn rack assembly, flooring prep, and the ideal form for bicep exercises using dumbbells.

The Foundation: Flooring and Spatial Setup for Neoprene Weights
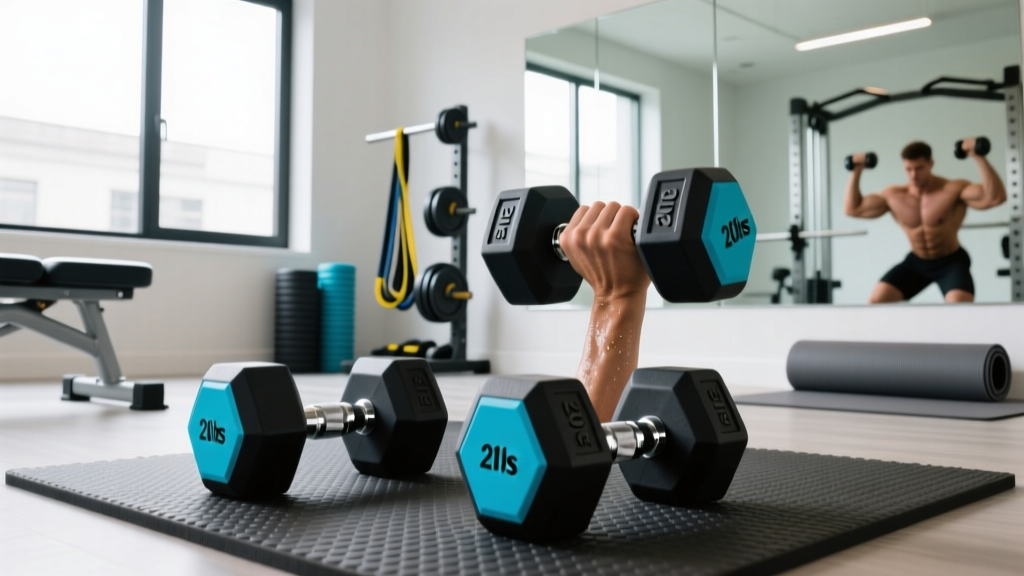
When building a home gym, the physical 'installation' of your space is just as critical as the equipment you buy. Neoprene-coated dumbbells—such as the popular CAP Barbell Neoprene sets or the Amazon Basics hex lines—are a staple for home use in 2026 due to their grippy texture, noise reduction, and floor-friendly reputation. However, a common misconception is that neoprene eliminates the need for proper flooring. Neoprene is a synthetic rubber (polychloroprene) that compresses under impact. If you drop a 30-pound neoprene dumbbell onto bare hardwood or laminate, the coating will absorb some shock, but the dense iron core will still transfer enough kinetic energy to dent or crack your subfloor.
For a proper home gym installation, you must establish a dedicated drop zone. The industry standard is a 4x6 foot, 3/4-inch thick vulcanized rubber horse stall mat (typically costing between $55 and $75 in 2026). Place this mat in your primary lifting area. Not only does this protect your floors, but it also provides a high-friction surface that prevents the hex-shaped neoprene dumbbells from sliding or rolling if set down on an uneven garage floor.
Warning: Chemical Reactions on Finished FloorsNever store neoprene dumbbells directly on polyurethane-finished wood floors for extended periods. The plasticizers in the neoprene coating can chemically bond with certain wood varnishes over time, leaving permanent, discolored rings that require sanding to remove. Always use a rubber mat or a dedicated rack.
Assembling Your Neoprene Dumbbell Storage Rack
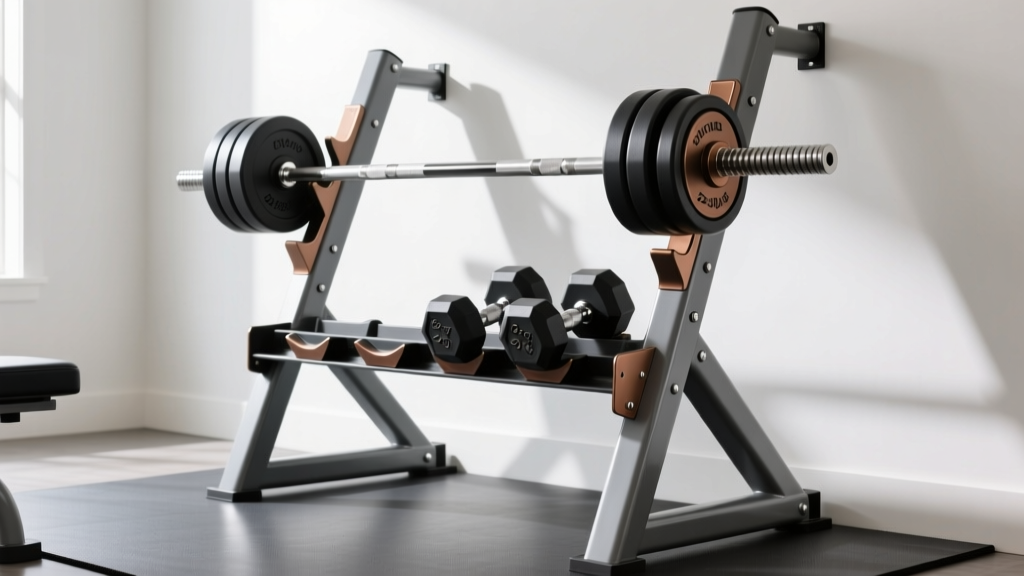
Leaving dumbbells scattered on the floor is a tripping hazard and degrades the neoprene coating through constant friction. A tiered A-Frame or horizontal rack is mandatory. Let us walk through the installation of a standard A-Frame Dumbbell Rack (like the CAP Barbell A-Frame model, which holds up to 150 lbs).
- Base Alignment: Lay the two A-frame side panels flat on your rubber mat. Insert the front and rear crossbars. Hand-thread the M8x40mm hex bolts through the pre-drilled holes. Do not fully tighten them yet; leave about 10% play to allow the frame to square itself.
- Squaring the Frame: Use a carpenter's square to ensure the crossbars sit at a perfect 90-degree angle to the side panels. Once squared, use a 6mm Allen key to torque the M8 bolts down firmly. If you have a torque wrench, aim for roughly 25 Nm to prevent stripping the threads.
- Tier Installation: Slide the angled dumbbell cradles into the designated slots. Most modern racks use a gravity-lock or pin-lock system. Ensure the safety pins are fully seated through both sides of the frame.
- Weight Loading Protocol: Always load the heaviest neoprene dumbbells (e.g., 25-50 lbs) on the bottom tier to lower the center of gravity and prevent the rack from tipping forward during retrieval.
Weight Selection Matrix for Home Arm Training
Choosing the right neoprene increments is vital for progressive overload. Because neoprene sets are usually sold in fixed 5-pound jumps, you must buy strategically based on your current strength level. Below is a 2026 purchasing framework for arm isolation work.
| Weight Range (Per Dumbbell) | Primary Use Case | Approx. 2026 Cost (Pair) |
|---|---|---|
| 5 - 10 lbs | Rehabilitation, rotator cuff warm-ups, high-rep endurance | $15 - $25 |
| 15 - 25 lbs | Beginner hypertrophy, strict bicep isolation, lateral raises | $30 - $55 |
| 30 - 50 lbs | Advanced bicep overload, heavy hammer curls, compound rows | $65 - $120 |
Biomechanical Setup: Bicep Exercises Using Dumbbells
Having your equipment installed is only half the battle; the 'setup' of your body dictates the success of your workout. When performing bicep exercises using dumbbells, the initial biomechanical positioning determines whether the load targets the biceps brachii or shifts unfairly to the anterior deltoids and forearms. According to guidelines from the American Council on Exercise (ACE), joint alignment and scapular stability are the foundations of effective isolation training.
1. The Supinated Curl Setup
The standard supinated curl is the baseline for bicep development. To set up correctly, stand with your feet shoulder-width apart, knees softly bent to engage the core and prevent lower back swinging. Retract your scapula slightly (pinch your shoulder blades together and down) to lock the shoulder joint. Your elbows must be pinned to your mid-axillary line (the side of your ribcage). As you curl the neoprene dumbbell upward, supinate the wrist (turn the palm up) only after the dumbbell passes your thigh. This ensures the bicep handles the load, not the brachioradialis.
2. The Hammer Curl Alignment
Hammer curls target the brachialis and brachioradialis, adding thickness to the arm. The setup requires a strict neutral grip (palms facing your torso). Unlike the supinated curl, your elbows should sit slightly in front of your torso—about one inch forward. This minor adjustment places the bicep tendon in a more mechanically advantageous position to pull the neoprene weight straight up toward the shoulder without the wrist rotating. Keep your wrists locked in a neutral, straight line; do not let them bend backward at the top of the movement.
3. Incline Dumbbell Curl Positioning
To target the long head of the bicep, you need to stretch the muscle across the shoulder joint. Set an adjustable bench to a 45-degree or 60-degree incline. Sit back and let your arms hang completely straight down toward the floor behind your torso. This 'setup' places the long head under maximum stretch before the rep even begins. Curl the dumbbells straight up without bringing your elbows forward. If your elbows drift forward, you are engaging the front deltoid and losing the stretch-mediated hypertrophy benefit.
Expert Insight: The 'Pinkie Twist' CueDuring the concentric (lifting) phase of any supinated bicep curl, imagine you are trying to turn your pinkie finger outward toward the ceiling. This mental cue forces maximum supination, which is the primary secondary function of the biceps brachii, leading to a much harder peak contraction at the top of the movement.
Troubleshooting Form and Equipment Failures
Even with perfect equipment, home gym athletes frequently encounter setup errors. Here is how to troubleshoot the most common issues when executing bicep exercises using dumbbells:
- Issue: Lower back pain during heavy curls.
Fix: You are using momentum. Switch to a seated position on a 90-degree bench, or perform 'strict wall curls' where your back and elbows are pressed flat against a wall, eliminating any hip hinge or spinal extension. - Issue: Neoprene handle slipping from sweaty palms.
Fix: While neoprene is grippy when dry, it becomes slick when wet. Keep a microfiber towel nearby, or apply a small amount of liquid chalk to the neoprene handle before heavy sets. Avoid wearing cotton gloves, which reduce tactile feedback and grip strength. - Issue: Wrist pain at the top of the curl.
Fix: You are curling the dumbbell too far inward, causing wrist flexion under load. Stop the upward movement when the dumbbell is directly in front of your shoulder joint; do not bring it across your chest.
Maintenance Protocol: Preserving the Neoprene Coating
Neoprene is a porous material. Over time, the urea, salt, and oils from human sweat will break down the polychloroprene bonds, causing the dumbbells to develop a sticky, degrading surface that attracts dust and dirt. To prevent this, implement a strict post-workout maintenance routine.
Never use bleach, ammonia, or high-concentration isopropyl alcohol on neoprene, as these chemicals will dry out the rubber and cause it to crack. Instead, mix a 1:10 solution of white vinegar and distilled water in a spray bottle. Lightly mist the handles and weight heads after your workout, and wipe them down with a clean microfiber cloth. The mild acidity of the vinegar neutralizes the alkaline salts in sweat without damaging the synthetic rubber. As noted by the Mayo Clinic, maintaining a clean and safe workout environment is essential for long-term consistency and injury prevention in home fitness routines.
By meticulously setting up your flooring, properly assembling your storage rack, and dialing in the biomechanics of your arm training, your neoprene dumbbells will serve as a highly effective, durable cornerstone of your home gym for years to come.
More gear to consider
All reviews
Maintaining Loadable Dumbbells for Bent Over Reverse Dumbbell Flys

Rack Storage & Maintenance After the Dumbbell Swing Exercise
Dumbbell Rack Budget Guide: Storing Weights for Lateral Dumbbell Rows
Dumbbell Press vs Barbell Press: Olympic Bar Weight & Knurling Guide

EZ vs Straight Bar: Budgeting Full-Body Compound Dumbbell Exercises