
Step-by-Step Dumbbell Exercises for Strength Using Neoprene Sets
Master beginner dumbbell exercises for strength using neoprene-coated weights. A step-by-step home workout guide with form tips and gear advice.

The Ultimate Beginner Guide to Neoprene Dumbbell Training
Starting a home fitness journey can feel overwhelming, especially when navigating the endless aisles of gym equipment. For beginners looking to build a foundational routine, neoprene-coated dumbbells are widely considered the gold standard for home use. They are cost-effective, floor-friendly, and ergonomically designed for smaller hands. More importantly, executing fundamental dumbbell exercises for strength with this specific gear reduces the intimidation factor while providing all the mechanical tension required for muscle hypertrophy and neuromuscular adaptation.
According to Mayo Clinic, strength training not only builds muscle but is critical for improving bone density, managing weight, and enhancing overall joint mechanics. This guide will walk you through exactly how to select your first neoprene set and execute a full-body routine safely and effectively.
Why Neoprene Over Hex Rubber or Urethane?
While commercial gyms favor bare urethane or cast iron, neoprene (a synthetic polychloroprene rubber) is superior for the home beginner for three reasons:
- Floor Protection: The softer durometer rating absorbs impact if dropped on hardwood or laminate.
- Acoustic Dampening: Neoprene eliminates the loud 'clanking' of metal plates, making it ideal for apartments.
- Ergonomic Grip: The coating provides a tactile, slightly porous surface that is easier to hold than bare steel for those still developing grip strength.
Selecting Your First Neoprene Dumbbell Set
Before diving into the workout, you need the right tools. Neoprene dumbbells are almost universally sold in a hexagonal shape to prevent rolling, which is a massive safety feature when performing floor-based exercises like renegade rows or chest presses.
As of current market pricing, expect to pay between $1.50 and $2.50 per pound for high-quality neoprene sets. Brands like Yes4All, Amazon Basics, and CAP Barbell dominate this space. For a beginner, purchasing a 'rack' or a 5-pair set (ranging from 5 lbs to 25 lbs) typically costs between $150 and $220. This provides enough incremental loading to progress for your first 6 to 12 months of training.
The Industry Standard Color-Coding System
One of the best features of neoprene weights is the universal color-coding, which helps you quickly grab the right weight during superset transitions.
| Weight (lbs) | Standard Color | Best Used For |
|---|---|---|
| 5 lbs | Red | Warm-ups, lateral raises, rotator cuff work |
| 10 lbs | Green | Bicep curls, tricep extensions, overhead press |
| 15 lbs | Yellow | Shoulder presses, high-rep rows |
| 20 lbs | Blue | Goblet squats, floor presses, lunges |
| 25 lbs | Grey / Black | Romanian deadlifts, heavy goblet squats |
Step-by-Step Dumbbell Exercises for Strength
The following full-body routine is designed to be performed three times a week on non-consecutive days. Harvard Health Publishing recommends allowing at least 48 hours of recovery between strength sessions targeting the same muscle groups to allow for muscle protein synthesis and central nervous system recovery.
1. The Goblet Squat (Lower Body & Core)
The goblet squat is the ultimate beginner leg builder. It naturally forces an upright torso, protecting the lumbar spine while deeply engaging the quadriceps and glutes.
- The Setup: Hold a single 15 lb to 25 lb neoprene dumbbell vertically against your chest, cupping the top head of the dumbbell with both palms.
- The Descent: Keep your feet shoulder-width apart, toes pointed slightly outward (about 15 degrees). Push your hips back and bend your knees simultaneously.
- The Depth: Lower yourself until your elbows touch the inside of your knees. Keep your chest proud.
- The Ascent: Drive through your mid-foot, squeezing your glutes at the top. Do not hyperextend your lower back.
2. Neoprene Dumbbell Floor Press (Chest & Triceps)
Without a bench or a spotter, the floor press is the safest way to build pressing strength at home. The floor acts as a mechanical stop, preventing the weight from crushing your chest if you fail a rep.
- The Setup: Lie flat on your back on a yoga mat. Hold a pair of 15 lb to 20 lb dumbbells with your upper arms resting on the floor at a 45-degree angle to your torso (not flared out at 90 degrees).
- The Press: Exhale and press the weights straight up until your elbows lock out. Squeeze your pectoral muscles together at the top.
- The Eccentric: Slowly lower the weights (take 2-3 full seconds) until your triceps gently touch the floor. Pause for one second to eliminate the stretch reflex, then press again.
3. Single-Arm Supported Row (Back & Biceps)
Back training is crucial for posture, especially if you work at a desk. The single-arm row builds latissimus dorsi thickness and balances out pressing movements.
- The Setup: Place your left knee and left hand on a sturdy chair or bench. Your torso should be parallel to the floor, back completely flat.
- The Pull: Hold a 20 lb or 25 lb dumbbell in your right hand. Pull the weight toward your hip pocket, not your armpit. Imagine dragging your elbow to the ceiling.
- The Squeeze: Hold the top position for one full second, ensuring your shoulder blade is fully retracted.
- The Release: Lower the dumbbell under control until you feel a deep stretch in your lat, then repeat.
4. Romanian Deadlift (Hamstrings & Glutes)
The RDL teaches the vital 'hip hinge' movement pattern, which is foundational for everything from picking up groceries to advanced powerlifting.
- The Setup: Stand holding a pair of 15 lb to 25 lb dumbbells in front of your thighs. Feet hip-width apart, knees slightly unlocked (soft bend, but do not squat).
- The Hinge: Push your hips straight back as if trying to close a car door with your glutes. The dumbbells should slide down your thighs.
- The Depth: Stop lowering the moment your hips stop moving backward (usually just below the knee). If you go lower by rounding your spine, you are doing it wrong.
- The Return: Drive your hips forward to stand tall, squeezing the glutes hard at the top.
Weekly Progression Framework
To see results, you must apply progressive overload. Use this matrix to dictate how you advance your neoprene dumbbell workouts over a 4-week block.
| Week | Sets per Exercise | Rep Range | Rest Interval | Progression Goal |
|---|---|---|---|---|
| Week 1 | 2 | 10 - 12 | 90 sec | Master form and tempo |
| Week 2 | 3 | 10 - 12 | 90 sec | Increase total volume |
| Week 3 | 3 | 8 - 10 | 120 sec | Increase weight by 5 lbs |
| Week 4 | 3 | 6 - 8 | 120 sec | Maximize mechanical tension |
Troubleshooting Grip Fatigue and Neoprene Slippage
One specific edge case with neoprene-coated weights is how they interact with sweat. Unlike bare steel knurling that 'bites' into your calluses, neoprene can develop a slick, soapy film when exposed to heavy perspiration. This often causes grip to fail before the target muscle (like the lats during a row) reaches true muscular failure.
The Fix: Keep a microfiber towel nearby and wipe the handles between every set. If you are training in a humid garage or basement, consider using a small amount of liquid chalk on your palms. Avoid using harsh chemical sprays or bleach wipes to clean the dumbbells post-workout; these degrade the polychloroprene bonds, leading to a sticky, melting residue that ruins the coating and your floors. A simple damp cloth with mild dish soap is all that is required to maintain the grip texture for years.
Protecting Your Investment: UV and Storage Warning
Neoprene is highly susceptible to UV degradation. If you store your dumbbells near a sunlit window or outside on a patio, the UV rays will break down the chemical structure of the coating within 6 to 12 months. The weights will begin to 'chalk' (leaving a powdery residue on your hands) or become permanently tacky. Always store your neoprene set on a dedicated floor rack or in a closet away from direct sunlight and extreme temperature fluctuations to ensure the integrity of the hex-shaped edges.
Final Thoughts on Building Strength at Home
Executing these dumbbell exercises for strength with a well-chosen neoprene set removes the friction from home workouts. By focusing on strict tempos, utilizing the hip hinge, and progressively overloading your sets as outlined above, you will build a resilient, functional physique without ever needing to step foot inside a commercial gym. Consistency in your programming and respect for proper biomechanics will always yield results.
More gear to consider
All reviews
Leg Exercises with Dumbbells for Women: Setup & Plate Types
Cast Iron vs Competition Kettlebells & Dumbbell and Kettlebell Rack
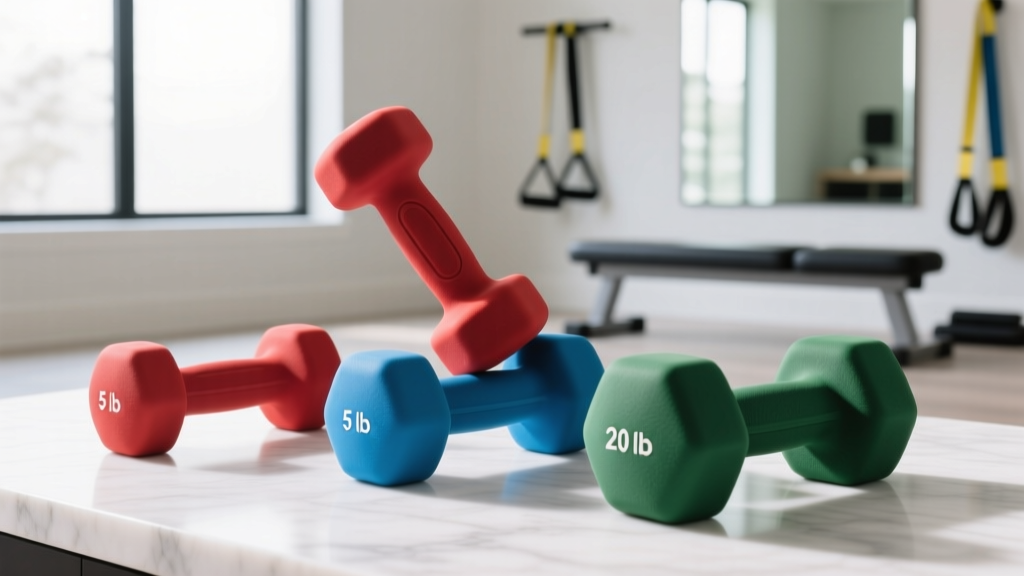
Best Neoprene Dumbbells for the Bench Supported Dumbbell Row

Best Neoprene Dumbbells for Home Dumbbell Work Outs: 2026 Guide

Step-by-Step: Neoprene Dumbbells vs Dumbbell Curl Machine
