
Bumper vs Iron Plates: Layout & How Many Dumbbells Can You Lift
Optimize your home gym layout. We compare bumper vs iron plate footprints and calculate how many dumbbells you can lift and store in small spaces.

The Geometry of Resistance: Bumper Plates vs. Cast Iron
Designing a highly functional home gym in 2026 requires treating your floor plan like a game of spatial Tetris. When outfitting your squat rack or deadlift platform, the choice between bumper plates and cast iron plates extends far beyond aesthetics or noise levels—it fundamentally dictates your storage footprint, clearance requirements, and overall layout efficiency. To optimize your space, we must first look at the raw geometry of the equipment.
Diameter and Thickness Discrepancies
According to the International Weightlifting Federation (IWF) technical regulations, competition bumper plates must maintain a uniform diameter of 450mm (17.7 inches) across all weights from 10kg down to 5kg. This standardization ensures that the barbell is always elevated to the correct starting height for Olympic lifts. However, this creates a massive spatial footprint for lighter weights. A 10-pound bumper plate takes up the exact same visual and spatial volume on a plate tree as a 45-pound bumper plate, differing only in thickness (roughly 1.1 inches vs. 3.25 inches for models like the Rogue Echo Bumpers).
Cast iron plates, conversely, scale in both diameter and thickness. A standard 45-pound deep-dish iron plate measures approximately 14.5 inches in diameter and 1.3 inches thick, while a 10-pound iron plate shrinks to just 9 inches in diameter. This staggered geometry allows for highly compact, nested storage on horizontal wall pegs or vertical A-frames, maximizing unused vertical airspace in tight garages.
Spatial Takeaway
If your gym is narrower than 10 feet, iron plates allow you to utilize shallow wall-mounted storage pegs (requiring only 15 inches of depth clearance). Bumper plates mandate heavy-duty, deep pegs or wide-base A-frames to prevent the 17.7-inch rubber discs from warping or toppling, consuming up to 24 inches of depth clearance.
The Spatial Dilemma: How Many Dumbbells Can You Lift and Store?
When mapping out your floor plan, you must ask a critical question: how many dumbbells can you lift in your current training cycle, and what is the spatial penalty for storing them compared to a barbell and plate setup? Many lifters default to buying a full dumbbell set for versatility, only to realize the devastating impact on their square footage.
Calculating the Dumbbell vs. Plate Footprint
Let us run a real-world spatial analysis for a lifter progressing through a 12-week hypertrophy mesocycle, requiring weight increments from 20 lbs to 60 lbs per hand.
- The Dumbbell Route: To cover this range in 5-pound jumps, you need 9 pairs of rubber hex dumbbells (20, 25, 30, 35, 40, 45, 50, 55, 60 lbs). Storing these requires a heavy-duty 3-tier rack (such as the Rep Fitness 3-Tier Dumbbell Rack). This rack measures roughly 52 inches wide and 28 inches deep, consuming 10.1 square feet of prime floor space. Furthermore, you need 3 feet of clearance in front of the rack to safely extract the heavier pairs.
- The Iron Plate Route: To achieve the exact same resistance spectrum using a barbell and cast iron plates, you need two 45s, two 25s, two 10s, and two 5s. Stored on a vertical Rogue A-Frame Plate Tree, this entire collection occupies a base of just 24x24 inches, consuming a mere 4 square feet of floor space.
The spatial tax of dumbbells is nearly 250% higher per pound of usable resistance. If you are limited to a 10x10 foot spare room, knowing exactly how many dumbbells you can lift and realistically store is the difference between a functional training space and a cluttered storage unit.
Designing the Drop Zone: Clearance and Flooring
Your choice of plates also dictates the layout of your 'drop zone'—the area dedicated to failed lifts or high-rep Olympic movements. The American Council on Exercise (ACE) emphasizes that adequate clearance and proper flooring are non-negotiable for injury prevention and equipment longevity.
Bumper Plate Drop Zones
Bumper plates are engineered to be dropped from overhead. However, they bounce and deflect. A proper bumper plate layout requires a minimum 8x8 foot dedicated drop zone surrounded by a buffer area. You must install 3/4-inch thick vulcanized horse stall mats over a plywood subfloor to absorb the kinetic energy. If your power rack is placed against a wall, you need at least 36 inches of clearance behind the barbell sleeves to accommodate the lateral bounce of a dropped 45-pound bumper.
Iron Plate Quiet Zones
Cast iron plates cannot be dropped without risking catastrophic failure of the plate, the barbell sleeve, or your concrete slab. Therefore, an iron plate layout requires a 'quiet zone' design. You can push your squat rack flush against a wall or into a corner, reclaiming up to 15 square feet of open floor space for kettlebell swings or agility work. The trade-off is that you must invest in a high-quality set of spotter arms or a safety squat bar to ensure you can bail on lifts safely without dropping the iron.
Cost vs. Spatial Efficiency Matrix
To help you finalize your 2026 equipment budget and layout, refer to the matrix below comparing the three primary resistance modalities.
| Equipment Type | Avg. Cost per Lb (2026) | Storage Footprint (per 250 lbs) | Noise Profile | Best Layout Application |
|---|---|---|---|---|
| Competition Bumper Plates | $2.50 - $3.50 | 8.5 sq ft (Wide A-Frame) | Low (Thud/Bounce) | Center-room platforms, Olympic lifting zones |
| Cast Iron Plates | $1.20 - $1.80 | 4.0 sq ft (Vertical Tree) | High (Metallic Clash) | Corner racks, wall-mounted peg systems |
| Rubber Hex Dumbbells | $1.10 - $1.60 | 10.1 sq ft (3-Tier Rack) | Medium (Rolling/Clack) | Dedicated isolation corners, mirrored walls |
Vertical vs. Horizontal Storage Solutions
Once you have selected your plate type, the final step in space optimization is selecting the right storage apparatus. Rogue Fitness and other premium manufacturers offer distinct solutions tailored to the geometry of iron vs. rubber.
Wall-Mounted Plate Pegs (Best for Iron)
If you opted for cast iron, wall-mounted plate pegs are the ultimate space-saving hack. By mounting a pair of 14-inch steel pegs directly into your wall studs, you elevate the plates off the floor entirely. This allows you to slide a bench or a row of kettlebells directly underneath the hanging plates, effectively utilizing the same 4 square feet of floor space for two different pieces of equipment.
Expert Warning: Never hang full-size 45-pound bumper plates on standard wall pegs. The 17.7-inch diameter creates a massive lever arm that can rip standard lag bolts out of drywall and studs. Bumpers require specialized, wide-base wall brackets or floor-standing trees.
The A-Frame Advantage (Best for Bumpers)
For bumper plates, a floor-standing A-Frame tree with a wide, gusseted base is mandatory. Position the A-Frame at the head of your deadlift platform, acting as a physical barrier that prevents rogue barbells from rolling into your drywall or garage door tracks. While it consumes more floor space than wall pegs, it offers the safest, most ergonomic loading angle for thick rubber plates.
Final Layout Verdict
Optimizing your home gym is an exercise in compromise. If your primary goal is Olympic weightlifting and you have a central 12x12 foot space, bumper plates and a dedicated drop zone are mandatory. However, if you are operating in a tight 10x10 foot bedroom or single-car garage, cast iron plates paired with a vertical storage tree will reclaim vital square footage. And before you commit to a massive dumbbell rack, carefully calculate exactly how many dumbbells you can lift and store—because in the world of home gym design, floor space is the heaviest weight you will ever have to manage.
More gear to consider
All reviews
EZ Bar vs Straight Bar & Power Systems Dumbbells 2026

Pec Exercises With Dumbbells: Best Adjustable Sets (2026)
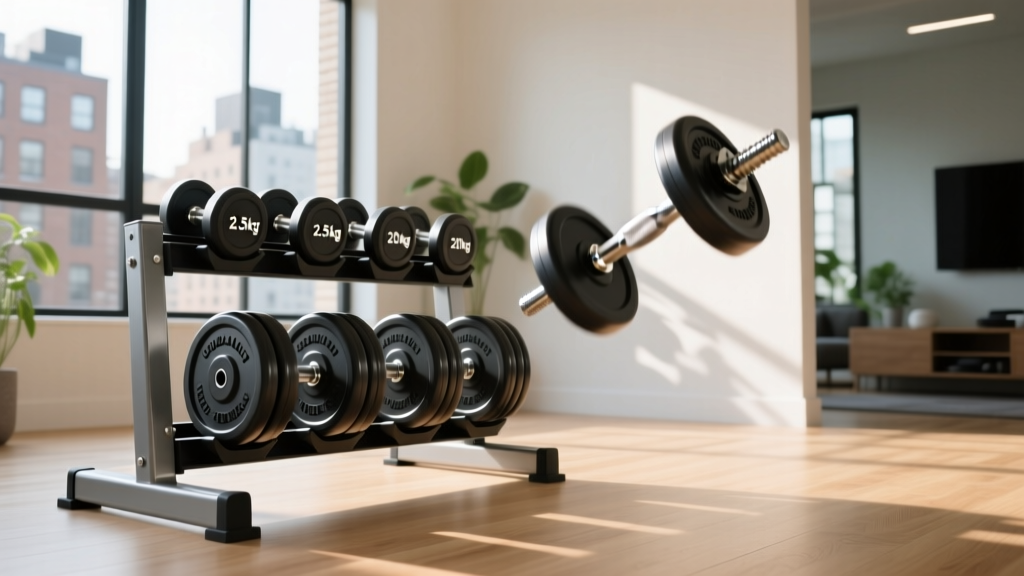
Flying With Dumbbells? The Loadable Plate Budget Breakdown
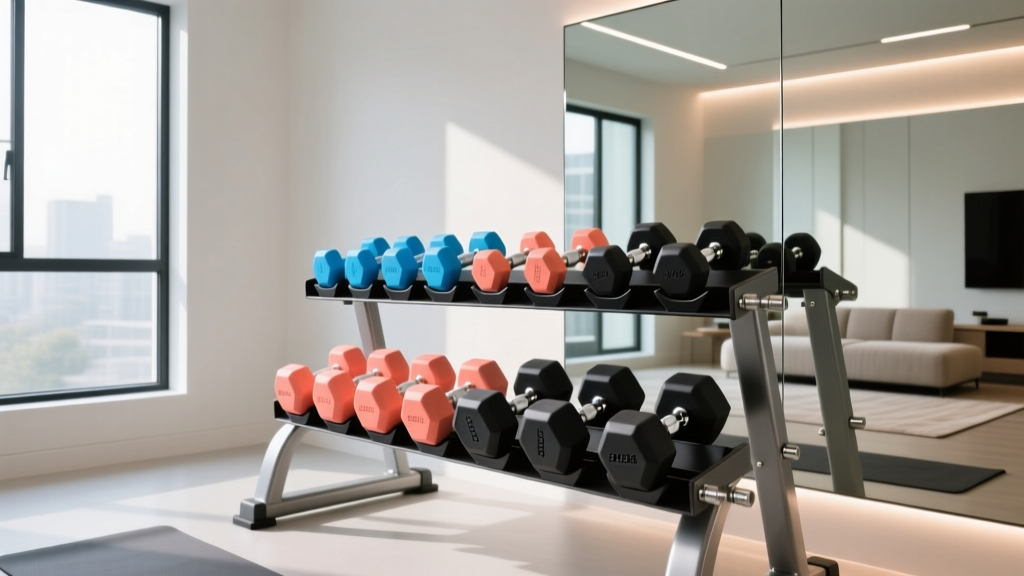
2026 Dumbbell Rack Trends: Storage for Push Presses with Dumbbells

Bumper vs Iron Plates: Layouts for Bent Over Dumbbell Flys
