
The Ultimate Home Setup for Seated Bicep Curls with Dumbbells
Master your home gym setup for seated bicep curls with dumbbells. Learn bench calibration, neoprene weight selection, and biomechanical positioning.

The Biomechanical Blueprint: Why Setup Matters for Isolation
Building a home gym in 2026 is no longer just about tossing a few weights into a spare bedroom; it is about engineering a dedicated environment optimized for specific movement patterns. When it comes to upper-body isolation, performing seated bicep curls with dumbbells remains a gold-standard exercise. However, the efficacy of this movement is entirely dependent on your physical setup. Unlike standing curls, the seated variation eliminates lower-body momentum and hip flexion, forcing the biceps brachii and brachialis to handle the entire load.
According to biomechanical analyses documented by ExRx, the seated position restricts compensatory swinging, increasing target muscle isolation by up to 20% compared to standing variations. But to reap these benefits, your equipment—specifically your bench calibration and your choice of neoprene-coated dumbbells—must be 'installed' and configured correctly. This walkthrough will guide you through the complete setup, from selecting the right polymer-coated weights to calibrating your bench for perfect lumbar and scapular alignment.
Step 1: Sourcing the Right Neoprene Dumbbells for Home Use
Neoprene (polychloroprene) is a synthetic rubber that has become a staple in home gyms due to its matte finish, floor-friendly impact absorption, and resistance to rust. However, not all neoprene dumbbells are engineered equally. The primary failure mode of cheap neoprene weights is the handle coating: if the handle is fully encased in neoprene, it becomes dangerously slippery when exposed to sweat. For heavy isolation work, you must select dumbbells with exposed, knurled steel handles and neoprene-coated heads.
2026 Neoprene Dumbbell Market Matrix
When outfitting your home gym, pricing for fixed-weight neoprene dumbbells generally ranges from $1.30 to $2.10 per pound. Below is a comparison of the top home-gym models optimized for arm isolation:
| Brand / Model | Head Coating | Handle Type | Avg. Price (15lb Pair) | Best Application |
|---|---|---|---|---|
| Yes4All Hex Neoprene | Polychloroprene | Exposed Knurled Steel | $24.99 | Heavy Isolation & Hypertrophy |
| BalanceFrom GoFit | Neoprene Blend | Contoured Ergonomic | $21.50 | High-Rep Endurance |
| Amazon Basics Hex | Standard Neoprene | Smooth Painted Steel | $19.99 | Budget / Light Rehab |
Step 2: Bench 'Installation' and Calibration
The 'installation' of your bench is the most critical variable in your setup. A standard FID (Flat/Incline/Decline) bench features multiple pin-adjustments. Most users mistakenly set the backrest to a perfect 90-degree vertical angle for seated curls. This is a biomechanical error that causes lumbar shear and restricts natural scapular retraction.
The 85-Degree Calibration Protocol
- Set the Backrest to 85 Degrees: Locate the second-to-last pin on your bench's ladder adjustment. This creates an 85-degree incline, allowing the thoracic spine to rest naturally against the pad while preventing the lower back from aggressively arching.
- Verify Seat Pan Height: The optimal seat height for bicep curls is 17.5 inches from the floor. This allows an average-height user (5'8" to 6'0") to plant their feet entirely flat on the floor with knees bent at exactly 90 degrees, creating a stable tripod base (two feet + glutes).
- Check the Seat-to-Pad Gap: Many budget FID benches have a 2-inch gap between the seat and the backrest. When sitting, slide your glutes back until your lower back is flush against the pad, ensuring your elbows do not catch in the gap during the eccentric (lowering) phase of the curl.
Step 3: Spatial Mapping and Environmental Setup
Where you place your bench within your home gym dictates the quality of your mind-muscle connection and your ability to self-correct form. The World Health Organization emphasizes that structured, safe environments are key to maintaining consistent muscle-strengthening physical activity routines at home.
- Mirror Alignment: Position the bench so you are facing a mirror at a distance of 4 to 5 feet. This specific distance allows you to track elbow valgus/varus (the inward or outward drifting of the elbows) without having to tilt your neck upward, which can strain the cervical spine.
- Clearance Requirements: Ensure there is a minimum of 24 inches of lateral clearance on both sides of the bench. This prevents your dumbbells from striking walls or power rack uprights during the concentric (lifting) phase if your natural arc widens slightly.
- Weight Staging: Place your neoprene dumbbell rack exactly 18 inches to your dominant side. Picking up heavy dumbbells from the floor to initiate a seated curl places unnecessary shear force on the lumbar discs. Staging them at knee-height on a rack allows for a safe, braced pickup.
Step 4: Execution, Form Cues, and Failure Modes
Once your neoprene dumbbells are selected and your bench is calibrated, the execution of seated bicep curls with dumbbells requires strict adherence to form to maximize hypertrophy and protect the distal biceps tendon.
Step-by-Step Execution
- The Pickup: Sit on the 85-degree bench, grab the knurled handles of your neoprene dumbbells, and rest them vertically on your thighs.
- The Kick-Start: Elevate one knee at a time to 'kick' the dumbbells into the starting position at shoulder height, palms facing forward (supinated grip).
- The Eccentric Phase: Lower the weight over a strict 3-second count. The neoprene coating will slightly dampen the sound if the weights accidentally tap the bench, but aim to stop 1 inch short of full extension to maintain constant tension on the biceps belly.
- The Concentric Phase: Curl the weight upward while actively supinating (twisting) the wrist outward. Peak contraction should occur when the dumbbell is at chin level, not shoulder level, to account for the angle of the 85-degree backrest.
'The biggest mistake lifters make with seated curls is allowing the elbows to drift forward past the midline of the torso. Once the elbow crosses the frontal plane, the anterior deltoid takes over the load, effectively turning a bicep isolation movement into a mediocre front-raise.' — FitGearPulse Biomechanics Desk, 2026
Troubleshooting Common Failure Modes
| Failure Mode | Symptom | Setup Correction |
|---|---|---|
| Anterior Deltoid Takeover | Shoulders burn before biceps | Move bench mirror closer to monitor elbow drift; pin elbows to ribs. |
| Grip Slippage | Forearms fail, dumbbell slips | Switch to neoprene dumbbells with exposed bare-steel knurled handles. |
| Lumbar Arching | Lower back pain post-set | Drop backrest from 90° to 85°; ensure feet are planted flat, not on toes. |
Maintenance: Preserving Your Neoprene Coating
Neoprene is highly durable, but it is not invincible. In a home gym environment, the primary enemy of polychloroprene is UV degradation and acidic sweat. If your home gym is located in a garage or sunroom, prolonged exposure to direct sunlight will cause the neoprene to chalk, fade, and eventually flake off, leaving a messy residue on your hands and floors.
To maintain your equipment through 2026 and beyond, wipe down the neoprene heads with a damp microfiber cloth and a pH-neutral cleaner after every arm day. Avoid harsh chemical degreasers or bleach-based wipes, which break down the polymer chains. Additionally, while neoprene is designed to be floor-friendly, repeatedly dropping 30lb+ dumbbells onto bare concrete will compress and tear the coating. Always perform your seated curls over a 3/4-inch vulcanized rubber mat to absorb the kinetic energy if you need to drop the weights safely at the end of a set to failure.
Final Thoughts on Your Home Gym Installation
Mastering the setup for seated bicep curls with dumbbells transforms a basic movement into a precision tool for arm development. By investing in high-quality neoprene dumbbells with proper knurling, calibrating your FID bench to an 85-degree angle, and mapping your spatial environment for optimal visual feedback, you eliminate the variables that lead to injury and poor muscle recruitment. Your home gym is a laboratory; ensure your equipment is calibrated for exact results.
More gear to consider
All reviews
EZ vs Straight Bar: 2026 Trends for Dumbbell Row Weight Plateaus
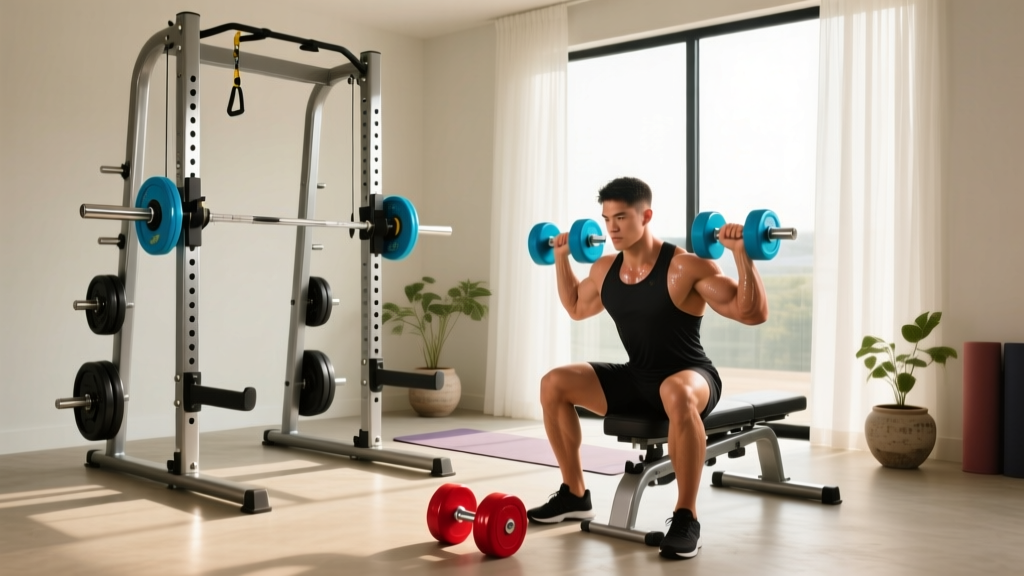
Power Rack vs Squat Stand: Deltoid Muscle Dumbbell Workouts & Squats

Space-Saving Loadable Dumbbells for Single Dumbbell Bicep Exercises
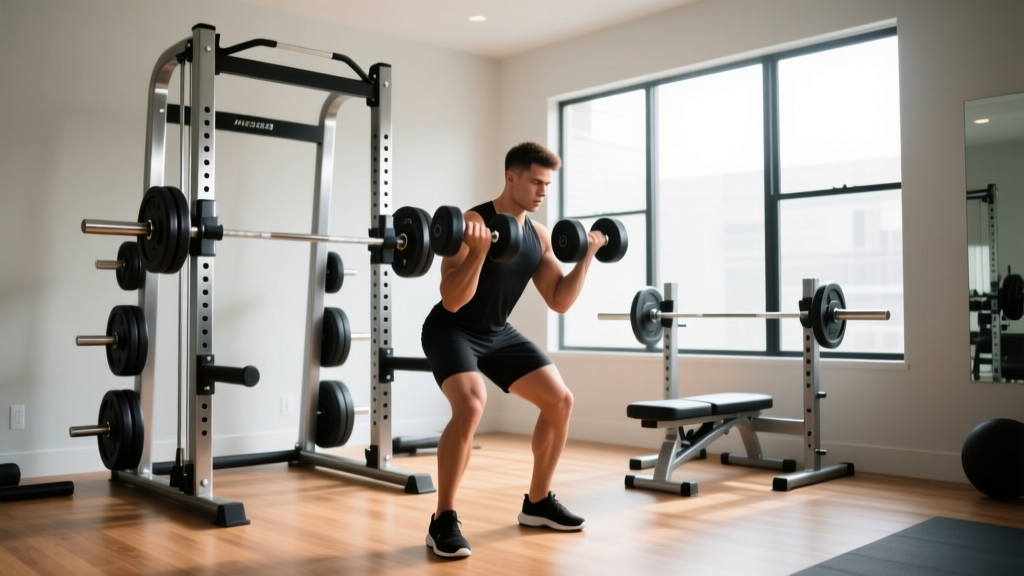
Power Rack vs Squat Rack: Proper Way to Do Dumbbell Curls Safely

Bumper Plate vs Iron Plate: Budget & Rear Delt Dumbbell Value
