
Home Gym Setup: Organizing Your Compact Dumbbell Collection
Learn how to set up, store, and organize your neoprene-coated compact dumbbell collection for a safe, efficient, and space-saving home gym environment.

Phase 1: Spatial Planning and Flooring Installation
Setting up a dedicated home gym goes far beyond simply purchasing equipment; it requires strategic spatial planning and proper environmental 'installation.' When integrating a compact dumbbell set into your home, the primary advantage is the reduced footprint compared to barbells and power racks. However, neoprene-coated weights require specific flooring considerations to maximize their lifespan and protect your subfloor.
Minimum Clearance Matrix:- Active Training Zone: 6 ft x 6 ft minimum for lateral lunges and floor presses.
- Storage Footprint: 2 ft x 3 ft for a standard A-frame or vertical tier rack.
- Drop Zone Buffer: 1.5 ft clearance around the rack to prevent accidental toe strikes during loading/unloading.
Before unboxing your weights, install your flooring. While neoprene provides a slight cushion, it is not a substitute for shock-absorption. For a multi-use room, interlocking 3/8-inch EVA foam tiles are sufficient for light sets (5-25 lbs). However, if your compact dumbbell collection extends up to 50 lbs or more, invest in 3/4-inch vulcanized rubber horse stall mats. These dense mats prevent the hex-shaped edges from slowly compressing and degrading the neoprene coating upon repeated impacts.
Phase 2: Unboxing and the 72-Hour Off-Gassing Protocol
One of the most overlooked steps in home gym installation is managing the initial off-gassing of synthetic rubber products. Neoprene (polychloroprene) is a highly durable synthetic polymer, but brand-new sets often emit Volatile Organic Compounds (VOCs) that create a strong, chemical-like odor. According to the U.S. Environmental Protection Agency (EPA), VOCs can cause short-term respiratory irritation and are particularly concentrated in newly manufactured, enclosed goods.
Expert Warning: Never move a freshly unboxed, full set of neoprene dumbbells directly into a poorly ventilated basement or spare bedroom. The concentrated VOCs will linger for weeks and can trigger headaches or asthma symptoms.
The 3-Step Off-Gassing Walkthrough
- Day 1 (Unboxing & Wipe Down): Open all cardboard boxes outside or in a garage. Discard the plastic shrink-wrap immediately. Wipe each dumbbell handle and hex head with a microfiber cloth dampened with a 50/50 water and white vinegar solution to remove factory mold-release agents.
- Day 2-3 (Cross-Ventilation): Lay the dumbbells out in a single layer in a garage, covered patio, or well-ventilated room with box fans pushing air OUT of the window. Ensure they are kept out of direct sunlight (UV degrades neoprene).
- Day 4 (Integration): Once the odor has reduced to a faint, non-pungent rubber scent, the weights are safe to move into your primary home gym space.
Phase 3: Rack Selection and Assembly Walkthrough
A compact dumbbell is only as functional as its storage solution. Leaving weights on the floor creates a tripping hazard and damages the neoprene coating over time due to uneven weight distribution on the hex edges. As of 2026, the market offers several highly engineered racking solutions tailored for home environments.
| Rack Model | Type | Capacity | Footprint | Avg. Price (2026) |
|---|---|---|---|---|
| CAP Barbell RK-1215 | A-Frame | 200 lbs | 19" x 24" | $75 - $90 |
| Rogue 3-Tier Dumbbell Rack | Horizontal Shelf | 600+ lbs | 49" x 24" | $245 - $285 |
| Yes4All Vertical Tree | Vertical Pole | 150 lbs | 14" x 14" | $45 - $60 |
Assembly Best Practices
When assembling an A-frame rack (like the CAP RK-1215), do not fully tighten the bolts until the entire frame is assembled. Leave all bolts at 60% tightness, place the rack on your rubber flooring, and apply downward pressure to seat the rubber feet evenly. Once the frame is flush and stable, torque the bolts to the manufacturer's specifications. This prevents the dreaded 'wobble' that occurs when racks are tightened on uneven surfaces.
Phase 4: Weight Matrix Organization and Ergonomics
How you arrange your neoprene-coated dumbbells impacts your workout flow and safety. The industry standard is the 'Weight Matrix'—organizing by 5 lb increments from lightest to heaviest.
- Bottom Tier (Heavy): Place 30 lb to 50 lb dumbbells on the lowest shelf or bottom rungs. This lowers the center of gravity, preventing the rack from tipping when you aggressively pull a heavy weight off the peg.
- Middle Tier (Moderate): 15 lb to 25 lb pairs sit at waist height, allowing for a neutral spine when picking them up for exercises like goblet squats.
- Top Tier (Light): 3 lb to 12 lb pairs belong on the top tier. These are often used for isolation movements (lateral raises, tricep extensions) and require less bending to retrieve.
Ergonomic Tip: Always store the dumbbells with the weight number facing outward. Neoprene sets often have the numbers embossed or printed on the flat hex face. Consistent outward-facing alignment saves seconds per set, reducing cognitive load during high-intensity interval training (HIIT) circuits.
Phase 5: Neoprene Maintenance and Failure Prevention
Neoprene is highly resistant to moisture and sweat, making it superior to cast iron for home use. However, it is not invincible. The National Safety Council emphasizes that poorly maintained fitness equipment can lead to grip failures and accidental drops. To ensure your compact dumbbell collection lasts a decade or more, follow these maintenance protocols:
⚠️ Critical Neoprene Failure Modes to Avoid
- Chemical Degradation: Never clean neoprene with bleach, ammonia, or high-concentration alcohol (90%+). These solvents break down the polymer chains, causing the coating to become sticky, peel, or crack. Use a mild dish soap and water solution, or a dedicated 70% isopropyl gym wipe.
- UV and Ozone Exposure: Keep your rack away from direct window sunlight. Prolonged UV exposure causes the neoprene colors to fade and the material to become brittle, eventually leading to chunks breaking off during heavy lifts.
- Handle Core Loosening: Every 6 months, inspect the junction where the chrome handle meets the neoprene hex head. If you feel any rotational play, the internal adhesive or mechanical lock has failed. Retire that specific dumbbell immediately to prevent it from spinning in your hand during a pressing movement.
Frequently Asked Questions
Can I drop neoprene-coated dumbbells on the floor?
While neoprene offers excellent floor protection compared to bare iron, you should never intentionally drop them from overhead or shoulder height. The internal cast iron core can fracture, or the neoprene shell can split upon high-velocity impact. Always lower the weights under control to your rubber mats.
Are neoprene dumbbells better than rubber or urethane for home gyms?
For budget-conscious home gyms (sets under 50 lbs), neoprene is the superior choice. It provides a softer, more tactile grip that doesn't require chalk, and the vibrant color-coding makes weight identification instant. Urethane is more durable and resistant to UV/chemical damage, but it is significantly more expensive (often 2x to 3x the cost per pound) and usually reserved for heavy commercial sets over 50 lbs.
How much space do I need for a full 5-50 lb compact dumbbell set?
A complete 5-50 lb set (in 5 lb increments) consists of 20 individual dumbbells. On a standard 3-tier horizontal rack, this requires roughly 4 feet of horizontal wall space and 2 feet of depth. If using an A-frame rack, the footprint shrinks to roughly 2 feet by 2 feet, making it ideal for tight apartment gyms or bedroom corners.
By treating your home gym setup as a deliberate installation process rather than an afterthought, you ensure that your compact dumbbell collection remains safe, organized, and ready for years of progressive overload.
More gear to consider
All reviews
Single Dumbbell Chest Press: Rubber Hex vs Urethane Layout Guide

Barbell Collar & Clamp Comparison: Fix Bowflex Dumbbells Stuck

Best Dumbbell Racks to Organize Your Full Body Dumbbell Workout Plan
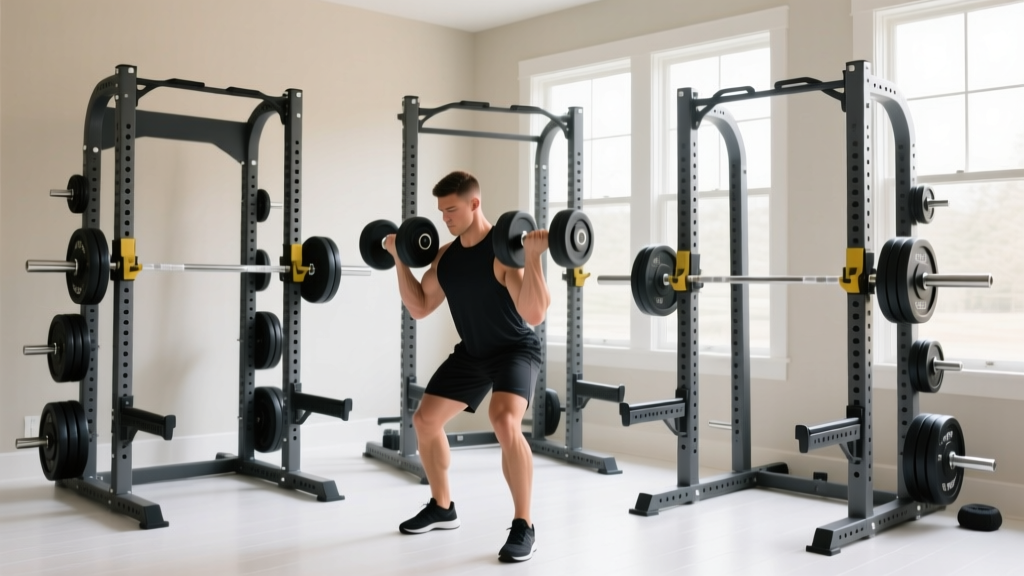
Power Rack vs Squat Stand: The 50 Pound Dumbbell Curl Clearance Test

Loadable Biceps Dumbbell Setups: 2026 Budget & Value Analysis
