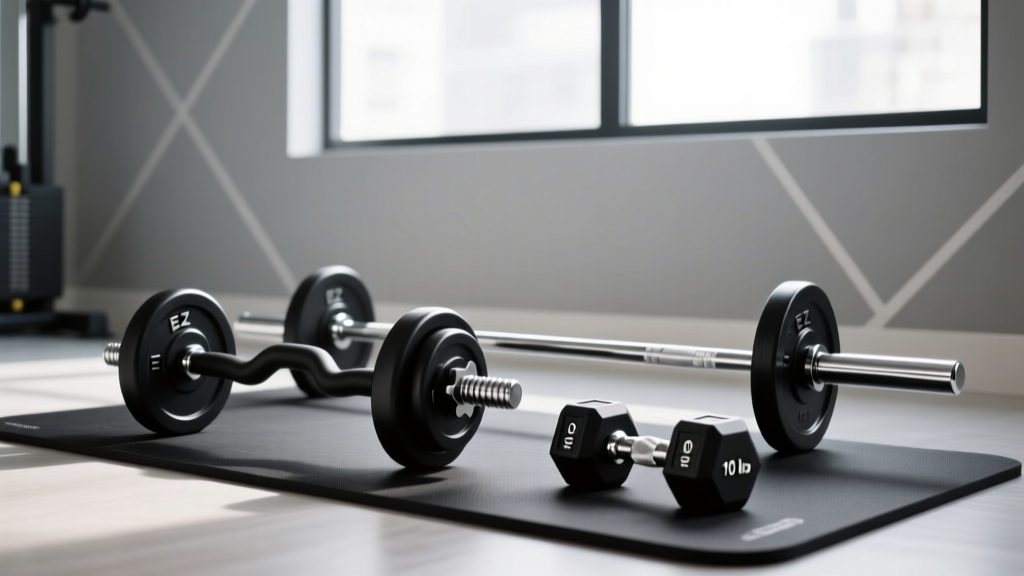
Heavy Dumbbell Storage: Space-Saving Rack Layouts & Designs
Optimize your gym layout with heavy dumbbell storage solutions. Compare A-frame, tiered, and wall racks for safe, space-efficient weight zones.

The Physics of Heavy Dumbbell Storage: Why Standard Racks Fail
Designing a functional gym layout requires more than just pushing equipment against a wall; it demands an understanding of spatial flow, biomechanics, and structural engineering. When your arsenal includes a heavy dumbbell set (typically defined as pairs ranging from 50 to 120 pounds), standard storage solutions quickly become liabilities. The primary issue is not just static weight, but dynamic force. When a user returns a 100-pound dumbbell to a rack, the momentary dynamic impact can exceed 250 pounds of downward and lateral pressure on a single weld point or cradle.
Many commercial and home gym owners make the critical mistake of purchasing 14-gauge tubular steel racks designed for lighter neoprene or vinyl-coated weights. Under the concentrated load of heavy hex or urethane dumbbells, these thinner frames experience 'creep'—a gradual, permanent deformation of the steel that causes the center of the rack to bow. Over time, this bowing alters the angle of the cradles, causing heavy dumbbells to roll or slip, creating a severe crushing hazard.
Expert Insight: For any dumbbell exceeding 60 pounds per hand, your storage solution must be constructed from a minimum of 11-gauge steel (or 7-gauge for high-traffic commercial spaces) with reinforced gusset plates at every primary load-bearing joint.Spatial Zoning: Designing the Drop Zone
Space optimization is not about cramming as much equipment as possible into a room; it is about maximizing usable square footage while maintaining strict safety perimeters. According to facility design guidelines referenced by the National Strength and Conditioning Association (NSCA), proper spatial zoning is critical for injury prevention and traffic flow.
The 48-Inch Dynamic Rule
While standard gym walkways require a minimum of 36 inches of clearance, a heavy dumbbell zone demands a 48-inch dynamic drop zone. This measurement is calculated from the front edge of the dumbbell rack to the nearest obstruction (bench, mirror, or wall). Why 48 inches? A 6-foot-tall athlete holding 100-pound dumbbells at their sides requires roughly 30 inches of lateral width. Adding an 18-inch buffer allows for safe eccentric lowering, lateral stepping, and emergency drops without the risk of tripping over adjacent equipment or damaging drywall.
Rack Geometry: A-Frame vs. 2-Tier Horizontal
Choosing the right geometry for your heavy dumbbell storage dictates your gym's entire floor plan. Wall-mounted racks are entirely disqualified for heavy dumbbells due to the sheer pull-out force exerted on wall studs; a 600-pound total load requires commercial-grade masonry or specialized steel stud reinforcement, which is impractical for 95% of facilities. This leaves two primary contenders: the A-Frame and the 2-Tier Horizontal Rack.
| Feature | 2-Tier Horizontal (e.g., Rogue 2-Tier) | A-Frame (e.g., Rep Fitness A-Frame) |
|---|---|---|
| Footprint (L x W) | 84' x 24' (Linear wall placement) | 30' x 32' (Freestanding island) |
| Max Load Capacity | ~1,200+ lbs (11-gauge steel) | ~1,000 lbs (Reinforced 14-gauge) |
| Ergonomic Access | Excellent (No bending/lifting high) | Poor for top tier (Tipping hazard) |
| Best Layout Use | Perimeter walls, anchoring a room | Center-room dividers, small studios |
| Approximate Cost | $850 - $1,100 | $300 - $450 |
For comprehensive commercial facility planning, consulting resources like Rogue Fitness Facility Design can provide customized CAD layouts that integrate these specific rack dimensions into your unique floor plan, ensuring optimal traffic flow and structural integrity.
Step-by-Step: Integrating the Dumbbell Zone
To seamlessly integrate heavy dumbbell storage into your layout without creating bottlenecks, follow this spatial design sequence:
- Map the Primary Lift Stations: Identify where heavy dumbbell work actually occurs (e.g., adjustable benches, flat utility benches, and open turf areas for farmer's carries). The rack must be centrally located to these stations to minimize 'loaded walking'—carrying 100-pound dumbbells across the gym is a primary cause of lower back fatigue and equipment drops.
- Establish the Perimeter Anchor: If using a 2-tier horizontal rack, place it against a load-bearing wall. Leave a 2-inch gap between the rack and the wall to accommodate the dumbbell heads that may slightly overhang the cradles, preventing drywall scuffs and acoustic vibration transfer.
- Calculate the Approach Angle: Ensure users do not have to twist their spines while lifting a heavy dumbbell off the rack. The approach path must be perpendicular to the rack. If your layout forces a parallel approach, you must add an additional 36 inches of clearance to allow the user to pivot safely.
- Implement Visual Zoning: Use rubber flooring transitions (e.g., stepping from 3/8-inch rolled rubber to 3/4-inch interlocking tiles) to subconsciously signal to gym users that they have entered a heavy drop zone.
The Density Hack: Urethane vs. Rubber Hex Footprints
One of the most overlooked aspects of space optimization in dumbbell storage is the material density of the weights themselves. This is a critical edge case that dictates how many pairs you can physically fit on a standard 48-inch cradle.
Standard rubber hex dumbbells have a lower density than premium urethane. A 100-pound rubber hex dumbbell can measure up to 15.5 inches in total length with a massive 7.5-inch head diameter. In contrast, a 100-pound urethane dumbbell (like those from Eleiko or Rogue Urethane lines) is significantly more compact due to the higher density of the polyurethane elastomer.
The Space-Saving Math: On a standard 48-inch horizontal cradle, you can typically fit only four pairs of 100-pound rubber hex dumbbells before they begin to overlap and pinch. However, because urethane is roughly 15% denser and features a more compact, rounded profile, you can fit five pairs of 100-pound urethane dumbbells on that exact same 48-inch cradle. If you are designing a high-capacity commercial gym where every linear foot of wall space costs money, investing in urethane not only protects your floors and reduces odor but actively reduces the total linear footage of racking required by up to 20%.
Real-World Failure Modes to Avoid
When finalizing your layout, audit your design against these common failure modes:
- The A-Frame Tipping Hazard: Never place 90+ pound dumbbells on the top tier of an A-frame rack. When a user removes a 100-pound dumbbell from the top left, the sudden shift in the center of gravity can cause a freestanding A-frame to tip rightward, especially if the floor is slightly unlevel. Heavy pairs must always be stored on the bottom tier, closest to the floor.
- Craddle Lip Degradation: Over time, the repeated slamming of heavy steel-handled dumbbells into plastic or poorly welded metal cradle lips will sheer the welds. Opt for racks with UHMW (Ultra-High Molecular Weight) polyethylene protective liners on the cradles. This not only absorbs the dynamic shock but prevents the zinc or chrome plating on the dumbbell handles from being stripped away by raw steel-on-steel friction.
- Mirror Clearance Neglect: Placing a heavy dumbbell rack directly in front of a mirrored wall without a minimum 6-inch buffer results in shattered glass. Heavy dumbbells are often dropped or swung outward during the pickup phase; the handle ends will easily pierce standard 1/4-inch gym mirrors if the rack is pushed flush against the glass.
Final Layout Considerations
Optimizing your gym for heavy dumbbell storage is an exercise in balancing structural limits with human biomechanics. By selecting the correct steel gauge, respecting the 48-inch dynamic drop zone, and understanding the spatial advantages of high-density urethane, you can create a weight zone that is both exceptionally safe and highly space-efficient. Remember that a well-designed layout does not just store equipment; it actively facilitates better training, reduces facility wear-and-tear, and elevates the professional standard of your gym environment.
More gear to consider
All reviews
Step-by-Step: Neoprene Dumbbells vs Dumbbell Curl Machine

Best Adjustable Dumbbells for the Single Arm Incline Dumbbell Press
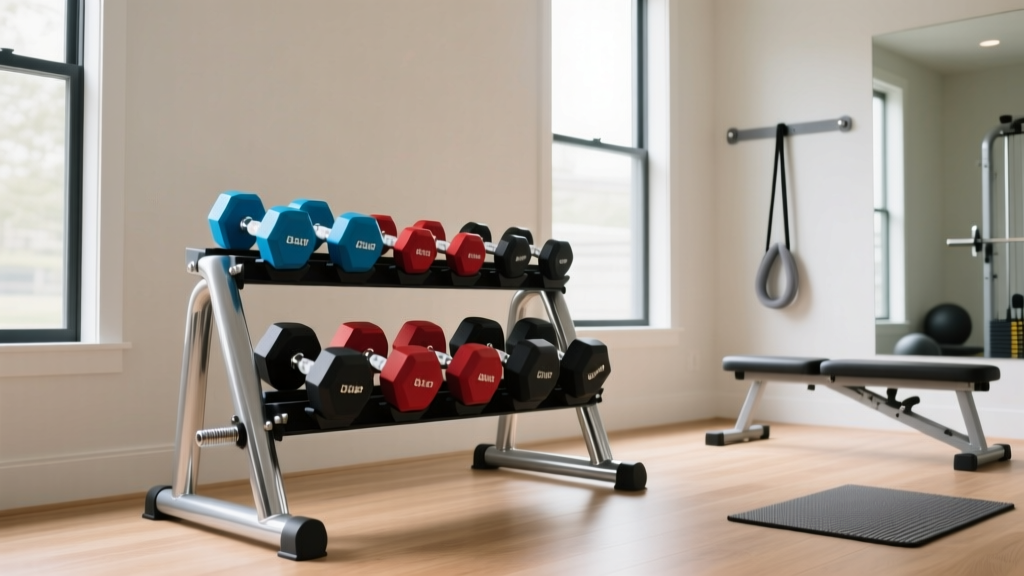
Smart Storage for Strength Training at Home With Dumbbells

Bumper vs Iron Plate Storage and Dumbbell Squeeze Press Layouts
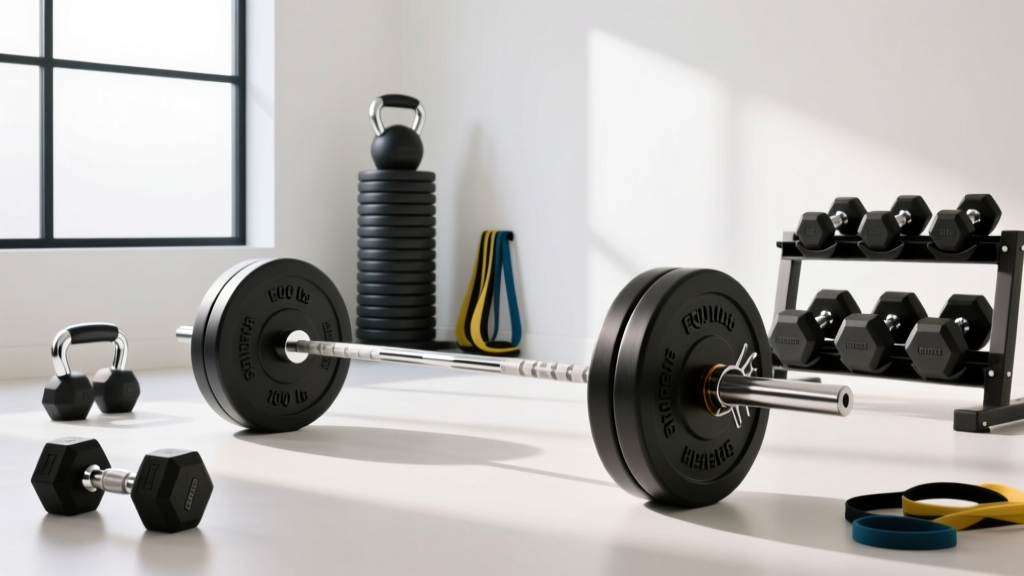
Beyond 100 lb Dumbbells: Olympic Barbell Knurling & Weight Guide