
Gym Setup Guide: 40kg Dumbbells & Barbell Collar Clamp Types
Master your heavy weight station setup. Learn safe racking for 40kg dumbbells and compare barbell collar clamp types for secure Olympic and power lifts.

Building a commercial-grade home gym requires meticulous attention to both weight storage ergonomics and barbell security. When your training evolves to include heavy metric free weights and high-impact Olympic lifts, the margin for equipment error drops to zero. This complete setup and installation walkthrough covers the safe integration of heavy dumbbells into your rack system, followed by a deep-dive comparison and installation guide for barbell collars and clamps.
Phase 1: Racking Heavy Metric Free Weights
Before assembling your barbell station, you must address the storage of heavy unilateral weights. Integrating 40kg dumbbells (approximately 88 lbs each) into a standard rack presents unique biomechanical and structural challenges. Most commercial racks are rated for total static loads exceeding 1,000 lbs, but the distribution of that weight dictates safety.
The Bottom-Tier Rule for 40kg+ Dumbbells
When racking heavy metric pairs, such as the Eleiko Sport Training Dumbbells or Rogue Metric Urethane 40kg models, always place them on the bottom or middle-bottom tier of a 3-tier A-frame rack. Placing 40kg dumbbells on the top shelf drastically raises the rack's center of gravity. When a lifter pulls a 40kg dumbbell from the top tier, the lateral force can cause lightweight or improperly bolted racks to tip forward.
- Ergonomic Retrieval: The bottom shelf allows you to use a hip-hinge deadlift motion to retrieve the 40kg dumbbells, rather than an awkward, spine-loading twist from a high shelf.
- Handle Thickness: Note that 40kg dumbbells often feature thicker handles (35mm-38mm) compared to standard 32mm handles to prevent bending. Ensure your rack's cradle spacing accommodates these wider heads.
Phase 2: Barbell Sleeve Preparation
Transitioning to the barbell station, proper collar installation begins before the collar even touches the bar. Over time, chalk dust, oxidized steel, and degraded rubber residue build up on the barbell sleeve. This debris acts as a lubricant, reducing the friction coefficient between the sleeve and the collar's inner lining.
- Scrub: Use a stiff nylon brush and a mild degreaser to remove chalk from the sleeve grooves.
- Wipe: Dry the sleeve completely with a microfiber cloth.
- Lubricate (Optional): Apply a single drop of 3-in-One oil to the inner sleeve bushing to maintain smooth plate loading, but keep the outer clamping surface completely dry.
Phase 3: Barbell Collar and Clamp Types Compared
Not all collars are created equal. The physics of a missed snatch or a heavy eccentric bench press dictate that your collars must withstand massive lateral inertia. According to Barbend's comprehensive barbell collar testing, clamping force and material durability are the primary differentiators in the 2026 market.
| Collar Type | Mechanism | Est. Clamping Force | Best Application | Avg Price (2026) |
|---|---|---|---|---|
| Standard Spring Clip | Steel Tension Coil | 50 - 80 lbs | Light pressing, strict curls | $10 - $15 / pair |
| Lock-Jaw Pro | Polycarbonate Cam-Lever | 300+ lbs | Olympic drops, CrossFit | $35 - $40 / pair |
| Rogue HG 2.0 | Glass-Filled Nylon w/ Aluminum Hub | 250+ lbs | Powerlifting, heavy eccentrics | $42 - $48 / pair |
| OSO Barbell Collars | CNC Aluminum w/ Roller Bearings | 400+ lbs | Competition, heavy rotational lifts | $65 - $75 / pair |
Deep Dive: Material Failure Points
Standard spring clips are notorious for latch fatigue. After 500+ cycles of compression, the steel coil loses its temper, resulting in a loose fit that allows plates to shift during overhead drops. Conversely, polycarbonate and glass-filled nylon collars (like the Lock-Jaw and Rogue HG 2.0) utilize a cam-lever action that mechanically locks against the sleeve. However, if dropped directly on the latch mechanism from a height greater than 4 feet, polycarbonate can micro-fracture in freezing garage gym environments.
Phase 4: Step-by-Step Collar Installation Walkthrough
Proper installation is just as critical as the equipment itself. Follow this protocol to ensure maximum clamping security.
Step 1: Flush Plate Loading
Slide your bumper or steel plates onto the sleeve, ensuring they are completely flush against the inner sleeve lip and each other. Any gap between plates will result in 'plate chatter' upon impact, which degrades the collar's grip over time.
Step 2: The 1.5-Inch Gap Rule
Leave exactly 1 to 1.5 inches of exposed sleeve at the end of the barbell. If you leave less than an inch, the collar's inner lip may slide off the edge of the sleeve during the clamping motion, resulting in a catastrophic failure. If you leave more than 2 inches, the collar lacks the surface area required to resist lateral movement.
Step 3: Alignment and Clamping
Slide the collar onto the sleeve. For cam-lever collars, ensure the latch mechanism is positioned at the 12 o'clock or 6 o'clock position relative to the floor. This prevents the latch from striking the platform directly if the barbell rolls during a dropped lift. Squeeze the handles together until you hear the secondary locking click.
Safety Warning: Never use standard 50mm Olympic barbell collars on adjustable dumbbell handles or standard 25mm/28mm dumbbell bars. The diameter mismatch will result in zero clamping force. For adjustable dumbbell setups, you must purchase specific dumbbell-sized Lock-Jaw collars or spin-lock star nuts.
Phase 5: Diagnosing Real-World Failure Modes
Even premium collars can fail if misused. Here are the most common edge cases we see in heavy home gyms:
- Sleeve Scratching: Aluminum collars (like OSO) without internal urethane linings will gouge bare steel or chrome sleeves. Always ensure the internal padding is intact before clamping down with 400 lbs of force.
- Rotational Slippage: During exercises like the barbell hip thrust or landmine rotations, the barbell sleeve rotates independently of the plates. If your collar lacks an internal bearing or high-friction rubber lining, the collar will spin, loosen, and eventually slide off. This is why the USA Weightlifting Official Rulebook mandates specific, high-grade collars for all competitive rotational and overhead lifts.
- Chalk Wedging: If chalk gets trapped between the collar's rubber lining and the sleeve, it acts like tiny ball bearings. Wipe the sleeve between heavy sets.
Frequently Asked Questions
Do I need collars when using 40kg dumbbells?
If you are using fixed-head 40kg dumbbells (like hex urethane models), collars are not required as the heads are permanently welded or bolted. However, if you are using heavy adjustable dumbbell handles (e.g., Ironmaster Quick-Lock or loadable dumbbell bars) to reach 40kg per hand, you absolutely must use specialized dumbbell collars or secure locking nuts to prevent the plates from sliding off during pressing movements.
How often should I replace my barbell collars?
Spring clips should be replaced every 6 to 12 months in a busy gym environment due to coil fatigue. High-quality cam-lever collars (Lock-Jaw, Rogue HG 2.0) typically last 3 to 5 years. Inspect the internal rubber lining annually; if it is torn or compressed flat, the collar will no longer provide adequate clamping force and must be replaced.
Can I leave my collars on the barbell permanently?
While it saves time, leaving cam-lever collars clamped on the barbell for weeks at a time can permanently compress the internal urethane lining, causing it to lose its elastic memory. Store them unclamped on a pegboard or in a bin to maximize their lifespan.
More gear to consider
All reviews
Best Adjustable Dumbbells for Incline Dumbbell Rows (2026)

Jayflex Hyperbell Dumbbell Converter Setup for Neoprene Home Weights

Olympic vs Standard Plates: Mistakes in Different Dumbbell Lifts
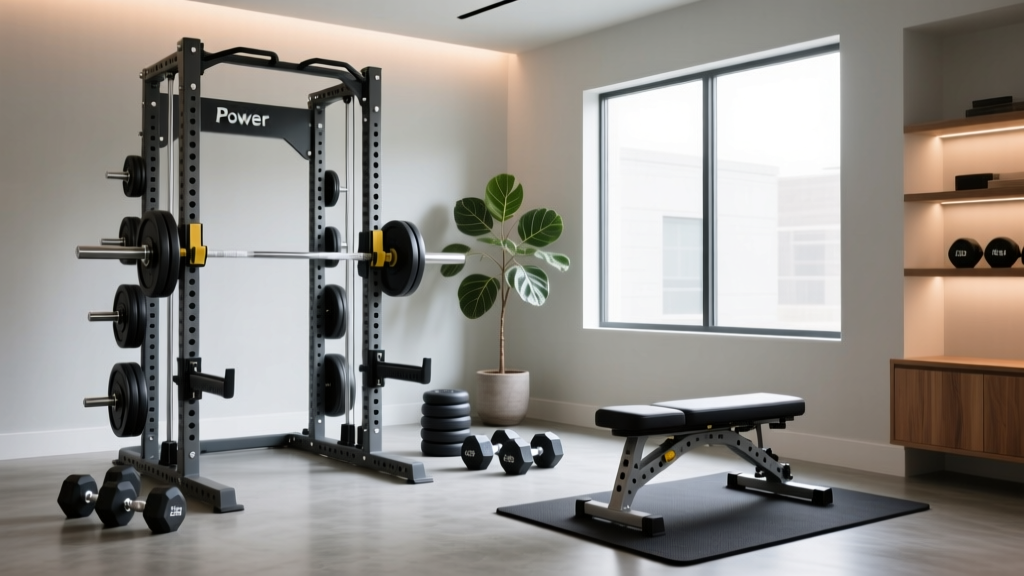
Power Rack vs Squat Stand: Setup for the Dumbbell Lateral Lunge

EZ vs Straight Bar: Value Beyond Back and Bicep Workout Dumbbells
