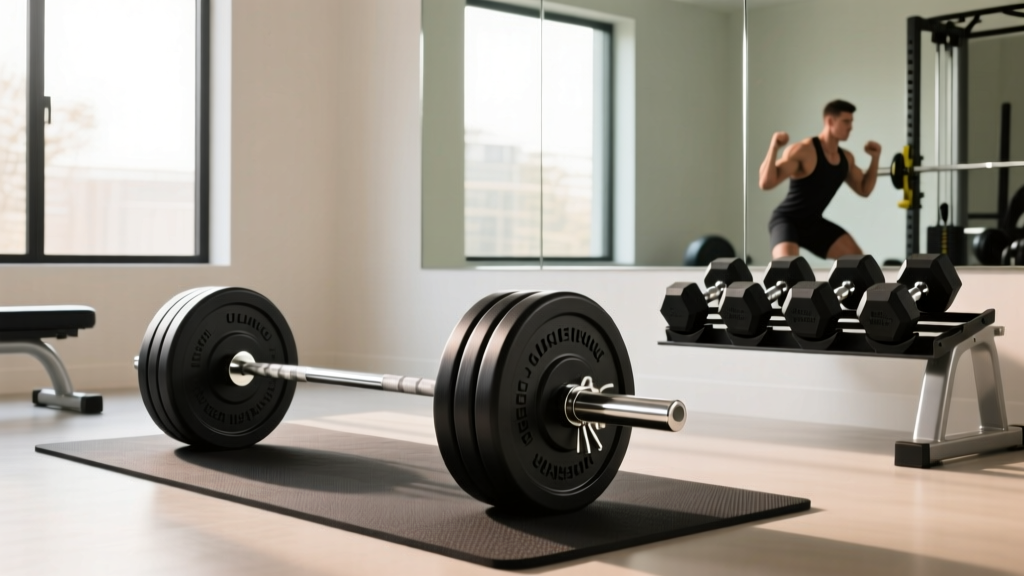
Gold's Gym Dumbbell Set Setup: Neoprene Home Gym Walkthrough
Master your home gym layout with our complete setup walkthrough for a Gold's Gym dumbbell set. Learn flooring, racking, and neoprene care tips.

The Blueprint: Preparing Your Space for Neoprene
Setting up a dedicated home gym with a Gold's Gym dumbbell set requires more than just unboxing the weights and dropping them onto the carpet. When you opt for the neoprene-coated hex models, you are choosing a versatile, grip-friendly option that protects your equipment from rust and dampens acoustic noise. However, neoprene demands specific environmental and structural considerations to ensure longevity. This comprehensive setup and installation walkthrough will guide you through space preparation, rack assembly, weight distribution, and the chemical maintenance required to keep your synthetic rubber coatings in pristine condition.
CRITICAL SUBFLOOR WARNING: Never place a heavy neoprene dumbbell set directly on hardwood, laminate, or standard carpet. While the neoprene coating protects the iron core, the sharp hexagonal edges act as a wedge. When dropped from waist height, a 50 lb dumbbell generates enough point-load force to fracture hardwood planks and crack concrete subfloors.Selecting the Right Flooring Base
Many beginners make the mistake of purchasing interlocking EVA foam tiles for their free weight zone. EVA foam is a closed-cell material with a low density (typically 30-40 kg/m³). According to the rigorous equipment testing standards at Garage Gym Reviews, EVA foam will permanently compress and bottom out under the dynamic impact of free weights. Instead, invest in 8mm (5/16-inch) vulcanized rubber flooring. Vulcanized rubber boasts a density exceeding 900 kg/m³, providing the necessary shock absorption to disperse the kinetic energy of dropped hex dumbbells while providing a non-slip surface for your feet during heavy Romanian deadlifts or lunges.
Unboxing & Inspecting the Gold's Gym Dumbbell Set
Gold's Gym neoprene dumbbells are typically shipped in high-density corrugated cardboard, often banded to wooden pallets or reinforced skids due to the extreme weight concentration. Before moving the weights to your rack, conduct a thorough inspection.
- Check the Mold Seams (Flash): Neoprene is dip-molded or spray-coated over a sand-cast iron core. Run your thumb along the equator of the hex heads. If you feel sharp, raised rubber 'flash' left over from the manufacturing mold, carefully trim it with a utility knife to prevent it from snagging on your clothing or scratching your rack.
- Inspect the Chrome Handles: The contoured solid steel handles are chrome-plated. Look for any pitting, rust spots, or burrs near the collar where the handle meets the neoprene head. A burr here will tear calluses during high-rep sets.
- Verify Weight Accuracy: While commercial urethane dumbbells are calibrated to within 1%, budget-friendly neoprene sets can have a variance of up to 3-5%. If you are following a strict progressive overload program based on biomechanics data from ExRx.net, be aware that a '50 lb' dumbbell might actually weigh 48 lbs.
Assembling the Tiered Rack: A Step-by-Step Walkthrough
Most multi-pair Gold's Gym dumbbell sets include a 3-tier A-frame or horizontal tiered rack constructed from 14-gauge tubular steel. Proper assembly is critical; an improperly torqued rack is a severe tipping hazard.
Step 1: Frame Alignment and Hardware Sorting
Lay out all tubular steel pieces on a soft surface (like a moving blanket) to prevent scratching the powder coat. Identify the M8 x 20mm hex bolts, flat washers, and lock nuts. Do not skip the flat washers—they distribute the clamping load and prevent the bolt head from pulling through the punched steel holes under heavy dynamic loading.
Step 2: The Cross-Threading Prevention Technique
When threading the bolts into the pre-welded captive nuts on the rack legs, use the 'reverse-turn' method. Insert the bolt, turn it counter-clockwise until you feel a distinct 'click' (the threads aligning), and then tighten clockwise. This prevents cross-threading, which is the number one failure mode in home gym rack assembly and permanently strips the captive nut.
Step 3: Progressive Torquing
Do not fully tighten any single bolt until all bolts on that specific tier are hand-tight. Once the frame is square and all hardware is threaded, use a socket wrench to tighten them in a star pattern. This ensures the rack remains perfectly level and prevents structural twisting.
Strategic Weight Placement & Center of Gravity
How you load your rack dictates its stability. The American Council on Exercise (ACE) emphasizes that home gym equipment must be anchored or properly weighted to prevent tipping, especially in households with children or pets. Always load the heaviest dumbbells on the bottom tier to lower the center of gravity.
| Rack Tier | Weight Range | Max Load Capacity | Purpose & Biomechanics |
|---|---|---|---|
| Bottom (Tier 1) | 35 - 50 lbs | 220 lbs | Heavy compound movements (Goblet Squats, Heavy DB Press) |
| Middle (Tier 2) | 20 - 30 lbs | 150 lbs | Hypertrophy range (Chest Flyes, Shoulder Press, Lunges) |
| Top (Tier 3) | 5 - 15 lbs | 100 lbs | Isolation & Rehab (Lateral Raises, Tricep Kickbacks) |
Neoprene Curing, Off-Gassing, and Long-Term Care
One of the most overlooked aspects of installing a neoprene dumbbell set in a home environment is the chemical off-gassing process. Neoprene (polychloroprene) is a synthetic rubber that emits Volatile Organic Compounds (VOCs) when newly manufactured. This results in the distinct, pungent 'new tire' odor.
The 72-Hour Curing Protocol
Before bringing your Gold's Gym dumbbell set into a spare bedroom or enclosed basement gym, leave the unboxed weights in a well-ventilated garage or covered patio for 72 to 96 hours. This allows the bulk of the VOCs to dissipate. Bringing them directly into an HVAC-regulated room will cause the odor to circulate and settle into your upholstery and carpets.
Combating Hydrolysis and Sweat Degradation
Human sweat is a corrosive cocktail of urea, sodium chloride (salt), and lactic acid. Over time, the salts and acids in sweat break down the chemical bonds in neoprene, leading to a process called hydrolysis. This is why older, poorly maintained neoprene dumbbells develop a sticky, gummy, or 'melting' texture that ruins your hands and clothing.
Expert Maintenance Tip: Never clean your neoprene dumbbells with bleach, Lysol, or alcohol-based sanitizers. These harsh solvents strip the protective outer sealants and accelerate the gummy degradation phase. Instead, wipe down the handles and heads after every session with a microfiber cloth dampened with a 1:10 solution of distilled white vinegar and water. This pH-neutral approach neutralizes sweat acids without damaging the synthetic rubber.
Frequently Asked Questions (FAQ)
Can I use a vertical dumbbell tree rack for hex neoprene dumbbells?
While vertical tree racks save floor space, they are generally designed for round, rubber-coated commercial dumbbells. The sharp hex edges of a Gold's Gym neoprene set can catch on the vertical pegs, making them difficult to slide on and off safely. A horizontal, tiered A-frame rack is vastly superior for hex-head models, allowing you to lift them straight up and out without snagging.
Will the neoprene coating fade or crack if my home gym gets direct sunlight?
Yes. Polychloroprene is highly susceptible to UV degradation. Prolonged exposure to direct sunlight will cause the neoprene to dry out, chalk, and eventually crack, exposing the cast iron core to moisture and rust. Always position your dumbbell rack away from south-facing windows or use UV-blocking window films in your home gym space.
How do I fix a sticky neoprene handle that has already degraded?
If your dumbbells have already entered the sticky degradation phase, you can temporarily restore them by wiping them down with a rag soaked in isopropyl alcohol to strip the gummy top layer, followed by a light application of a silicone-based gym equipment protectant. However, this is a temporary fix; once the chemical breakdown has started, the coating will eventually need to be stripped entirely or the dumbbells replaced.
More gear to consider
All reviews
Troubleshooting Different Types of Dumbbell Curls with Neoprene Weights

Olympic Barbell Knurling Guide & Water Dumbbells Weight Equivalent

Dumbbell Workout for Belly Fat: Fixing Neoprene Mistakes
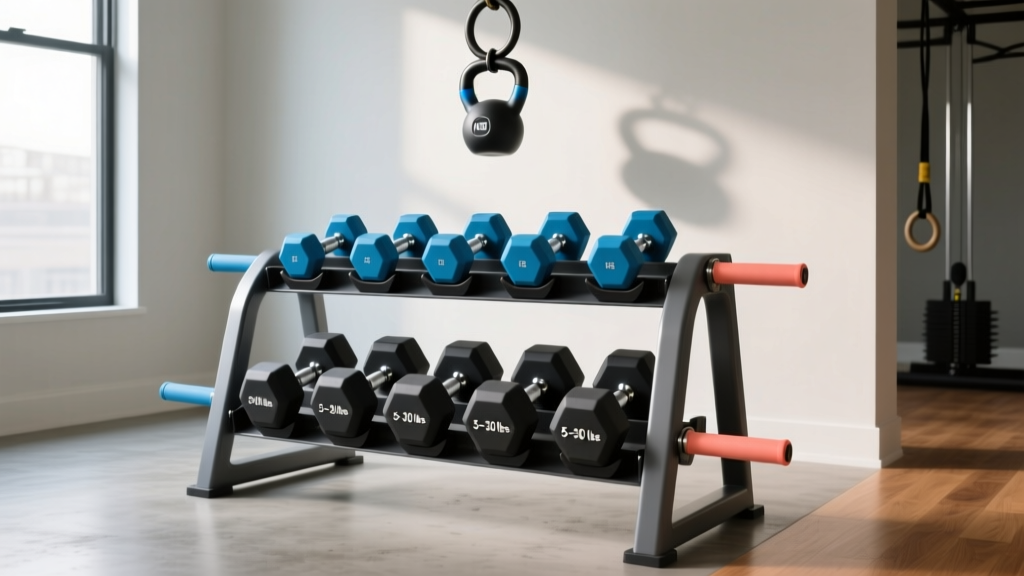
2026 Budget Dumbbell Racks: Space for KB Swings with Dumbbell

Is Holding Dumbbells Up a Good Exercise? Olympic vs Standard Errors