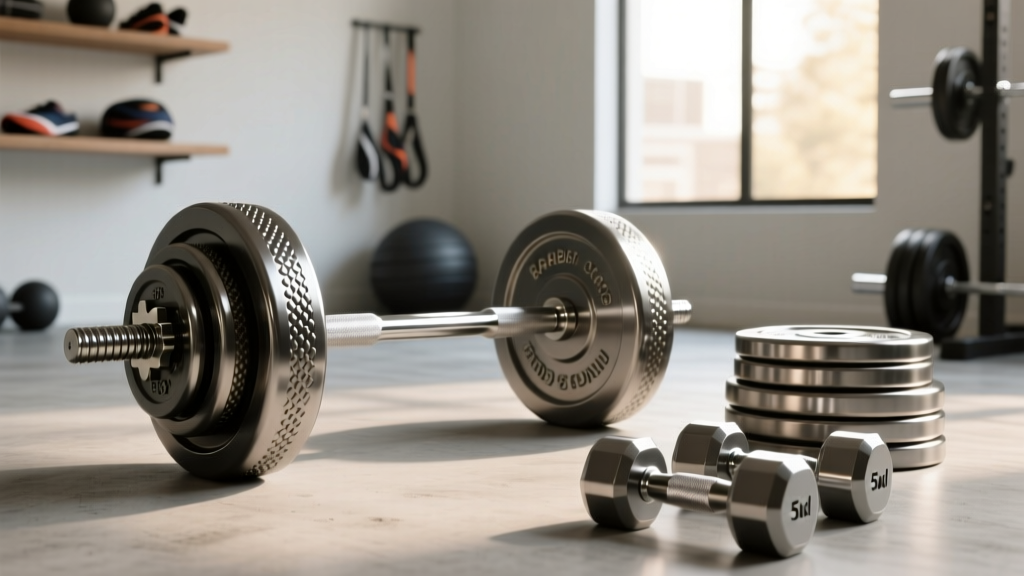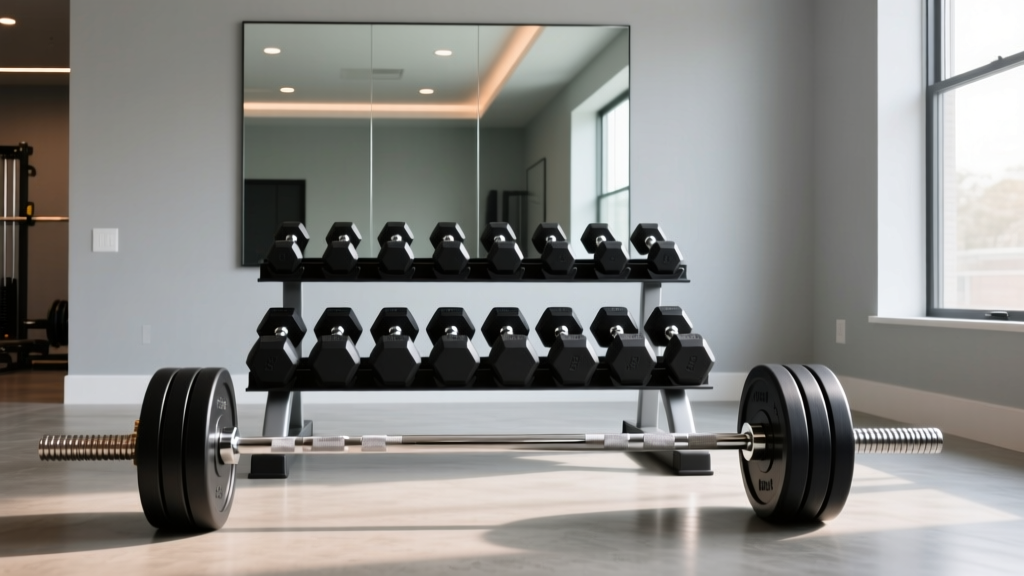
Dumbbell Set Stand Setup & Olympic Barbell Knurling Guide
Master your home gym setup with our dumbbell set stand installation walkthrough and expert Olympic barbell buying guide on weight specs and knurling.

Building a comprehensive free-weight zone requires more than just buying iron; it demands a strategic approach to equipment selection and spatial installation. This walkthrough bridges the gap between selecting the perfect Olympic barbell—focusing on critical weight specifications and knurling patterns—and the physical, step-by-step installation of a heavy-duty dumbbell set stand. Whether you are upgrading a commercial facility or engineering a high-end garage gym in 2026, mastering these two elements will define the functionality and safety of your training space.
Phase 1: The Centerpiece — Olympic Barbell Weight & Knurling
Before you can anchor your racks and stands, you must select the primary implement of your gym: the Olympic barbell. The market is saturated with options, but understanding the nuances of weight tolerances and knurling profiles separates novice buyers from seasoned lifters.
Decoding Barbell Weights and Shaft Diameters
According to the International Weightlifting Federation (IWF), standard Olympic barbells must adhere to strict dimensional and weight tolerances to ensure competitive fairness and structural integrity.
- Men’s Olympic Bar (20kg / 44 lbs): Features a 28mm shaft diameter and a total length of 2200mm. High-quality power bars in this category boast a tensile strength of 205,000 PSI or higher, minimizing permanent deformation (whip) under heavy squats and deadlifts.
- Women’s Olympic Bar (15kg / 33 lbs): Characterized by a thinner 25mm shaft and a shorter 2010mm length. The reduced diameter accommodates smaller hand sizes, while the 190,000 PSI tensile strength provides the optimal whip required for dynamic Olympic lifts like the snatch and clean & jerk.
- Technique Bars (5kg to 10kg): Essential for youth athletes or rehabilitation, these bars maintain the 50mm sleeve diameter to accept standard bumper plates but utilize aluminum or lightweight steel shafts to reduce overall load.
The Knurling Matrix: Hill, Mountain, and Volcano
Knurling is the cross-hatched pattern machined into the steel shaft to enhance grip. As detailed in BarBend's comprehensive barbell guides, the geometry of the knurl dictates the bar's feel, grip security, and performance.
| Knurl Type | Geometry Profile | Best Use Case | Aggression Level |
|---|---|---|---|
| Hill | Rounded, smooth peaks | High-rep WODs, bare-hand conditioning | Low / Passive |
| Mountain | Flat-topped, wide peaks | General fitness, mixed modal training | Medium / Moderate |
| Volcano | Deep valleys with sharp, crater-like rims | Heavy powerlifting, max-effort deadlifts | High / Aggressive |
For a dedicated powerlifting setup, a volcano knurl—machined to a depth of roughly 1.2mm to 1.5mm—provides maximum surface area contact without tearing the calluses. Conversely, a hill knurl is mandatory if your programming includes high-volume clean and jerks where an aggressive knurl would shred the anterior deltoids during the front rack position. Furthermore, consider the center knurl: powerlifters require a prominent center knurl to grip the back during low-bar squats, whereas Olympic weightlifters prefer a smooth or barely perceptible center knurl to prevent chest abrasion.
Phase 2: Spatial Planning for the Free Weight Zone
Once your barbells are spec'd, you must map the floor plan. A common failure mode in home gym setups is inadequate clearance around storage units.
⚠️ Safety Callout: The 36-Inch RuleAlways maintain a minimum 36-inch walkway clearance on all sides of your free weight storage. When lifting a 100 lb dumbbell from a bottom tier, the user's center of gravity shifts backward. Insufficient clearance leads to trip hazards and compromised lifting mechanics.
Measure your total footprint, accounting for the swing radius of adjustable dumbbells and the 7-foot wingspan of your Olympic barbell when loaded with bumper plates.
Phase 3: Dumbbell Set Stand Installation Walkthrough
The dumbbell set stand is the anchor of your dumbbell training zone. Improper assembly leads to racked weights vibrating loose, tier sagging, and catastrophic tipping. Here is the complete setup and installation walkthrough for a standard 3-tier, commercial-grade A-frame or horizontal dumbbell set stand.
Step 1: Unboxing and Hardware Verification
Commercial dumbbell set stands (rated for 1,000+ lbs) are heavy. Lay out all components on a protective rubber mat to prevent damaging the floor or the stand's powder coat.
- Verify the presence of all M10 x 30mm hex bolts, flat washers, and lock washers.
- Inspect the welded gussets on the main uprights for any micro-fractures or incomplete weld penetration.
- Identify the tier brackets; they are typically angled at 15 to 20 degrees to cradle the dumbbell heads securely and prevent roll-offs.
Step 2: Frame Assembly and Tier Alignment
Do not fully tighten any bolts during the initial frame construction.
- Base Assembly: Attach the front and rear base feet to the main vertical uprights using the provided M10 hardware. Leave the bolts at 60% torque.
- Cross-Bracing: Install the horizontal and diagonal cross-braces. This step is critical for lateral stability, preventing the stand from racking (shifting into a parallelogram shape) when heavy dumbbells are dropped onto the tiers.
- Tier Installation: Slide the saddle trays into the pre-drilled slots or bolt them to the bracket arms. Ensure the UHMW (Ultra-High Molecular Weight) polyethylene protective liners are facing upward to prevent metal-on-metal contact between the dumbbell heads and the steel tray.
- Final Torque: Once the entire dumbbell set stand is assembled and sitting level, use a torque wrench or ratchet to fully tighten all hardware. Follow a star pattern if dealing with multi-bolt flanges to ensure even pressure distribution.
Step 3: Anchoring and Load Distribution
If your dumbbell set stand features pre-drilled flange plates at the base, anchoring is highly recommended, especially if you are housing dumbbells exceeding 100 lbs.
- Concrete Subfloors: Use 3/8" wedge anchors or sleeve anchors. Drill a 1/2" hole using a hammer drill with a carbide-tipped masonry bit, vacuum out the concrete dust, and torque the anchors to 30 ft-lbs.
- Rubber Mat Over Wood: If installing over a wood subfloor with horse-stall mats, use 3/8" lag bolts driven directly into the floor joists. Never rely solely on the plywood or OSB subfloor for shear strength.
Pro-Tip on Load Distribution: Always load your dumbbell set stand from the bottom up. Place your heaviest pairs (e.g., 80-120 lbs) on the bottom tier, medium pairs (40-75 lbs) on the middle, and light pairs (5-35 lbs) on the top. This drastically lowers the center of gravity and mitigates tip-over risks during aggressive racking.
Phase 4: Integration and Long-Term Maintenance
With your Olympic barbell selected and your dumbbell set stand securely bolted to the floor, the final phase is integration. Position your barbell storage rack adjacent to the stand, ensuring the collars do not overlap the dumbbell retrieval path.
Establish a monthly maintenance protocol:
- Hardware Check: Vibrations from dropped weights will slowly back out hex bolts. Retighten all stand hardware every 30 days.
- Barbell Care: Use a stiff nylon brush to clean chalk and dead skin out of the volcano or mountain knurling. Wipe the shaft down with a light coat of 3-in-One oil or mineral oil to prevent oxidation, especially if your gym lacks climate control.
- Tray Inspection: Check the UHMW liners on the dumbbell set stand. If they become deeply gouged, replace them to protect your expensive urethane or rubber-coated dumbbells from premature degradation.
By treating your equipment selection and installation as a cohesive engineering project, you guarantee a training environment that is safe, efficient, and built to withstand the rigors of progressive overload for years to come. For more insights on outfitting your space with elite gear, consult the Rogue Ohio Power Bar specifications to see how premium knurling and tensile strength translate to real-world performance.
More gear to consider
All reviews
Barbell Collar Types & Dumbbell Exercises for Back Fat

Leg Curl with Dumbbells: Best Neoprene Home Weights

Gym Mistakes: Seated Dumbbell Flys Form & Olympic vs Standard Plates

Rack Storage & Care: Prepping for a Lower Pec Workout with Dumbbells

Bumper Plate vs Iron Plate: Budget & Rear Delt Dumbbell Value