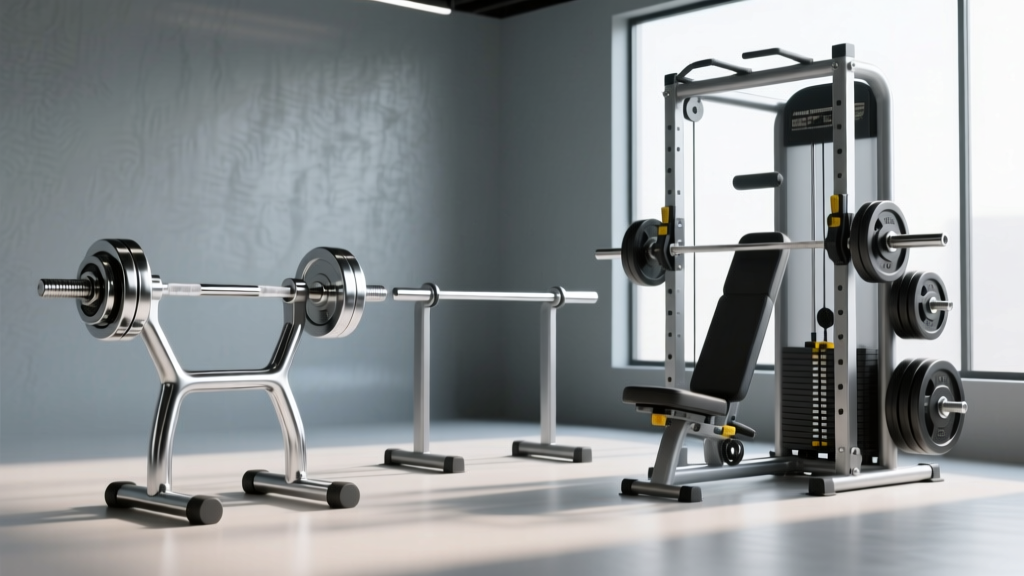
Dumbbell Rack Layouts: Storing Iron and Wrist Straps for Dumbbells
Master your home gym layout with space-saving dumbbell rack solutions and dedicated accessory zones for wrist straps for dumbbells, chalk, and belts.

The Architecture of the Dumbbell Zone
Designing a highly functional home gym or commercial facility requires more than just purchasing heavy iron; it demands a strategic approach to spatial flow and storage. Dumbbells are notoriously difficult to store due to their awkward geometry and sheer weight. When paired with essential lifting accessories, a poorly planned area quickly devolves into a cluttered tripping hazard. As of 2026, the modern approach to free weight zones emphasizes "Zoned Storage"—a methodology that integrates heavy rack footprints with micro-storage solutions for high-wear gear.
Whether you are outfitting a 50-square-foot garage corner or a dedicated 200-square-foot studio, optimizing your layout begins with selecting the right structural foundation and ends with the meticulous organization of your lifting aids, including wrist straps for dumbbells, lifting belts, and grip chalk.
The Foundation: Selecting the Right Dumbbell Rack
The rack is the anchor of your dumbbell zone. Choosing the wrong footprint can bottleneck your entire gym layout. In 2026, manufacturers have refined their designs to offer higher weight capacities with smaller floor profiles, utilizing advanced laser-cut 11-gauge steel and premium urethane saddles to protect your equipment.
Expert Insight: Never push a dumbbell rack flush against a drywall surface. Heavy dumbbells swung or dropped near the rack can easily crack drywall or dent baseboards. Always leave a minimum 4-inch buffer zone between the rack and the wall.Rack Footprint and Capacity Matrix
Below is a comparison of the top three rack configurations dominating the market this year, analyzed by spatial efficiency and load management.
| Rack Model / Type | Footprint (L x W) | Max Capacity | 2026 Avg Price | Optimal Layout Use |
|---|---|---|---|---|
| Rogue A-Frame Rack | 31" x 25" | 500 lbs | $425 | Tight corners & dual-sided access |
| Rep Fitness 3-Tier Horizontal | 43" x 28" | 1,200 lbs | $279 | Standard wall alignments & heavy sets |
| PowerBlock Commercial Tower | 24" x 24" | 800 lbs | $899 | Minimalist spaces & adjustable sets |
Micro-Storage: Organizing Wrist Straps for Dumbbells and Accessories
While the rack holds the iron, the surrounding ecosystem must hold the accessories. When training with heavy loads—such as 80 lb to 120 lb dumbbells for shrugs, rows, or RDLs—grip fatigue often precedes muscle failure. This necessitates the use of wrist straps for dumbbells. However, a common failure mode in gym layouts is the lack of a designated "drop zone" for these accessories. Lifters frequently leave sweat-soaked wrist straps for dumbbells on the floor, benches, or draped over the dumbbell rack handles, creating visual clutter and degrading the cotton or leather materials over time.
The Slatwall and Magnetic Pegboard Strategy
To solve the accessory storage problem without consuming valuable floor space, facility designers are turning to vertical micro-storage.
- Slatwall Panels: Installing a 4-foot by 2-foot high-density PVC slatwall panel directly above or adjacent to your dumbbell rack costs roughly $80 to $120. Utilizing heavy-duty metal faceplate hooks, you can hang wrist straps for dumbbells, lifting belts, and resistance bands. This keeps gear off the floor and allows wet straps to air-dry properly, preventing bacterial buildup.
- Magnetic Pegboards: For metal power racks adjacent to your dumbbell zone, magnetic tool holders (rated for 50+ lbs of shear force) can be attached directly to the uprights. This creates a modular, movable accessory station that requires zero drilling.
Spatial Flow: Designing the Dumbbell Zone Layout
Spatial flow dictates how safely and efficiently a user can move from the rack to the lifting platform. According to facility design principles outlined by organizations like the National Strength and Conditioning Association (NSCA), adequate clearance is non-negotiable for safety and operational efficiency.
Mandatory Clearance Measurements
- The Loading Zone (24 inches): You must maintain a 24-inch clearance directly in front of the dumbbell rack. This allows a lifter to squat down, grip a heavy pair of dumbbells, and stand up without their elbows or glutes striking a wall or bench behind them.
- The Active Lifting Platform (48 x 72 inches): The primary lifting area adjacent to the rack should be at least 4 feet wide and 6 feet deep. This accommodates exercises like dumbbell lunges or floor presses where limbs extend outward.
- The Transit Walkway (36 inches minimum): Any path connecting the dumbbell rack to other gym zones (like the squat rack or cardio area) must remain a strict 36-inch clear walkway. Never allow bench ends or plate trees to encroach on this space.
"A well-designed free weight zone anticipates the path of a dropped weight. If your layout forces a lifter to step backward into a transit walkway while holding 100 lb dumbbells, your spatial flow has failed." — Commercial Gym Layout Guidelines, 2025 Edition
Real-World Layout Blueprints
Applying these principles requires adapting to your specific square footage. Here are two optimized blueprints for common home gym sizes.
Blueprint A: The 50-Square-Foot Corner Setup
Dimensions: 7' x 7' space.
Rack Choice: Rogue A-Frame (31" x 25" footprint).
Layout Strategy: Position the A-Frame in the corner, angled at 45 degrees. This opens up a triangular loading zone of roughly 5 feet in front of the rack. Mount a 2' x 2' magnetic pegboard on the adjacent wall to store wrist straps for dumbbells and chalk. Place a single adjustable bench in the center of the remaining space, ensuring 36" of walkway on both sides for safe transit.
Blueprint B: The 100-Square-Foot Dedicated Zone
Dimensions: 10' x 10' space.
Rack Choice: Rep Fitness 3-Tier Horizontal (43" x 28" footprint).
Layout Strategy: Center the 3-tier rack against the longest unbroken wall. Install a continuous 6-foot slatwall panel above the rack to house all wrist straps for dumbbells, lifting hooks, and belts. Position two flat/incline benches parallel to each other, 6 feet away from the rack. This creates a dedicated "heavy row and press" corridor, completely separated from the main gym walkway.
Maintenance and Gear Longevity
Space optimization also means protecting your investment from premature wear. Modern 2026 urethane dumbbell coatings are highly resistant to UV and impact, but they require specific care. Clean urethane monthly with a mild, non-alcohol-based disinfectant to prevent the material from drying out and cracking.
Similarly, your accessories require maintenance. Wash your cotton or nylon wrist straps for dumbbells in cold water every two weeks and air-dry them on your vertical pegboard. Leather straps should be conditioned with a light mink oil application quarterly to prevent the leather from snapping under heavy tensile loads.
Summary: The Complete Ecosystem
Layout Optimization Checklist
- ✅ Match rack footprint to your specific wall geometry (A-Frame for corners, 3-Tier for flat walls).
- ✅ Enforce strict 24" loading zones and 36" transit walkways.
- ✅ Install vertical slatwall or magnetic pegboards to hang wrist straps for dumbbells and belts.
- ✅ Maintain a 4" buffer between heavy steel racks and drywall surfaces.
By treating your dumbbell rack and accessory storage as a single, cohesive ecosystem, you eliminate clutter, protect your expensive gear, and create a training environment that is as safe as it is visually impressive.
More gear to consider
All reviews
Best Neoprene Dumbbells for the Dumbbell Curls Exercise in 2026
Collar and Clamp Types Comparison for the Unilateral Dumbbell Row

Beyond a 50 lb Dumbbell Pair: Olympic Barbell Weight & Knurling Guide
Space-Saving Trap Dumbbell Workouts Using Loadable Plates

Bumper vs Iron Plates: Layouts for Bent Over Dumbbell Flys