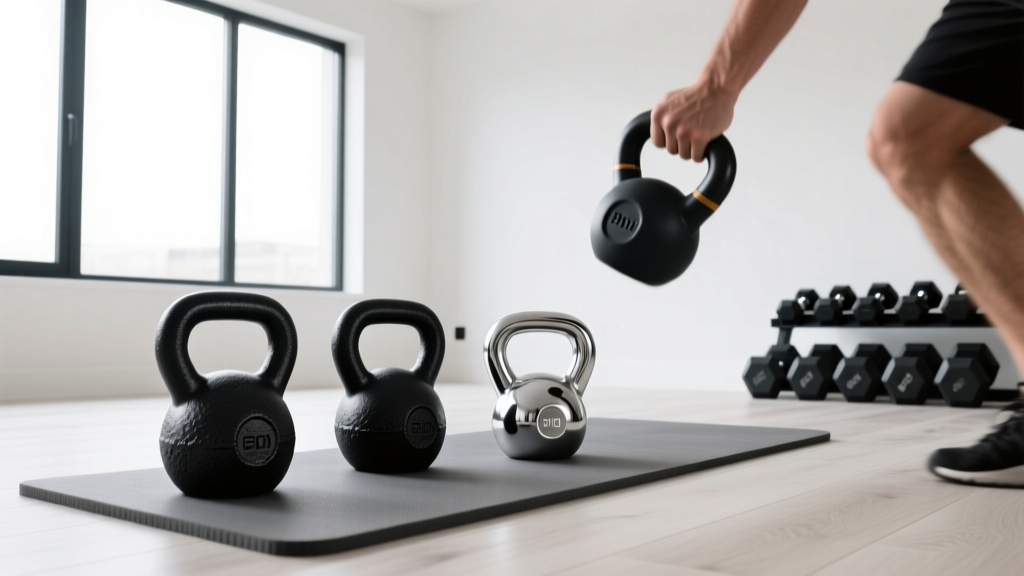
Optimizing Gym Layouts: Dumbbell Racks to Perfect Your Upward Fly
Discover how to optimize your home gym layout with the right dumbbell rack, ensuring perfect clearance for the dumbbell upward fly and heavy lifts.

The Spatial Reality of the Dumbbell Upward Fly
When designing a home gym in 2026, most lifters focus on the footprint of their power rack or cardio machines. However, the most overlooked spatial bottleneck is the free weight zone—specifically, how your dumbbell storage impacts your range of motion. The dumbbell upward fly is a premier isolation movement for targeting the clavicular head of the pectoralis major and the anterior deltoids. Unlike a neutral-grip floor press or a standard bicep curl, the upward fly demands an expansive, sweeping arc that requires significant lateral and vertical clearance.
If your dumbbell rack is positioned poorly, or if you choose a storage unit with a bulky vertical profile, you will physically collide with the steel uprights during the eccentric (lowering) phase of the fly. This not only limits your hypertrophy potential by cutting off the stretch-mediated tension but also creates a severe safety hazard. Optimizing your layout starts with understanding the exact spatial mathematics of the movement.
The 'Fly Zone' Clearance Calculator
To safely perform a dumbbell upward fly on a flat or incline bench, you must calculate your maximum lateral wingspan under load.
- Average Male Wingspan: 72 inches
- Dumbbell Length (50lb Hex): ~14 inches (adds 7 inches per side past the fist)
- Elbow Bend & Arc Margin: 10 inches of safety buffer
- Total Required Lateral Clearance: ~96 inches (8 feet) of unobstructed width.
Space Hack: Switching from standard rubber hex dumbbells to high-density urethane dumbbells reduces the physical length of the dumbbell by up to 2.5 inches per side, shrinking your required clearance zone by 5 inches.
Evaluating Rack Footprints for Compact Spaces
To preserve this 8-foot 'Fly Zone', your dumbbell rack and storage solutions must be selected based on their spatial efficiency, not just their weight capacity. Below is a breakdown of the three primary rack configurations available on the market today, analyzed through the lens of space optimization.
| Rack Model / Type | Floor Footprint (L x W) | Max Capacity | Est. Price (2026) | Layout Best Use |
|---|---|---|---|---|
| Rogue 3-Tier Rack | 52.5" x 34.5" | 1,000+ lbs | $495 | Dedicated garage gyms; placed against a far wall. |
| Rep Fitness A-Frame | 23.6" x 29.5" | 800 lbs | $179 | Tight corners; minimizes lateral wall space usage. |
| Titan Wall-Mount | 48" W x 6" D (Wall) | 300 lbs | $129 | Zero-floor space; ideal for light-to-medium upward flies. |
Designing the 'Fly Zone': Bench and Rack Placement
Choosing the right rack is only half the battle; where you place it dictates the flow of your workout. When setting up your adjustable bench for the dumbbell upward fly, you must adhere to strict layout geometry to avoid twisting your spine while carrying heavy loads from the rack to the bench.
The 45-Degree Access Rule
Never place your dumbbell rack directly parallel to the side of your bench. If you are performing a 60lb upward fly, picking up the weights, walking over, and sitting down wastes energy and risks a lower back tweak. Instead, position the head of your adjustable bench at a 45-degree angle relative to the dumbbell rack. This allows you to sit on the edge of the bench, grab the dumbbells from the top tier, and simply pivot your hips into the starting position without standing up or carrying the weights across the room.
Vertical Clearance and the Incline Factor
The upward fly is frequently performed on a 30-to-45-degree incline to target the upper chest. When your bench is inclined, your hands travel higher into the vertical space. If you utilize a tall, 4-tier vertical dumbbell tree (which can reach 55+ inches in height), placing it too close to the head of the bench will result in your wrists striking the rack at the top of the concentric pressing phase. Always maintain a minimum of 36 inches of clearance between the head of an inclined bench and the nearest vertical storage upright.
Expert Biomechanics Tip: The initial pickup for a heavy dumbbell upward fly is where most injuries occur. Ensure your rack's top tier is positioned exactly between 30 and 34 inches from the floor. This specific height aligns with the hip crease of an average seated lifter, allowing you to rest the dumbbell heads on your thighs and execute a safe 'thigh-kick' to launch the weights into the starting position without relying on a bicep curl motion.
Safety and Failure Modes in Compact Gyms
When optimizing for space, lifters often push equipment into corners or buy compact racks that introduce unique failure modes. Be aware of these common layout pitfalls:
- A-Frame Tipping Hazards: A-frame racks like the Rep Fitness model are incredible space savers, but they have a high center of gravity. If you load 80lb dumbbells on the top tier and leave the bottom tiers empty, the rack becomes front-heavy. When you aggressively pull a heavy pair off the top tier for your upward fly set, the rack can tip forward. Solution: Always load A-frames from the bottom up, or bolt the rear stabilizer bar to a plywood subfloor.
- Rubber Degradation and Tier Sticking: In humid or unclimate-controlled garages, cheap rubber hex dumbbells degrade, becoming sticky. When stored tightly on a 3-tier horizontal rack, they can fuse to the metal saddles. Yanking them free mid-workout disrupts your rest periods and can cause shoulder strains. Solution: Invest in cast-iron or urethane-coated dumbbells for long-term storage reliability.
- Wall-Mount Stud Failures: Wall-mounted racks save 100% of your floor space, preserving maximum room for your upward fly arc. However, mounting them into drywall anchors or single metal studs will result in catastrophic failure once you exceed 150lbs of total stored weight. Solution: Only mount to double wooden studs or use a structural plywood backer board screwed directly into the wall joists.
Final Layout Blueprint for the Space-Conscious Lifter
To perfectly integrate your dumbbell storage with your training needs, follow this final checklist before bolting anything down:
- Measure your wingspan with the actual dumbbells you plan to use for the upward fly.
- Map an 8-foot circle around your adjustable bench. No rack, fan, or mirror should intrude into this zone.
- Select low-profile or wall-mounted storage if your gym width is under 10 feet.
- Align the top tier of your chosen rack to hip height (approx. 32 inches) for safe thigh-kick pickups.
By treating your dumbbell rack not just as a storage unit, but as a critical spatial component of your exercise mechanics, you ensure that every rep of the dumbbell upward fly is performed with full range of motion, maximum safety, and zero compromises.
More gear to consider
All reviews
Beyond Reverse Dumbbell Rows: Barbell Weight & Knurling
Rubber Hex vs Urethane: Training Triceps with Dumbbells (2026)

Power Rack vs Squat Rack vs Stand: Dumbbell Chest Routine Setup
Olympic vs Standard Plates: Home Gym & HIIT Workout with Dumbbells

Budget Dumbbell Racks for Bench Press and Dumbbell Press Setups