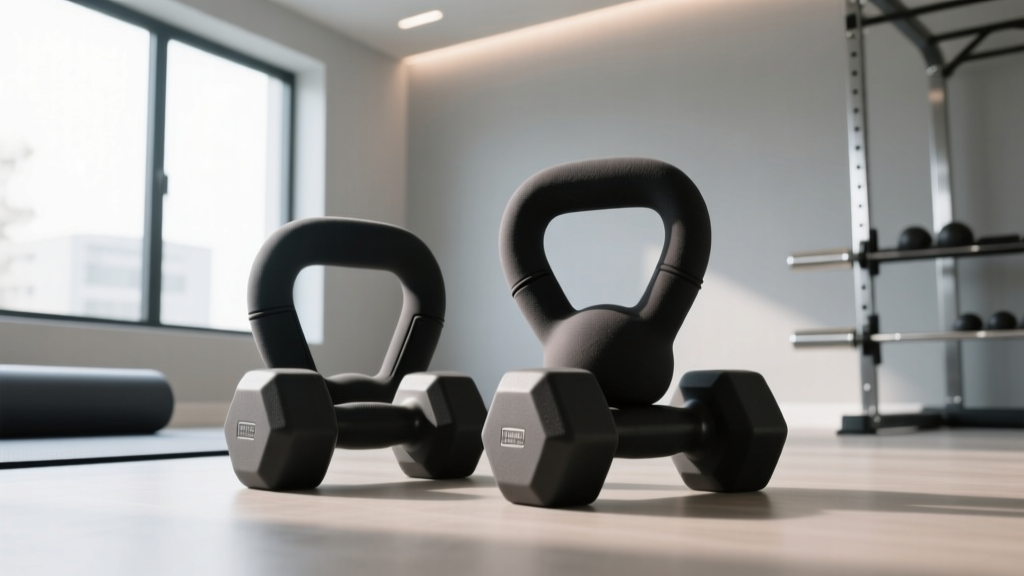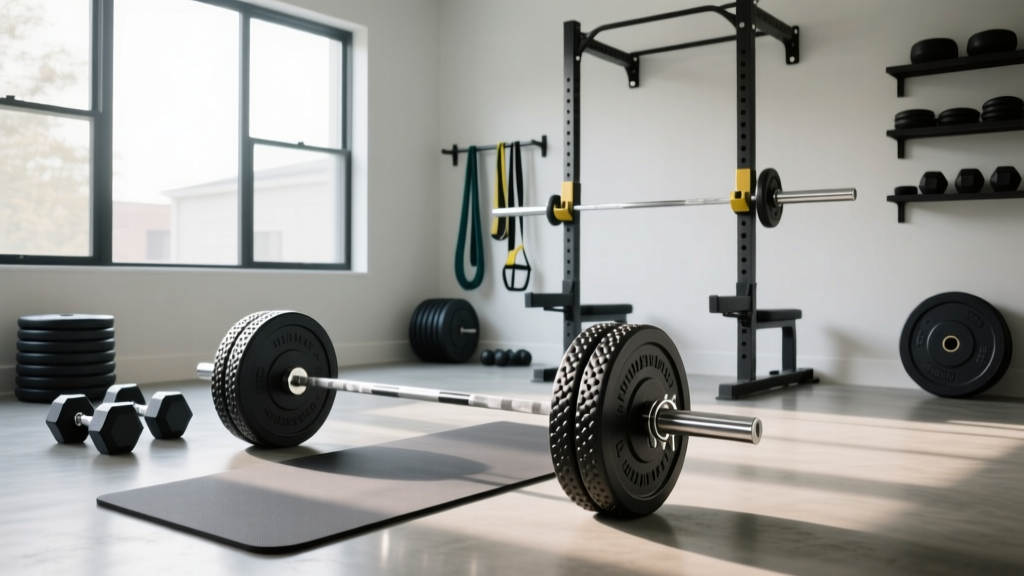
Beyond a Full Body Dumbbell Workout Beginner Routine: Barbell Setup
Mastered your full body dumbbell workout beginner routine? Upgrade your home gym with our Olympic barbell knurling guide and rack installation walkthrough.

The Transition: Outgrowing the Dumbbell Phase
If you have spent the last six months strictly following a full body dumbbell workout beginner program using adjustable 50-pound or 90-pound pairs, you have built a phenomenal foundation of stabilizer strength, joint integrity, and muscular endurance. However, as your squat and deadlift strength progress, you will inevitably hit a mechanical ceiling. Dumbbells become unwieldy to clean into position, and grip fatigue limits your lower-body overload long before your prime movers fail.
Transitioning to an Olympic barbell setup is the definitive solution for progressive overload. But buying a barbell and bolting down a power rack is not as simple as unboxing a set of neoprene dumbbells. It requires an understanding of metallurgy, knurl geometry, and structural installation. This guide bridges the gap between your beginner dumbbell roots and a professional-grade home gym barbell installation.
Olympic Barbell Buying Guide: Weight, Steel, and Dimensions
Before we drill into the concrete, we must select the right implement. The standard men's Olympic barbell weighs exactly 20kg (44 lbs) and measures 2.2 meters (7.2 feet) in total length. However, the shaft diameter and steel tensile strength dictate how the bar performs under heavy loads.
Shaft Diameter and Tensile Strength
- 28mm Shaft (Olympic Weightlifting): Designed for maximum 'whip' (oscillation) during the snatch and clean & jerk. Ideal if your training involves explosive, dynamic movements.
- 28.5mm Shaft (Multipurpose): The gold standard for general home gym use. It offers a balance of rigidity for heavy squats and enough flex for occasional Olympic lifts.
- 29mm Shaft (Powerlifting): Extremely stiff with zero whip. Best for heavy, slow-compound lifts like the squat, bench press, and deadlift.
According to Stronger By Science's barbell selection framework, you should never purchase a barbell with a tensile strength below 190,000 PSI. Anything lower risks permanent bending when dropping heavy deadlifts. For a lifetime investment, aim for 205,000 to 215,000 PSI.
Decoding Knurl Patterns: Hill, Mountain, and Volcano
Knurling is the machined cross-hatch pattern on the shaft that provides grip. As noted in BarBend's comprehensive guide to barbell knurling, the shape of the knurl drastically alters hand comfort and grip security.
Knurling Comparison Matrix (2026 Market Standards)
| Knurl Profile | Geometry & Aggression | Best Application | 2026 Benchmark Model | Avg. Price |
|---|---|---|---|---|
| Hill | Smooth, rounded peaks, low aggression | High-rep hypertrophy, beginners | CAP Barbell OB-86B | $130 - $160 |
| Mountain | Sharp, pointy peaks, high aggression | Heavy deadlifts, chalk-heavy use | Rep Fitness Excalibur | $349 - $379 |
| Volcano | Deep grooves with flat, truncated tops | Powerlifting, heavy compounds (Gold Standard) | Rogue Ohio Power Bar (Stainless) | $395 - $425 |
Expert Verdict: The 'Volcano' knurl is the undisputed champion for 90% of lifters. The flat top prevents the sharp tearing of calluses, while the deep grooves trap chalk and provide immense friction without shredding your skin during high-volume bench pressing.
Complete Setup and Installation Walkthrough
Once you have selected a 20kg barbell with a volcano knurl and 205k PSI steel, you need a safe environment to use it. Below is the step-by-step installation walkthrough for a standard 3x3-inch upright power rack (such as the REP Fitness PR-4000 or Rogue SML-2 Monster Lite).
Step 1: Rack Assembly and Structural Anchoring
Do not skip anchoring. A 20kg barbell loaded with 135 lbs of bumper plates creates a massive tipping hazard during re-racking.
- Positioning: Place the rack on a flat, level surface. Ensure you have at least 36 inches of clearance on all sides for plate loading.
- Concrete Anchoring: If bolting to a concrete slab, use a hammer drill with a 1/2-inch masonry bit. Drill 3 inches deep into the concrete through the rack's base plate holes. Insert 3/8-inch x 3-inch lag shields, then drive the lag bolts using an impact wrench. Torque to approximately 90 ft-lbs.
- Wood Subfloor Anchoring: If your gym is on a wood-framed floor, you must locate the floor joists using a stud finder. Bolt the rack directly into the joists using 3/8-inch x 4-inch structural lag screws. Never anchor solely into plywood or OSB subflooring.
Step 2: Configuring J-Cups and Barbell Storage
Improper J-cup height is a leading cause of shoulder impingement and failed lifts.
- Squat Height: Set the J-cups exactly one inch below your shoulder height when standing tall. You should have to slightly dip to unrack the bar, not lift onto your toes.
- Bench Press Height: Lie on the bench. The J-cups should be set so that your elbows are at a 90-degree angle or slightly less when holding the bar. Reaching too high wastes energy and compromises shoulder stability.
- Barbell Storage: Install UHMW (Ultra-High Molecular Weight) plastic-lined storage pegs on the rear uprights. Never rest a bare, knurled barbell directly on steel pegs, as this will grind down the knurling and introduce rust points.
Step 3: First Load and Safety Strap Calibration
Before your first heavy set, calibrate your safety straps or pin-pipe safeties.
- Load the barbell with just the 20kg plates.
- Set the safety straps one inch below the lowest point of your squat depth.
- Perform an empty-bar squat and deliberately fail the rep, lowering the bar onto the straps.
- Verify that the bar catches securely without bouncing and that your chest is not compressed against the floor or bench.
Real-World Edge Cases and Barbell Maintenance
Transitioning from dumbbells means you are now responsible for equipment maintenance. Dumbbells can be tossed in a corner; Olympic barbells require care to preserve their bushings and steel.
The Rust and Chalk Dilemma
If you use chalk (magnesium carbonate) to maximize the grip of your volcano knurl, you must clean the bar weekly. Chalk absorbs ambient moisture and traps it against the steel, accelerating oxidation even on stainless steel shafts.
The Fix: Once a week, use a stiff nylon brush (never wire, which damages the steel) to scrub the knurling. Follow up by applying a few drops of 3-in-One oil or a specialized barbell cleaner to a microfiber cloth and wipe down the shaft. This displaces moisture and keeps the knurl aggressive.
Bushing vs. Bearing Spin
As you transition from slow dumbbell presses to barbell work, you might notice the sleeves (the ends where plates load) spinning. Multipurpose and powerlifting bars use bronze or composite bushings, which provide a slow, controlled spin ideal for heavy squats and bench presses. If you attempt Olympic lifts with a bushing bar, the lack of rapid sleeve rotation will torque your wrists. If your future training involves heavy snatches, you will eventually need a dedicated weightlifting bar with needle bearings.
Final Thoughts on Your Gym Evolution
Moving past the full body dumbbell workout beginner phase is a massive milestone in your fitness journey. By investing in a high-tensile Olympic barbell with a proper volcano knurl, and taking the time to structurally anchor your power rack, you are building a home gym that will safely support your strength gains for decades. Respect the equipment, maintain your knurling, and enjoy the limitless progressive overload that only a barbell can provide.
More gear to consider
All reviews
Loadable Dumbbells 2026: Dumbbell Exercises for Shoulders

Comparing Neoprene Dumbbell Dimensions (cm) for Home Gyms

Dumbbell Only Workout Split Reddit Limits: Barbell Collar Setup Guide
Single Arm Dumbbell Triceps Extensions & Barbell Collar Clamp Guide
Power Rack vs Squat Rack vs Stand for HIIT Training with Dumbbells