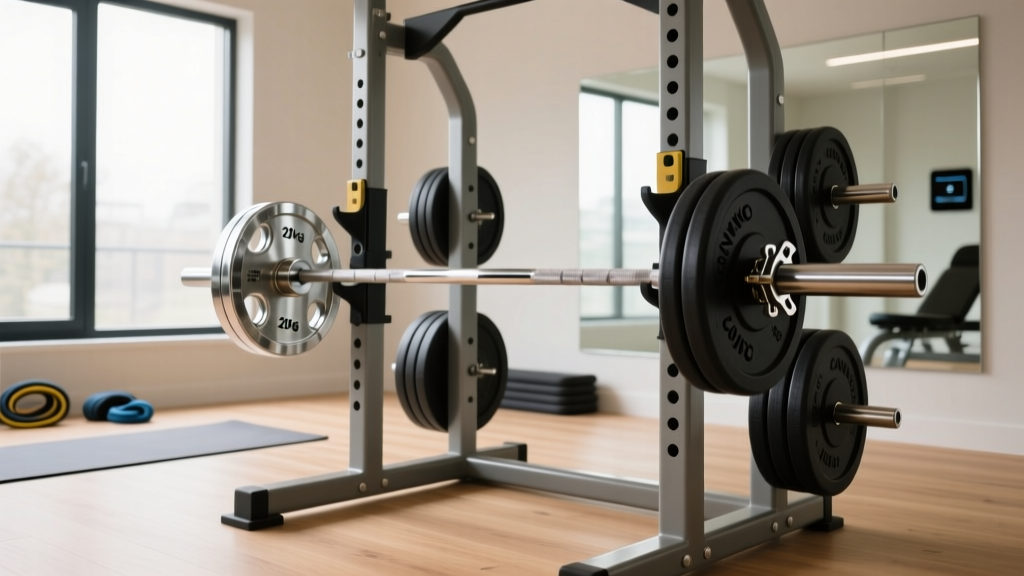
Beyond Dumbbell Back Workouts: Barbell Collar & Clamp Setup
Transitioning from dumbbell back workouts? Compare barbell collar and clamp types, and follow our complete setup walkthrough for safe, heavy lifting.

The Loading Ceiling: Transitioning From Dumbbell Back Workouts
Many lifters build their initial posterior chain strength and lat width using dumbbell back workouts—relying heavily on single-arm rows, chest-supported dumbbell rows, and dumbbell pullovers. While excellent for targeted hypertrophy and correcting unilateral imbalances, dumbbells eventually hit a severe loading ceiling. Gripping a 120-pound dumbbell for a heavy row becomes a grip-limiting nightmare before your lats actually reach mechanical failure.
This inevitable plateau forces the transition to the barbell. Movements like the Pendlay row, heavy barbell bent-over row, and barbell pullovers allow for massive systemic overload. However, moving to heavy barbell work introduces a critical safety and setup variable: lateral plate shift. According to biomechanics data cataloged by ExRx.net, the rapid deceleration of a barbell during dynamic hinging and rowing generates immense lateral kinetic energy. If your plates are not secured properly, they will slide outward, altering the bar's center of gravity and potentially causing catastrophic wrist or lower back injuries.
This comprehensive walkthrough covers the technical comparison of barbell collar and clamp types, followed by a precise installation protocol to ensure your heavy back days are both productive and safe.
Barbell Collar and Clamp Types: A Technical Comparison
Not all collars are created equal. The market is flooded with cheap spring clips that offer a false sense of security. To properly secure an Olympic barbell (which features a standard 50mm sleeve diameter), you need equipment that generates adequate radial clamping force. Below is a breakdown of the primary collar architectures available in 2026.
1. Traditional Spring Clips (The 'Bane' of the Gym)
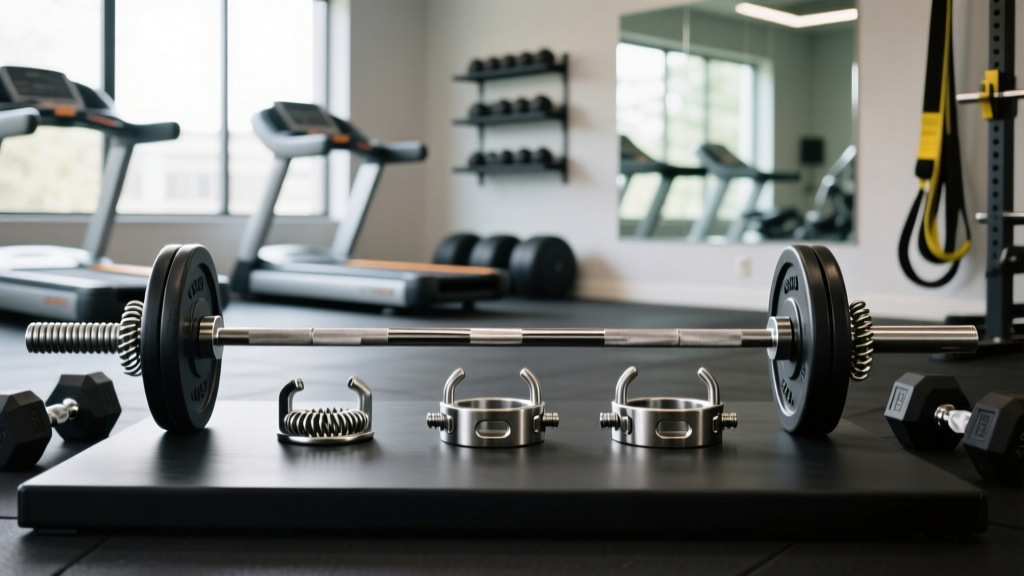
Constructed from coiled steel wire, these are the standard issue in commercial gyms. They provide roughly 10 to 15 pounds of lateral clamping force. While sufficient for static movements like the bench press, they routinely fail during dynamic dumbbell back workout alternatives like Pendlay rows or snatches, where the bar impacts the floor or changes direction rapidly.
2. Clamp-Style Collars (e.g., Lock-Jaw Pro)
These utilize a high-impact ABS plastic body, an inner TPE (Thermoplastic Elastomer) liner, and a steel tension latch.
- Clamping Force: ~120 lbs.
- Price Range: $40 - $50 per pair.
- Best For: Lifters who do frequent drop-sets and need to change plates in under 5 seconds.
3. Aluminum Lever Collars (e.g., Rogue HG 2.0)
CNC-machined from aircraft-grade aluminum with a resin or TPE inner lining. As highlighted in the comprehensive testing by BarBend's barbell collar guide, aluminum lever collars offer the best balance of extreme durability, high clamping force, and longevity. The Rogue HG 2.0 Collars remain the gold standard for home and garage gyms.
- Clamping Force: 200+ lbs.
- Price Range: $35 - $45 per pair.
- Best For: Heavy powerlifting, Olympic lifting, and aggressive barbell rows.
4. Calibrated Competition Collars (e.g., Eleiko IPF Collars)
Machined steel and aluminum, weighing exactly 2.5kg each to count toward the total lifted weight in sanctioned powerlifting meets. They use a threaded screw-and-clamp mechanism.
- Clamping Force: 300+ lbs (Virtually immovable).
- Price Range: $110 - $140 per pair.
- Best For: Competitive powerlifters and dedicated deadlift stations.
Specification & Failure Mode Matrix
| Collar Type | Example Model | Inner Liner Material | Common Failure Mode | Setup Time |
|---|---|---|---|---|
| Spring Clip | Generic Commercial | None (Bare Metal) | Spring fatigue; slips on chalky sleeves | 3-5 seconds |
| Plastic Clamp | Lock-Jaw Pro | TPE Rubber | Plastic latch hinge snapping under torque | 2-3 seconds |
| Aluminum Lever | Rogue HG 2.0 | Resin / TPE | Inner liner tearing if forced on rusty sleeves | 4-6 seconds |
| Competition | Eleiko IPF | Steel / Brass | Thread stripping if cross-threaded | 10-15 seconds |
Complete Setup and Installation Walkthrough
Proper installation is just as critical as the hardware itself. A $40 aluminum collar installed incorrectly will slip just as easily as a $2 spring clip. Follow this step-by-step protocol when setting up for heavy barbell back work.
⚠️ CRITICAL WARNING: Never install any collar on a barbell sleeve that is heavily rusted or caked in dried, wet chalk. The abrasive surface will shred the TPE or resin inner liners of premium collars, destroying their ability to grip the steel sleeve.Step 1: Seat the Plates Flush
Load your bumper or cast-iron plates onto the sleeve. Ensure the innermost plate is seated completely flush against the barbell's inner sleeve lip (the machined ridge where the sleeve meets the shaft). Any gap here will allow the entire plate stack to shift inward during a row, creating a dangerous lateral imbalance.
Step 2: Clean the Sleeve Edge
Use a stiff nylon brush or a dry microfiber cloth to wipe the outer 2 inches of the barbell sleeve. Removing chalk dust and sweat oils ensures maximum friction between the steel sleeve and the collar's inner liner.
Step 3: Align and Slide the Collar
For lever-style collars (like the Rogue HG 2.0), ensure the lever is in the fully open (unlocked) position. Slide the collar onto the sleeve. Pro-Tip: Do not push the collar completely flush against the outermost plate. Leave a gap of roughly 1/8th of an inch (about the thickness of a standard US quarter). This micro-gap allows the lever to pull the collar inward, compressing the plates together when locked.
Step 4: Engage and Test
Push the lever down into the locked position. You should feel significant resistance during the final 30 degrees of the lever's travel. This resistance is the cam mechanism biting into the sleeve and pulling the collar inward. The Physical Test: Grip the outermost plate and attempt to twist and pull it laterally. If the plate rotates independently of the bar, or if the collar slides, unlock it, move it 1/4 inch further out, and re-lock.
Maintenance: Prolonging Collar Lifespan
Even premium collars require basic maintenance to maintain their clamping force over years of heavy use.
- TPE Liner Care: Once a month, wipe the inner rubber/resin liners with a damp cloth and a mild degreaser. Sweat and acidic gym chalk degrade TPE over time, causing it to harden and lose its grip.
- Cam Mechanism Lubrication: For aluminum lever collars, apply a single drop of 3-in-One oil or silicone lubricant to the hinge pin of the lever mechanism every 6 months to prevent squeaking and ensure smooth engagement.
- Storage: Do not leave collars clamped onto the barbell when not in use. Constant tension compresses the inner liners, leading to 'memory set' where the liner permanently deforms and loses its radial clamping pressure.
Frequently Asked Questions
Can I use clamp collars for Olympic lifts like cleans and snatches?
Yes, but with a caveat. Plastic clamp collars (like Lock-Jaws) are popular for Olympic lifting because they are lightweight and won't damage the barbell sleeve or platform if dropped. However, ensure the latch is facing upward or inward when the bar is on the floor, so the impact of dropping the bar doesn't strike the latch mechanism directly against the platform.
Why do my plates still rattle even with tight aluminum collars?
Rattling is usually caused by using mismatched plate types (e.g., mixing thin steel competition plates with thick rubber bumper plates) or using plates with oversized center holes. The collar's job is to prevent lateral sliding off the sleeve, not to eliminate the acoustic vibration of loosely machined plate hubs. If the collar cannot slide laterally by hand, your setup is safe.
Do I need collars for dumbbell back workouts?
No. Traditional adjustable dumbbell handles (like spin-lock dumbbells) use threaded star-nuts to secure plates. However, if you are using specialized loadable dumbbell handles with smooth Olympic sleeves (like the Rogue Loadable Dumbbell Handles) to simulate heavy barbell rows, you absolutely must use miniature versions of the collars listed above to secure the plates.
More gear to consider
All reviews
Loadable Dumbbells vs Fixed: Budgeting an Aerobic Dumbbell Workout

Senior Dumbbell Storage & Seated Dumbbell Exercises for Seniors PDF Guide

Cast Iron vs Competition Kettlebells: Maintenance & Dumbbell Floors

Dumbbell Butterfly Mistakes and Neoprene Troubleshooting Guide
Barbell Clamps for Squats & Any Leg Workout Routine With Dumbbells
