
Barbell Collar Types: Safety for Dumbbell Circuit Exercises
Compare barbell collar and clamp types to prevent plate shift. Troubleshoot safety hazards for heavy lifts and dynamic dumbbell circuit exercises.

The Hidden Danger in Your Home Gym: Plate Shift and Lateral Force
When building a comprehensive home gym, most lifters obsess over barbell knurl patterns, bumper plate durometers, and rack steel thickness. Yet, the most critical safety component in your equipment arsenal often costs less than fifty dollars: the barbell collar. A catastrophic plate shift during a heavy lift or a high-intensity metabolic conditioning session can lead to severe wrist, shoulder, or facial injuries.
This troubleshooting guide dissects the mechanical realities of barbell collars and clamp types. More importantly, we will explore how to properly secure loadable dumbbell handles—a staple for heavy dumbbell circuit exercises—where shorter sleeves and extreme lateral G-forces expose the weaknesses of inferior clamping mechanisms.
⚠️ Critical Safety Warning: Never use standard spring clips for Olympic weightlifting, strongman implements, or loadable dumbbell handles. Spring clips provide less than 15 lbs of lateral clamping force and will fail under dynamic deceleration.The Physics of Plate Shift: Why Collars Fail
To troubleshoot collar failure, you must understand the physics of lateral force. When you drop a barbell from the shoulder during a clean, or when you perform explosive movements during dumbbell circuit exercises using loadable handles, the plates experience massive lateral G-forces. If the collar’s clamping force against the steel sleeve is weaker than the lateral momentum of the plates, the plates shift outward.
According to safety guidelines published by the National Strength and Conditioning Association (NSCA), ensuring equipment integrity and proper securing of implements is a primary mandate for preventing weight room injuries. A shifting plate alters the center of gravity mid-rep, instantly compromising joint stability.
Barbell Collar and Clamp Types Comparison Matrix
Not all collars are created equal. Below is a data-driven comparison of the most common clamping mechanisms on the market in 2026, detailing their lateral holding power and ideal use cases.
| Collar Type | Model Example | Lateral Force | Weight/Pair | Price Range |
|---|---|---|---|---|
| Spring Clip | Generic Steel | ~15 lbs | 0.2 lbs | $5 - $10 |
| Nylon Cam-Lever | Lock-Jaw LITE | ~80 lbs | 1.1 lbs | $25 - $35 |
| Aluminum Cam-Lever | Rogue AH-1 | ~150 lbs | 1.5 lbs | $45 - $55 |
| Precision Machined | Eleiko Olympic | 200+ lbs | 2.2 lbs | $85 - $95 |
Troubleshooting Common Collar Mistakes
Even with premium equipment, user error and equipment degradation can lead to failure. Here is how to troubleshoot the most common clamping mistakes.
Mistake 1: Ignoring Sleeve Tolerances
Standard Olympic sleeves are exactly 50mm in diameter. However, budget-friendly barbells and cheaper loadable dumbbell handles often measure 49.2mm to 49.5mm. If you use a rigid, precision-machined aluminum collar (like the Eleiko) on an undersized sleeve, the collar will not bite into the steel properly, leading to dangerous slippage. The Fix: Use nylon-insert cam-lever collars for budget sleeves, as the nylon compresses to fill the tolerance gap.
Mistake 2: Nylon Insert Degradation
Cam-lever collars rely on a hard nylon or Delrin insert to grip the sleeve. Over 3 to 5 years of heavy use, these inserts compress, crack, or wear smooth. The Fix: Inspect your collar inserts bi-annually. If the lever requires excessive force to close, or conversely, snaps shut too easily without resistance, the insert is worn. Many premium brands sell $10 replacement inserts to restore factory clamping force.
Mistake 3: The 'Overhang' Error on Loadable Dumbbells
When athletes incorporate loadable handles into their dumbbell circuit exercises, sleeve space is at a premium. A standard barbell sleeve is 16.3 inches long, but a loadable dumbbell sleeve (like the Rogue Loadable Dumbbell Handles) is only about 6.5 inches. Using bulky collars eats up valuable loading space, preventing you from adding the 2.5 lb fractional plates needed for micro-progression.
💡 Expert Tip: For loadable dumbbells, prioritize low-profile aluminum collars. The Rogue AH-1 or the OSO Barbell Collars offer maximum clamping force with a minimal footprint (under 1.5 inches thick), preserving critical sleeve space for your plates.Adapting Barbell Clamps for Dumbbell Circuit Exercises
High-intensity dumbbell circuit exercises—such as dumbbell thrusters, renegade rows, and dumbbell snatches—subject the implement to violent changes in direction. When using loadable dumbbell handles for these circuits, the collars must withstand immense multidirectional sheer forces.
The Troubleshooting Protocol for Circuits:
- Double-Collar Method: If your loadable dumbbell sleeves are long enough (8+ inches), use an inner spring clip flush against the plates, followed by an outer aluminum cam-lever collar. This creates a redundant fail-safe against catastrophic plate ejection during explosive snatches.
- Threaded Alternatives: If you are tired of managing collars during fast-paced circuits, consider switching to threaded-handle dumbbells (like the Ironmaster Quick-Lock system) or spin-lock collars. While slower to load, they physically thread onto the handle, making lateral plate shift mechanically impossible.
- Plate Sequencing: Always place the largest diameter bumper plate closest to the handle collar, followed by smaller iron or urethane plates. This creates a wider, more stable base against the collar's flat face, distributing lateral force evenly.
Step-by-Step: The 'Lock-and-Verify' Protocol
Implement this strict protocol before every heavy lift or metabolic circuit to ensure absolute equipment security.
- Wipe the Sleeve: Chalk and sweat create a lubricated surface on steel. Wipe the barbell or dumbbell sleeve with a dry microfiber cloth before loading.
- Seat the Plates Flush: Ensure no rubber debris or chalk buildup is trapped between the plates. Tap the loaded barbell on the floor to naturally settle the plates tightly together.
- Apply the Collar Flush: Push the collar completely flush against the outermost plate before engaging the lever. Leaving a 1/4-inch gap allows for micro-movements that can build momentum and cause a shift.
- Engage and Lock: Snap the cam-lever down. It should require moderate thumb pressure to close the final 15 degrees.
- The Shake Test: Grip the collar and attempt to twist and pull it laterally. If it spins or slides, the insert is worn or the sleeve tolerance is mismatched.
Expert FAQ: Collar Maintenance and Edge Cases
Can I use stainless steel hose clamps as a cheap alternative?
No. While hose clamps provide immense radial squeezing force, they offer virtually zero lateral stopping power. A heavy plate will easily slide right past a tightened hose clamp, especially if the sleeve is slightly chalky. Stick to purpose-built cam-lever or machined collars.
Do I need collars for hex dumbbells?
Traditional cast-iron or urethane hex dumbbells are solid, single-piece constructs and do not require collars. However, if you are using adjustable plate-loaded dumbbell handles (which are highly cost-effective for heavy dumbbell circuit exercises), collars are non-negotiable for safety.
Why do my aluminum collars scratch my barbell sleeves?
Aluminum is softer than steel, but if chalk, sand, or metal shavings get trapped between the collar's inner ring and the barbell sleeve, it acts like sandpaper. Clean your collars regularly and inspect the inner Delrin ring for embedded debris to protect your barbell's zinc or chrome finish.
More gear to consider
All reviews
Olympic vs Standard Plates for Your Dumbbell Triceps Press

Beyond the Decline Dumbbell Fly: Barbell Weight & Knurling Guide

Power Rack vs Squat Stand for a Dumbbell Only Glute Workout
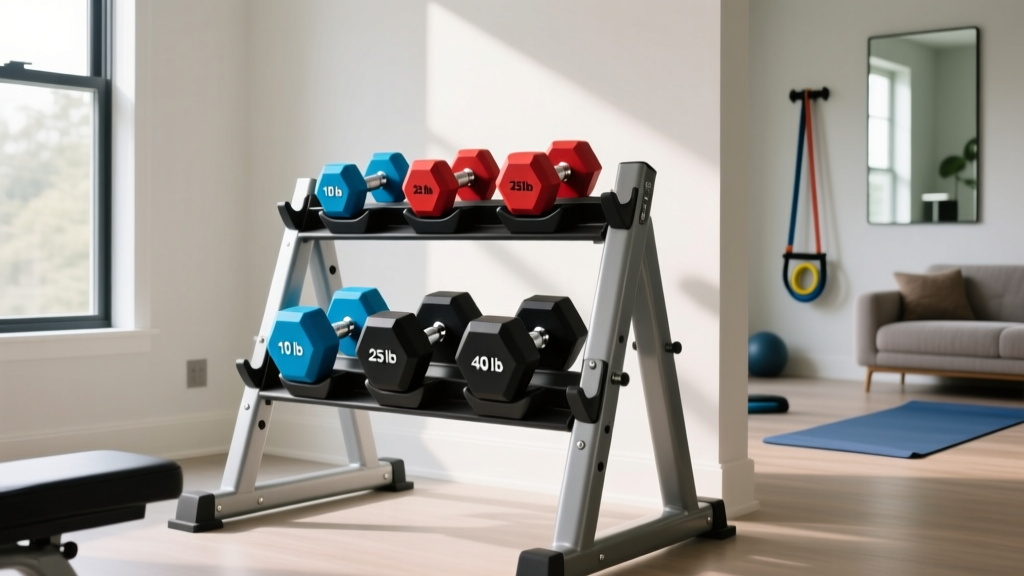
Best Dumbbell Racks for Bench Pressing with Dumbbells (2026)
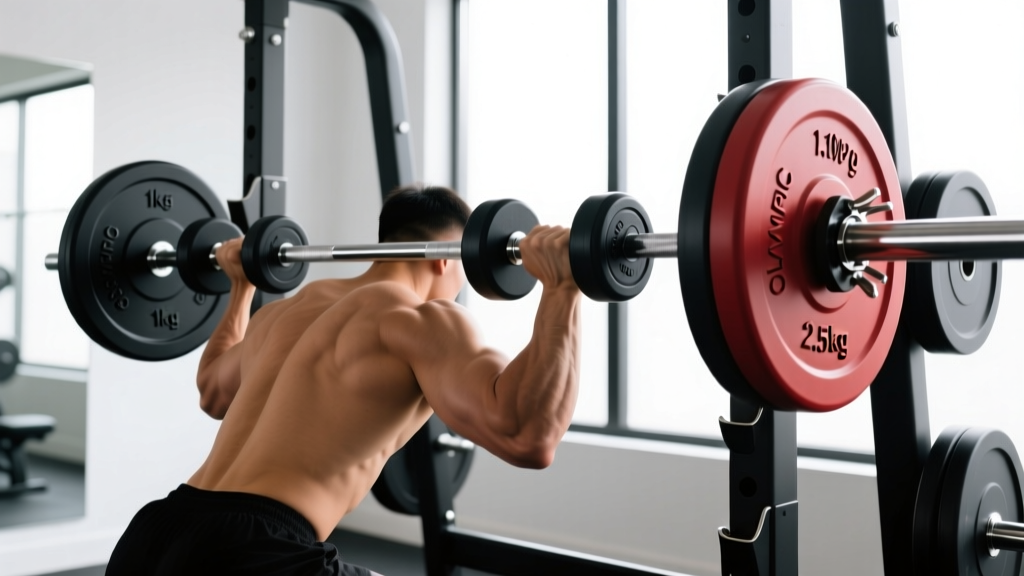
Olympic vs Standard Plates: Best Setup for Single Arm Dumbbell Rows
