Space-Saving Racks For Your Chest Press Dumbbell Workouts
Optimize your home gym layout with space-saving racks. Discover clearance metrics and storage solutions for chest press dumbbell routines.

The Spatial Demands of the Chest Press Dumbbell Movement
Designing a functional home gym requires more than just purchasing the right equipment; it demands a meticulous approach to spatial geometry. When mapping out your floor plan, the chest press dumbbell movement is often the most spatially demanding exercise in your repertoire. Unlike barbell bench presses, which confine the weight to a fixed vertical path, dumbbell variations require extensive lateral clearance for the eccentric drop and the initial 'kick-back' setup phase.
A standard flat utility bench measures approximately 45 inches in length and 12 inches in width. When you add a pair of 50-pound rubber hex dumbbells (each measuring roughly 14.5 inches in length) and account for the natural outward flare of the elbows during the bottom of the press, your required lateral footprint expands dramatically. To execute a heavy chest press dumbbell routine without scraping your knuckles or elbows against nearby storage units, you need a minimum lateral clearance zone of 8.5 feet. Understanding these biomechanical arcs is the first step in selecting the right dumbbell rack and positioning it safely within your layout.
Dumbbell Rack Typologies & Footprint Matrix
Not all storage solutions are created equal when square footage is at a premium. The market generally offers three primary rack configurations, each with distinct spatial trade-offs. According to equipment footprint specifications from manufacturers like Rogue Fitness, the depth of the rack is often the most critical metric for narrow garage gyms or basement conversions.
Below is a comparative matrix of the most common rack typologies, highlighting their spatial efficiency and ideal use cases for 2026 home gym layouts.
| Rack Typology | Example Model | Footprint (W x D) | Weight Capacity | Estimated Cost |
|---|---|---|---|---|
| 3-Tier Horizontal | Rogue 3-Tier Dumbbell Rack | 52' x 28' | 5-50 lb pairs | $225 - $275 |
| A-Frame Vertical | CAP Barbell A-Frame | 25' x 25' | 5-25 lb pairs | $75 - $95 |
| Compact Adjustable Stand | Ironmaster Quick-Lock Stand | 18' x 18' | Up to 120 lbs (Adjustables) | $149 - $169 |
| Wall-Mounted Tier | BalanceFrom Wall Rack | 48' x 6' (protrusion) | 5-30 lb pairs | $110 - $140 |
For lifters prioritizing heavy chest press dumbbell workouts, the 3-tier horizontal rack is the gold standard for accessibility, but it consumes roughly 10 square feet of floor space. Conversely, the A-Frame minimizes the footprint to just over 4 square feet, though it severely limits your maximum weight storage, making it unsuitable for advanced lifters pressing 70+ pound dumbbells.
The 'Kick-Back' Clearance Zone
One of the most frequently overlooked aspects of gym layout design is the 'kick-back' zone. When lifting heavy dumbbells from the floor or a low rack into the starting position for a chest press, lifters use their knees to kick the weights backward onto their chest. If your dumbbell rack is positioned too close to the head of the bench, this essential setup mechanic is physically blocked.
Expert Safety Warning: The American Council on Exercise (ACE) emphasizes that improper equipment spacing is a leading cause of home gym strains. Never place a dumbbell rack within 24 inches of the head of your bench. This proximity forces lifters to curl heavy weights into position using the biceps and anterior deltoids, drastically increasing the risk of rotator cuff tears and bicep tendon ruptures before the working set even begins.
Step-by-Step: Positioning for Safety and Flow
- Establish the Bench Anchor: Place your bench first, ensuring at least 36 inches of clearance on both sides for the dumbbell arc.
- Define the Kick-Back Corridor: Leave a 30-inch gap behind the head of the bench. This allows you to sit, position the dumbbells on your thighs, and safely recline.
- Align the Rack Parallel to the Bench: Instead of placing the rack at the head of the bench, position it parallel to the side of the bench, roughly 18 inches away. This allows you to stand beside the bench, pick up the weights with a neutral spine, sit down, and execute the kick-back without spatial interference.
Advanced Storage Solutions for Micro-Gyms
If your dedicated workout space is under 100 square feet, traditional floor racks may render your chest press dumbbell routines impossible due to spatial congestion. In these micro-gym scenarios, transitioning to adjustable dumbbells and specialized storage becomes mandatory.
Adjustable vs. Fixed: Storage Implications
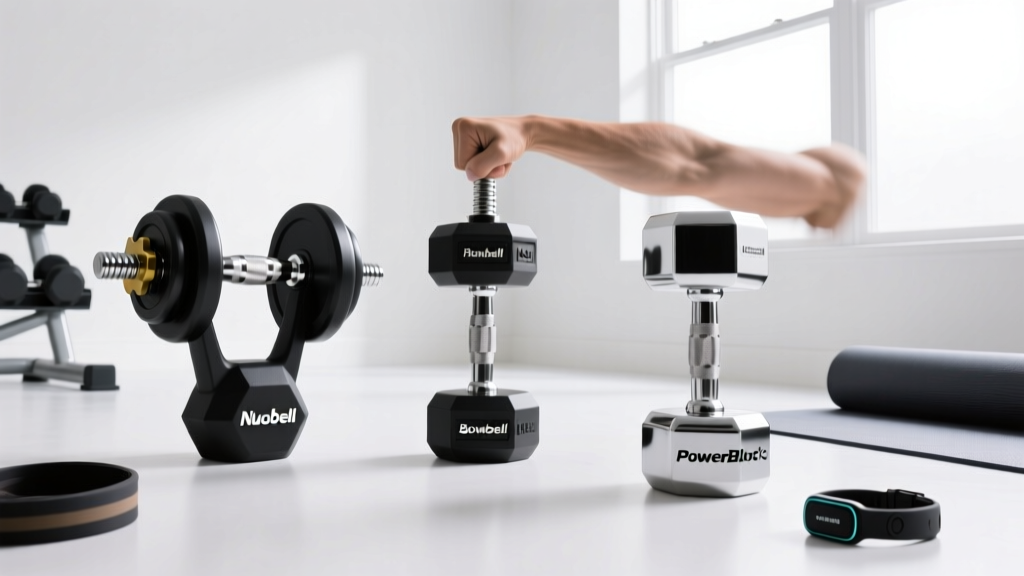
- Nuobell 80lb System: These adjustable dumbbells measure 15.5 inches in length and require their specific proprietary cradle trays. The trays can be mounted directly to a wall stud using heavy-duty lag bolts, completely eliminating the floor footprint while keeping the weights at waist-height for easy retrieval.
- PowerBlock Elite USA: With a compact, blocky dimensions of 12' x 6.5' x 6.5', these can be stored on a heavy-duty steel shelving unit (like a Husky 5-tier rack) alongside your kettlebells and plates. Their uniform shape prevents rolling, making high-shelf storage significantly safer than round urethane dumbbells.
- Fixed Urethane Sets: If you refuse to compromise on the feel of fixed dumbbells, consider a custom-built, staggered wall-mounted shelf system. By staggering the shelves in a staircase pattern, you can store 5 to 40-pound pairs against a single 4-foot wall section, utilizing dead vertical space that floor racks ignore.
Structural Engineering: Floor Loading and Joist Alignment
A critical, non-obvious factor in dumbbell rack placement is residential floor loading. A fully loaded 3-tier rack holding pairs from 5 to 50 pounds contains roughly 550 pounds of iron. Add the 115-pound steel rack, and you have a concentrated static load of 665 pounds resting on a footprint of just 10.1 square feet.
This equates to a point load of approximately 65.8 pounds per square foot (psf). Standard residential building codes typically mandate a live load capacity of 40 psf for bedrooms and 30 psf for living areas. Placing a fully loaded dumbbell rack in the center of a floor joist span in a second-story bedroom or a finished attic can cause long-term structural deflection or, in extreme cases, floor failure.
The Layout Solution: Always position heavy dumbbell storage racks against an exterior load-bearing wall, or ensure the long axis of the rack runs perpendicular to the underlying floor joists. This distributes the concentrated weight across multiple structural members rather than stressing a single joist. For garage gyms built on concrete slabs, this is a non-issue, but for basement or upper-floor layouts, respecting structural engineering is just as important as respecting biomechanics.
Optimizing the Workout Triangle
Ultimately, the perfect home gym layout revolves around the 'Workout Triangle'—the spatial relationship between your storage, your primary movement station (the bench), and your open floor area for dynamic movements. By prioritizing the lateral clearance required for the chest press dumbbell movement, respecting the kick-back corridor, and calculating your floor's load-bearing limits, you transform a cluttered room into a high-performance training facility. According to facility layout standards outlined by the National Strength and Conditioning Association (NSCA), maintaining unobstructed transit paths between storage and lifting zones not only improves workout efficiency but fundamentally reduces the risk of trip-and-fall injuries with heavy implements in hand.
More gear to consider
All reviews
Best Weight for Dumbbells Women: Neoprene Starter Guide

Water Dumbbell Exercises vs Loadable Dumbbells: 2026 Trends

Barbell Collar Types & Bench Supported Dumbbell Rows: Mistakes
EZ Bar vs Straight Bar: Budget & Dumbbell Calf Raises

Power Rack vs Squat Stand Setup for Single Arm Dumbbell Presses