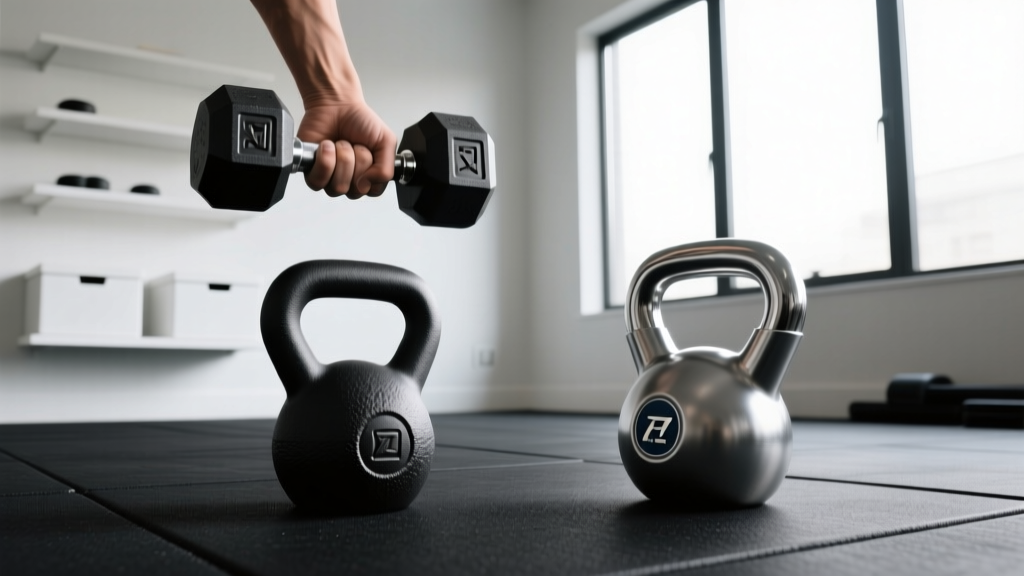
Bumper vs Iron Plates & Dumbbell Curl Bench Care
Compare bumper vs iron plates and learn expert maintenance tips to protect your floors, weights, and dumbbell curl bench for maximum longevity.

The Great Plate Debate: Bumper vs. Cast Iron
When outfitting a home gym or commercial facility, the choice between bumper plates and traditional cast iron plates dictates not only the type of training you can perform but also the long-term maintenance required to keep your equipment in pristine condition. While Olympic lifters and CrossFit athletes default to bumpers, powerlifters and bodybuilders often prefer the dense, compact profile of iron. However, selecting the right plate is only half the battle; understanding how to care for them—and how they interact with the rest of your equipment, like your dumbbell curl bench—is critical for longevity.
| Feature | Virgin Rubber Bumper Plates | Cast Iron Plates (Machined) |
|---|---|---|
| Material | High-durometer virgin rubber (85-90 Shore A) | Cast iron with machined edges / enamel coating |
| Drop Tolerance | High (Designed for overhead drops) | Low (Will crack flooring or chip enamel) |
| Primary Maintenance | UV protection, edge tear inspection | Rust prevention, humidity control |
| Avg. Cost (per 45lb pair) | $130 - $180 | $90 - $140 |
| Lifespan | 5-10 years (depending on UV/drop surface) | 50+ years (if rust is managed) |
Plate Maintenance Protocols: Preserving Your Iron and Rubber
According to facility maintenance guidelines emphasized by the National Strength and Conditioning Association (NSCA), proactive equipment care reduces replacement costs by up to 40% over a five-year period. The maintenance routines for iron and rubber, however, are diametrically opposed.
Cast Iron Care: Battling Oxidation
Cast iron plates, such as the iconic York Legacy or modern machined plates from Eleiko, are highly susceptible to flash rust. Iron oxidizes rapidly when exposed to the humidity of a garage gym or the sweat transferred from hands.
- Monthly Wipe-Down: Use a microfiber cloth lightly dampened with a 50/50 mix of water and white vinegar to wipe down the plates. Avoid harsh chemical degreasers that strip the protective enamel or bare iron patina.
- Rust Removal: For surface rust, use a brass wire brush (never steel, which will gouge the iron) and a light application of 3-in-One oil. Wipe off excess oil immediately to prevent a sticky dust magnet.
- Hub Lubrication: The center steel hub insert can squeak or grind against the barbell sleeve. Apply a dry PTFE (Teflon) lubricant to the inner ring bi-annually.
Bumper Plate Preservation: Preventing Dry Rot and Tearing
Bumper plates, like the widely used Rogue Echo Bumpers, face different threats: UV degradation, ozone cracking, and edge tearing from improper dropping.
- UV and Ozone Protection: Rubber breaks down when exposed to direct sunlight and high ozone levels. If your gym is in a sunlit garage, apply a UV protectant like 303 Aerospace Protectant to the plates every six months to prevent the rubber from turning chalky and brittle.
- Chalk Buildup: Magnesium carbonate (gym chalk) embeds into the porous surface of crumb-rubber bumpers and accelerates drying. Scrub plates quarterly with a stiff nylon brush and mild dish soap.
- Drop Surface Management: Dropping bumpers on uneven concrete creates sheer forces that slice the rubber edges. Always use 3/4-inch horse stall mats over a plywood subfloor to absorb lateral sheer.
Expert Insight: Never store bumper plates flat on their sides for long periods. The continuous pressure on a single edge can cause the rubber to warp or develop a 'flat spot,' altering the plate's bounce and structural integrity. Always store them vertically on a weight tree or A-frame rack.
Dumbbell Curl Bench Longevity & Care
While heavy plates take the brunt of the impact, isolation stations suffer from insidious, slow-moving damage. The dumbbell curl bench—whether a dedicated preacher curl station or an adjustable incline bench used for seated bicep work—is a prime victim of neglect. Because bicep training involves high sweat volume and aggressive dumbbell handling, the bench requires a specialized maintenance routine.
Combating Knurling Tears and Vinyl Degradation
The most common failure mode for any dumbbell curl bench is the tearing of the vinyl pad. When lifters finish a heavy set of dumbbell curls, they often drop the dumbbells onto the bench or drag the aggressive knurling across the vinyl to reposition their grip. Over time, this creates micro-abrasions that eventually split the pad, exposing the high-density foam to sweat and bacteria.
Pro-Tip: The 'Hover and Place' RuleTrain clients and gym members to 'hover' the dumbbells over the bench and place them down vertically, rather than dragging them horizontally across the pad. For existing micro-tears, use a flexible marine-grade vinyl repair glue (like Tear-Aid) immediately to prevent sweat from rotting the underlying polyurethane foam.
Mechanical Maintenance: Hinges and Pop-Pins
If you are using an adjustable bench for seated dumbbell curls, the ladder or pop-pin adjustment mechanism is under constant stress.
- Bolt Torque Check (Quarterly): The vibration from racking dumbbells loosens the 3/8-inch Grade 8 bolts on the bench hinges. Use a torque wrench to tighten these to the manufacturer's specification (usually between 25-35 ft-lbs). Over-tightening will strip the nyloc nuts.
- Pop-Pin Lubrication: The spring-loaded pop-pins that secure the bench angle can become sticky due to chalk dust and sweat. Spray a small amount of silicone lubricant into the pin shaft and work it in and out to ensure smooth, safe adjustments.
- Sweat Corrosion on Steel Frames: Forearm sweat drips directly onto the steel cross-members of a preacher curl bench. Wipe the frame down weekly with an enzyme-based cleaner to break down the acidic salts in sweat that eat through powder coating.
Synergistic Storage: Protecting Your Gear and Floors
How you store your plates directly impacts the safety and lifespan of your surrounding equipment, including your dumbbell curl bench. A common home gym mistake is placing heavy cast iron plate trees too close to isolation benches.
If a 45lb iron plate is accidentally knocked off a poorly designed tree, it will not only shatter your flooring but can easily crush the tubular steel frame of a nearby dumbbell curl bench. Maintain a minimum 36-inch clearance zone around the perimeter of any bench. Furthermore, store your heaviest iron plates on the bottom pegs of the tree to lower the center of gravity and prevent the tree from tipping during aggressive plate loading.
Troubleshooting Common Failure Modes
Use this quick-reference matrix to diagnose and fix issues before they require total equipment replacement.
| Equipment | Symptom | Root Cause | Corrective Action |
|---|---|---|---|
| Iron Plates | Orange dust on hands/bars | Flash rust from high humidity | Wire brush, apply light mineral oil, add silica gel desiccants to gym space. |
| Bumper Plates | White chalky residue on edges | UV/Ozone rubber oxidation | Clean with mild soap, apply 303 Aerospace UV protectant. |
| Dumbbell Curl Bench | Squeaking during seated curls | Dry hinge washers or loose bolts | Tighten hinge bolts; apply white lithium grease to nylon pivot washers. |
| Dumbbell Curl Bench | Pad feels 'mushy' or uneven | Sweat rot degrading PU foam | Replace vinyl cover and upgrade to closed-cell high-density foam. |
Final Thoughts on Gym Longevity
Building a home gym is a significant financial investment. Whether you opt for the drop-friendly resilience of virgin rubber bumper plates or the timeless, dense feel of machined cast iron, your equipment will only last if you respect the metallurgy and materials science behind it. Furthermore, never overlook the high-wear isolation stations. By implementing strict cleaning protocols, managing knurling contact, and regularly torquing the hinges on your dumbbell curl bench, you ensure that your training environment remains safe, aesthetically pleasing, and functionally perfect for decades to come.
More gear to consider
All reviews
Barbell Collar Types Comparison: Dumbbell Rear Delt Row Guide

Barbell Buying Guide: Knurling & Half Kneeling Dumbbell Overhead Press

Olympic vs Standard Plates for Dumbbell Lat Workouts & Home Gyms

EZ vs Straight Bar: Reverse Curl with Dumbbells Value
Power Rack vs Squat Rack vs Stand: Beyond Dumbbell Wallpaper