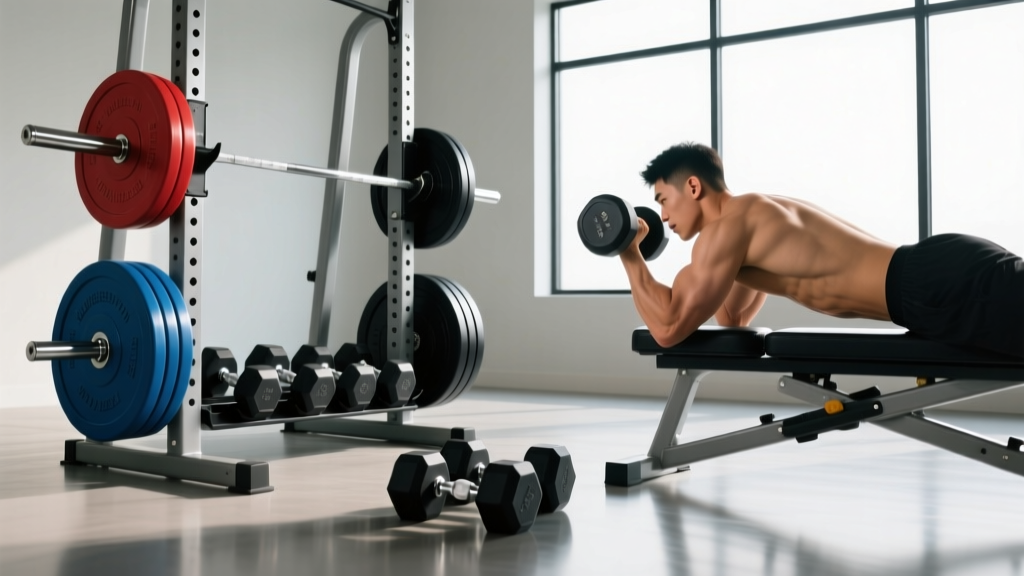
Bumper Plate vs Iron Plate Comparison & Incline Dumbbell Press Angle
Compare bumper vs iron plates for your home gym rack, and learn the biomechanics of the perfect incline dumbbell press angle for upper chest growth.

The Foundation: Bumper Plate vs Iron Plate Comparison
Building a comprehensive free-weight setup in 2026 requires making critical decisions about your rack's loading capacity. The most common crossroads for home gym owners is the bumper plate vs iron plate comparison. Your choice dictates not only the noise level and floor safety of your gym but also the longevity of your equipment under heavy Olympic and powerlifting loads.
Expert Insight: Never mix crumb rubber bumpers with machined iron plates on the same barbell for heavy drops. The differing densities and bounce rates create uneven kinetic feedback, which can lead to barbell whip and premature sleeve bearing failure.Hands-On Review: Rogue HG 2.0 vs. Rep Deep Dish Iron
To provide concrete data, we tested two industry benchmarks: the Rogue HG 2.0 Bumper Plates and the Rep Fitness Deep Dish Iron Plates.
- Rogue HG 2.0 (Virgin Rubber): Rated at an 88 Shore A durometer, these plates offer a dead bounce that absorbs kinetic energy efficiently. The stainless steel insert features a hooked design that grips the barbell sleeve, preventing the hub tear-out commonly seen in cheaper imports. Pricing in 2026 hovers around $2.85 per pound.
- Rep Fitness Deep Dish (Cast Iron): Machined for a +/- 1% weight tolerance, these plates feature raised lips for easier floor pickup and a classic aesthetic. However, they lack drop-dampening. At roughly $1.75 per pound, they are the economical choice for controlled powerlifting movements where dropping the bar is unnecessary.
Failure Modes and Edge Cases
Understanding how plates fail is crucial for long-term ROI. Bumper plates typically fail at the steel hub insert; repeated drops on uneven surfaces (like a garage driveway) cause the rubber to separate from the metal ring. Iron plates, conversely, suffer from calibration drift and oxidation. If you live in a high-humidity environment and opt for cast iron, you must commit to a monthly 3-in-One oil or mineral oil wipe-down to prevent micro-rusting that ruins barbell sleeves.
Equipment Matrix: Bumper vs. Iron
| Feature | Virgin Rubber Bumper | Machined Cast Iron |
|---|---|---|
| Drop Rating | High (Olympic lifts) | Zero (Controlled eccentrics only) |
| Thickness (45lb/20kg) | ~3.25 inches | ~1.5 inches |
| Noise Profile | Low thud | Loud metallic clank |
| 2026 Avg Cost/lb | $2.50 - $3.20 | $1.50 - $1.90 |
Transitioning to Dumbbells: Dialing in the Incline Dumbbell Press Angle
Once your barbell rack and plates are sorted, your focus must shift to dumbbell hypertrophy work. This brings us to a highly debated biomechanical variable: the incline dumbbell press angle. Many lifters blindly set their adjustable benches to the highest 45-degree notch, unaware that this drastically alters muscle recruitment patterns, shifting the load away from the chest and onto the anterior deltoids.
The Biomechanics of the Incline Press
The pectoralis major is divided into the sternocostal head (mid/lower chest) and the clavicular head (upper chest). To target the clavicular head without allowing the front delts to hijack the movement, precision is required.
According to a landmark electromyography (EMG) analysis published in the Journal of Strength and Conditioning Research, a 30-degree bench incline yields optimal activation of the clavicular head of the pectoralis major. Moving to a 45-degree angle showed no significant increase in upper chest activation, but did result in a massive spike in anterior deltoid recruitment.
The 15°, 30°, and 45° Breakdown
- 15 Degrees (The Flat Hybrid): Excellent for overall sternal head development with a slight upper-chest bias. Ideal for lifters with poor shoulder mobility or those recovering from rotator cuff impingements.
- 30 Degrees (The Gold Standard): The optimal incline dumbbell press angle for isolating the upper chest. This angle aligns the muscle fibers of the clavicular head with the line of pull during the concentric phase.
- 45+ Degrees (The Shoulder Trap): At this angle, the movement becomes a hybrid between a chest press and a seated shoulder press. Use this only if you are specifically trying to overload the front deltoids.
Step-by-Step: Calibrating Your Adjustable Bench
Most commercial and home gym benches (like the popular Rep AB-5200 2.0 or Rogue Adjustable Bench 3.0) use a ladder or pin mechanism. However, the '30-degree' notch on a bench is rarely exactly 30 degrees due to pad compression and manufacturing tolerances. Here is how to guarantee your setup:
- Acquire a Digital Angle Finder: Pick up a tool like the Wixey WR300 Digital Angle Gauge (typically under $30). Magnetic bases make this effortless.
- Zero the Base: Place the gauge on the flat floor of your gym and press the zero button.
- Measure the Pad: Place the gauge directly on the backrest pad of your bench. Do not measure the steel frame, as the pad's upholstery and hinge mechanics alter the true resting angle.
- Adjust and Lock: Move the ladder mechanism until the digital readout displays between 28° and 32°. This is your true 30-degree incline dumbbell press angle.
- Account for Pad Compression: When you lay back with heavy dumbbells, the high-density foam will compress, dropping your actual angle by 1-2 degrees. Setting the bench to 32° compensates for this deflection.
Expert Verdict & 2026 Buying Strategy
Optimizing your free weight zone requires respecting the physics of both your plates and your pressing angles. For your rack, invest in virgin rubber bumpers if your programming includes Olympic variations or high-volume deadlift drops; stick to machined iron if you are strictly powerlifting and need to maximize sleeve space for heavy squats. When transitioning to dumbbells, abandon the 45-degree default. Use a digital level to lock in a precise 30-degree incline dumbbell press angle, ensuring your upper chest receives the targeted mechanical tension it needs to grow, while keeping your shoulder joints safe for the long haul.
More gear to consider
All reviews
Outgrowing 5 100 Dumbbells: Olympic vs Standard Plates Guide

Deadlift With Dumbbells vs Barbell: Beginner Home Guide
Bumper vs Iron Plates: Bent Over Rows Dumbbell Bench Care
Power Rack vs Squat Rack vs Stand: Dumbbell External Rotation Setups
Cast Iron vs Competition Kettlebells & Dumbbell Lateral Layouts
