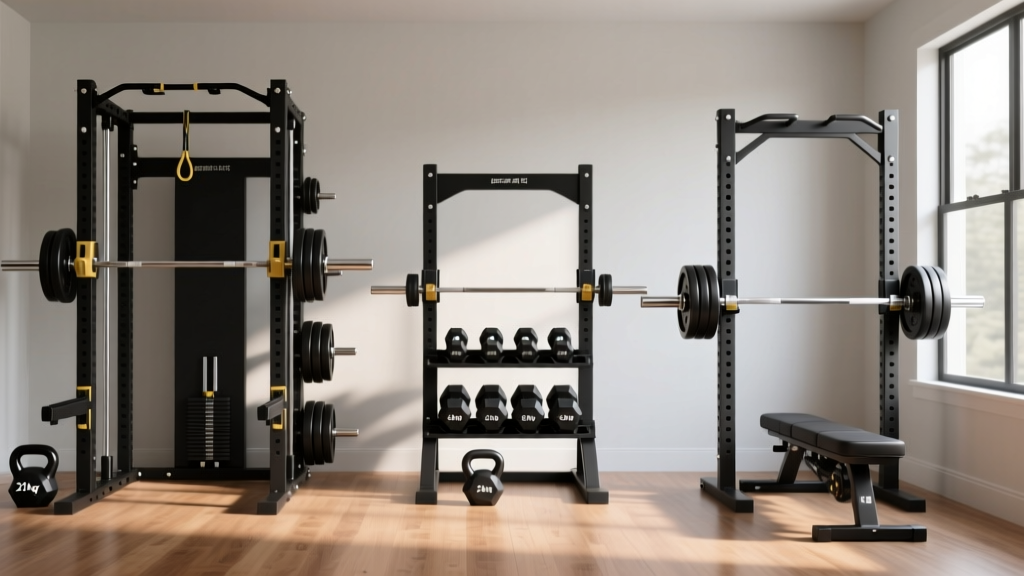
Bumper vs Iron Plates: Care & Tricep Workouts with Dumbbells at Home
Compare bumper vs iron plates for longevity and maintenance. Plus, protect your floors during tricep workouts with dumbbells at home with our 2026 guide.

The Core Showdown: Material Degradation and Longevity
Building a home gym is a significant financial investment, and as we navigate the fitness equipment market in 2026, understanding the lifecycle of your free weights is just as critical as the initial purchase price. The debate between bumper plates and cast iron plates usually centers on noise and drop-safety, but from a maintenance and longevity perspective, the conversation shifts entirely to material science, environmental degradation, and daily care protocols.
Whether you are outfitting a climate-controlled garage gym or a humid basement setup, the failure modes of urethane, virgin rubber, and cast iron dictate how long your equipment will survive. According to BarBend's comprehensive guide on plate materials, the structural integrity of a weight plate is tested not just by the barbell drops, but by the cumulative effects of oxidation, UV exposure, and improper storage.
Urethane vs. Virgin Rubber vs. Cast Iron
To establish a proper maintenance routine, you must first identify your material baseline:
- Urethane Bumpers: The gold standard for commercial and high-end home gyms. Urethane resists UV degradation, scratching, and odor. However, it is highly susceptible to extreme cold, which can cause micro-fractures if dropped in sub-50°F environments.
- Virgin Rubber Bumpers: More affordable but prone to 'dry rot' and ozone cracking over time. The metal hub insertion point is the primary failure zone, often loosening after 3-5 years of heavy Olympic lifting.
- Cast Iron Plates: Practically immortal regarding structural failure, but highly vulnerable to surface oxidation (rust). Enamel-coated iron chips easily, while bare machined iron requires constant humidity management.
Bumper Plate Maintenance Protocols
Many lifters assume bumper plates are 'drop-and-forget' equipment. This is a costly misconception. The most common catastrophic failure in bumper plates is hub pull-out, where the stainless steel or brass center insert tears through the rubber matrix during a heavy deadlift drop.
'To prevent hub loosening, never store bumper plates flat on the ground stacked on top of one another for long periods. The uneven weight distribution warps the rubber matrix around the metal insert. Always store them vertically on a weight tree or plate rack.' — Equipment Maintenance Guidelines, Garage Gym Reviews
Routine Cleaning and UV Protection
For rubber bumpers, monthly application of a water-based rubber protectant (avoid petroleum-based products like Armor All, which break down the vulcanization bonds) will extend the life of the plate by up to 40%. Urethane plates require far less care; a simple wipe-down with a mild dish soap and water solution is sufficient to remove chalk and skin oils that can degrade the surface finish over time.
Cast Iron Plate Longevity and Rust Prevention
Cast iron plates, such as the classic Rogue Deep Dish or vintage York barbell plates, offer unparalleled longevity if you actively manage their environment. Iron's greatest enemy is ambient humidity. If your home gym exceeds 60% relative humidity, bare machined iron plates will develop surface rust within 72 hours of being handled with sweaty hands.
The Chalk and Sweat Corrosion Loop
Gym chalk (magnesium carbonate) is highly hygroscopic, meaning it pulls moisture from the air. When chalk dust accumulates in the grooves of cast iron plates, it creates a localized moisture trap that accelerates oxidation. To combat this, use a stiff nylon bristle brush (never steel wire on enamel-coated plates) to clean the lettering and grooves weekly, followed by a microfiber cloth lightly dampened with 3-in-One oil or a dedicated barbell oil.
Holistic Gym Care: Integrating Tricep Workouts with Dumbbells at Home
When designing a comprehensive equipment maintenance routine, lifters often hyper-focus on their barbells and heavy plates while neglecting the high-frequency, high-wear accessories used for isolation movements. A prime example is the equipment used during tricep workouts with dumbbells at home.
Floor Impact and Sweat Exposure During Isolation
Consider the biomechanics of lying tricep extensions (skull crushers) or seated overhead dumbbell extensions. During these tricep workouts with dumbbells at home, your equipment is frequently brought close to your face, your rack, and the floor. If you are using cast-iron hex dumbbells alongside your iron plates, the cumulative risk of chipping your floor—or chipping the enamel on the dumbbell heads when setting them down aggressively—is exceptionally high.
Furthermore, because isolation exercises often involve higher rep ranges and intense localized sweating, the knurled handles and bare iron heads of your dumbbells are exposed to highly acidic sweat. This accelerates rust formation much faster than the plates sitting idle on a rack. To protect your gear and your floors during these movements:
- Use Urethane-Coated Dumbbells: Pairing your iron plates with urethane hex dumbbells ensures that when you fatigue during a heavy tricep set and need to drop the weights to the floor, the urethane absorbs the shock without chipping or cracking.
- Deploy Interlocking EVA Foam Mats: Place 3/4-inch thick EVA foam mats specifically under your bench area to catch stray chalk and absorb the impact of dumbbells dropped during tricep kickbacks or floor presses.
- Post-Workout Wipe Down: Always wipe down dumbbell handles with a 50/50 water and white vinegar solution after arm days to neutralize the acidic pH of your sweat and prevent handle pitting.
5-Year Cost of Ownership Matrix (2026 Pricing)
To truly understand the value of your free weights, we must look beyond the sticker price and calculate the maintenance costs and expected lifespan based on current market data and Rogue Fitness Echo Bumper specifications.
| Plate Type | Avg Cost per lb (2026) | Expected Lifespan | Maintenance Cost (5 Yrs) | Primary Failure Mode |
|---|---|---|---|---|
| Premium Urethane Bumper | $4.50 - $6.00 | 15+ Years | $0 (Wipe down only) | Cosmetic scuffing |
| Virgin Rubber Bumper | $2.00 - $3.00 | 5 - 8 Years | $45 (Rubber protectants) | Hub pull-out, dry rot |
| Machined Cast Iron | $2.00 - $2.50 | Lifetime | $30 (Oil, wire brushes) | Surface rust, enamel chips |
| Enamel-Coated Iron | $1.25 - $1.75 | 10+ Years | $15 (Touch-up paint) | Enamel flaking, rust spots |
Step-by-Step Iron Plate Restoration Guide
If you have acquired a set of vintage or neglected cast iron plates, or if your current set has succumbed to humidity-induced rust, do not discard them. Iron is infinitely restorable. Follow this exact protocol to bring them back to factory condition:
Phase 1: Chemical Stripping
- Submerge the rusted plates in a heavy-duty plastic tub filled with undiluted white vinegar. Let them soak for exactly 24 to 48 hours. The acetic acid will dissolve the iron oxide without eating into the healthy base metal.
- Remove the plates and neutralize the acid by washing them thoroughly with a baking soda and water paste.
Phase 2: Mechanical Agitation
- Attach a brass wire wheel to an angle grinder or a stiff wire brush to a power drill. (Use brass, not steel, to avoid embedding steel particles that will rust later).
- Scour the plates until you reach bare, shiny metal. Pay special attention to the center hub and the raised lettering.
Phase 3: Sealing and Protection
- Immediately after wire-brushing, wipe the plates down with mineral spirits to remove all dust and oils.
- Apply three thin coats of Rust-Oleum Professional Grade Enamel (Satin Black), allowing 2 hours of drying time between coats. Do not use thick, single coats, as they will chip upon impact with other plates.
- Once fully cured (48 hours), lightly sand the inner diameter hole with 400-grit sandpaper to ensure a smooth fit on your barbell sleeve.
Final Thoughts on Equipment Stewardship
Whether you are dropping 225 lbs of virgin rubber bumpers during a heavy clean, or carefully controlling your descent during tricep workouts with dumbbells at home, the longevity of your free weights is entirely in your hands. By matching your equipment material to your environment, adhering to strict cleaning protocols, and understanding the true cost of ownership, you can build a home gym that outlasts your lifting career. Treat your iron and rubber with respect, and they will never fail you under the bar.
More gear to consider
All reviews
Adjustable Dumbbell Mistakes & Dumbbell Side Bend Benefits Guide

Storing Scheels Dumbbells: 2026 Rack Trends & Market Analysis

How to Work Out Back With Dumbbells: Loadable Budget Guide

Urethane vs Rubber Hex: 2026 Trends for the Seated Dumbbell OHP

Best Dumbbell Exercises for Women: Barbell Knurling & Weight Mistakes