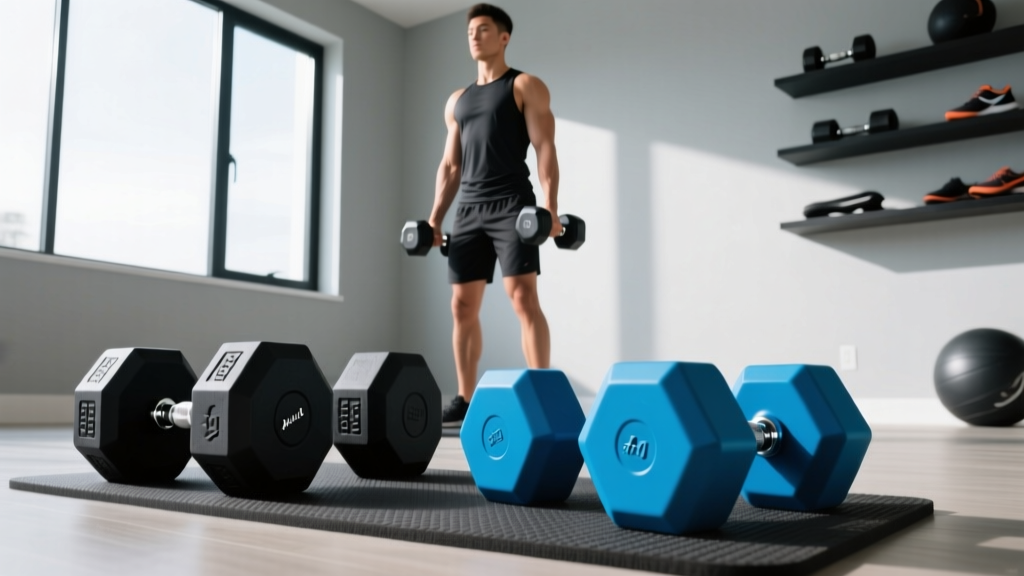
Beyond the Dumbbells Emoji: Olympic vs Standard Plates Setup
Transitioning from dumbbells to a full rack? This complete setup walkthrough compares Olympic vs standard weight plates for your home gym installation.

The Reality Behind the Dumbbells Emoji: Choosing Your Plate Standard
When tracking workouts on digital platforms like Hevy or Strong, it is incredibly common to just drop a dumbbells emoji in your notes to signify a hypertrophy day or a quick pump session. But when you decide to graduate from a pair of adjustable dumbbells to a full power rack and barbell ecosystem in 2026, digital icons no longer suffice. You are now dealing with hundreds of pounds of cast iron, urethane, and steel. The foundational decision of your entire free weight setup hinges on a single, non-negotiable measurement: the sleeve diameter of your barbell and the center hole of your weight plates.
Choosing between Olympic and standard weight plates is not merely a matter of preference; it dictates the structural integrity, safety, and future expandability of your home gym. This complete setup and installation walkthrough will guide you through the physical realities of both standards, how to properly assemble your rack, and how to safely load and store your new iron.
Core Dimensions: Olympic vs. Standard Plate Specs
Before unboxing your gear, you must understand the engineering differences between the two primary plate standards. Standard plates are typically found in commercial sporting goods stores and budget home gym bundles, while Olympic plates are the universal standard for serious lifters, CrossFit boxes, and competitive powerlifting.
| Feature | Standard Plates | Olympic Plates |
|---|---|---|
| Center Hole Diameter | 1 inch (25.4 mm) | 2 inches (50.6 mm) |
| Barbell Sleeve Length | Typically 10-12 inches | 16.3 inches (IWF Standard) |
| Max Load Capacity | 200 - 350 lbs (Bar dependent) | 700 - 1,500+ lbs |
| Weight Tolerance | +/- 5% to 10% | +/- 1% (Competition: +/- 10g) |
| Average Cost (2026) | $1.00 - $1.50 per lb | $1.50 - $3.50 per lb |
Step 1: Assembling the Barbell and Rack Foundation
Your weight plates are only as safe as the rack and barbell supporting them. If you are setting up a modern 3x3 upright power rack (such as the REP Fitness PR-4000 or Rogue SML-2C), the installation requires precise hardware torquing to prevent racking during heavy barbell unracking.
- Position the Uprights: Lay out the 11-gauge steel uprights on a flat surface. Ensure the laser-cut numbering faces inward for easy J-cup alignment.
- Attach the Crossmembers: Insert the 5/8-inch Grade 5 or Grade 8 bolts through the sandwiched crossmembers. Do not fully tighten them yet; leave about 10% play to allow the frame to square itself.
- Square the Frame: Use a carpenter’s square to ensure the front and back uprights are perfectly perpendicular to the floor. Measure the diagonal distance between opposite corners of the base—if the measurements match, your rack is square.
- Torque the Hardware: Using a torque wrench, tighten all 5/8-inch nuts to the manufacturer’s specification (typically between 60-80 ft-lbs). Over-torquing can crush the tubing on cheaper racks, while under-torquing leads to dangerous wobbling during pull-ups or heavy squats.
Once the rack is secured, insert your Olympic barbell. According to the International Weightlifting Federation, a standard men’s Olympic barbell must feature a 28mm shaft diameter and 50.6mm rotating sleeves. Ensure your bar sleeves spin freely; if they grind, the internal bushings or bearings may be dry or damaged from shipping.
Step 2: Weight Storage Installation and Load Distribution
Improperly stored weight plates are a leading cause of home gym injuries, particularly involving children or pets. You have two primary storage solutions: A-frame weight trees and wall-mounted plate racks.
Installing a Weight Tree
If using a freestanding weight tree, the base must be wide enough to counterbalance the leverage of loaded plates.
- Load Distribution: Always load the heaviest plates (45lb/20kg and 35lb/15kg) on the lowest pegs. Placing 45lb bumpers on the top pegs raises the center of gravity, creating a severe tipping hazard when you pull a plate off the rack.
- Peg Diameter: Ensure your tree pegs are exactly 2 inches (50mm) in diameter. Using a tree with 1.9-inch pegs will cause the steel inserts inside your urethane plates to scrape and degrade over time.
Wall-Mounted Plate Storage
Wall-mounted storage saves floor space but requires structural integrity. You must anchor the wall brackets directly into wooden wall studs (typically spaced 16 inches on center) or use toggle bolts rated for at least 300 lbs of shear force if mounting into drywall or concrete. Never rely on standard drywall anchors for weight plate storage.
Step 3: Loading Sequence and Collar Security
When you move past the dumbbells emoji phase and start loading a barbell for heavy deadlifts or squats, the sequence of your plates and the collars you use are critical for safety and barbell balance.
“A barbell is a lever. If the weight distribution is asymmetrical, or if the plates shift during a dynamic movement like a clean or a heavy deadlift, the resulting torque can easily tear a rotator cuff or cause a catastrophic lower back injury.” — Garage Gym Reviews Safety Guidelines
The Correct Loading Sequence
- Heaviest Plates First: Load the 45lb/20kg plates closest to the barbell collar (the shoulder of the sleeve). This keeps the center of mass as close to the lifter as possible, reducing rotational inertia.
- Descending Order: Follow with 35s, 25s, 10s, and 5s.
- Match the Sleeves: Never load a 45 and a 25 on one side, and three 25s on the other. Even if the total weight is identical, the differing widths of the plates will alter the bar’s whip and balance point.
Selecting the Right Collars
The cheap spring collars that come bundled with budget barbells are entirely insufficient for Olympic lifting or heavy powerlifting. They provide roughly 15 lbs of clamping force, which is not enough to stop a 45lb bumper plate from sliding during a dropped deadlift.
For a 2026 home gym setup, invest in one of the following:
- Rogue HG 2.0 Collars ($35/pair): The industry standard. Features a glass-reinforced nylon body and a rubber grip, providing immense clamping force without scratching your barbell sleeves.
- Lock-Jaw Collars ($25/pair): Excellent for quick changes during CrossFit-style metcons, though slightly less secure for heavy, chalky powerlifting bars.
- Competition Spring Collars: Required for sanctioned meets, but notoriously difficult to squeeze open without specialized pliers.
Common Installation Mistakes and Edge Cases
Even experienced lifters make critical errors when expanding their free weight inventory. Avoid these common failure modes:
The Adapter Trap: You can buy 1-inch to 2-inch sleeve adapters to use standard plates on an Olympic bar. Do not do this. These adapters add 2 to 3 inches of dead space to the end of your sleeve, severely reducing your loading capacity and creating a dangerous shear point that can snap under heavy loads.Floor Deflection and Matting
Olympic plates, particularly cast iron, concentrate massive amounts of force onto a small surface area when dropped. Standard 1/2-inch foam puzzle mats will compress and bottom out, transferring the shock directly to your concrete slab, which can crack over time. Install 3/4-inch (19mm) vulcanized rubber horse stall mats or dedicated gym flooring to absorb the kinetic energy and protect both your plates and your foundation.
Bumper Plate Degradation
If you purchase virgin rubber or urethane bumper plates, store them indoors and away from direct UV sunlight. UV exposure causes the rubber polymers to break down, leading to dry rot, cracking, and a phenomenon known as ‘hooking,’ where the edges of the plates curl inward, making them impossible to slide onto a barbell.
FAQ: Upgrading Your Free Weight Ecosystem
Can I mix cast iron and bumper plates on the same bar?
Yes, but with a strict rule: the bumper plate must always be loaded on the inside, closest to the barbell shoulder, and it must be a 45lb/20kg plate. If you place a 10lb bumper plate on the inside and load heavy cast iron on the outside, the 10lb bumper will absorb all the impact force when dropped, causing the steel insert to blow out and destroy the plate.
Why do Olympic plates have different color coding?
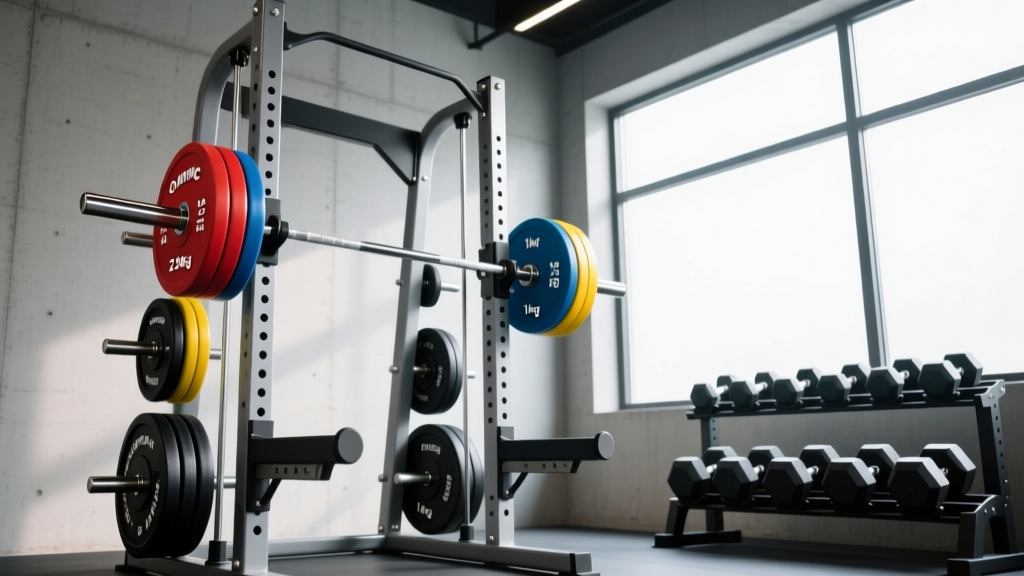
According to Rogue Fitness and IWF standards, color coding allows for rapid weight identification during competitions and high-intensity interval training. Red equals 25kg (55lb), Blue equals 20kg (45lb), Yellow equals 15kg (35lb), and Green equals 10kg (25lb). While not strictly necessary for a home gym, color-coded plates drastically speed up loading times during complex training sessions.
Is it worth buying calibrated steel plates?
Calibrated steel plates (like those from Eleiko or Rogue) are machined to a tolerance of +/- 10 grams. They are incredibly thin, allowing you to load over 800 lbs onto a single barbell sleeve. Unless you are a competitive powerlifter who needs exact weight verification and maximum sleeve space, standard urethane or rubber-coated Olympic plates offer better durability and noise reduction for the average home gym owner.
Building a true strength sanctuary requires moving past the simplicity of app-based logging and the humble dumbbells emoji. By understanding the precise engineering of Olympic standards, properly torquing your rack hardware, and respecting the physics of weight distribution, you ensure that your 2026 home gym setup is as safe as it is effective.
More gear to consider
All reviews
Bumper vs Iron Plate Care & Wegym SafeGrip Dumbbells Guide

Bar Care for Your At Home Workout Plan With Dumbbells: EZ vs Straight

Power Rack vs Squat Rack vs Stand for Pec Flys with Dumbbells

Cast Iron vs Competition Kettlebells: Skip the Dumbbell Flyes Machine
Power Rack vs Squat Rack vs Stand for Upper Body Dumbbell Workouts