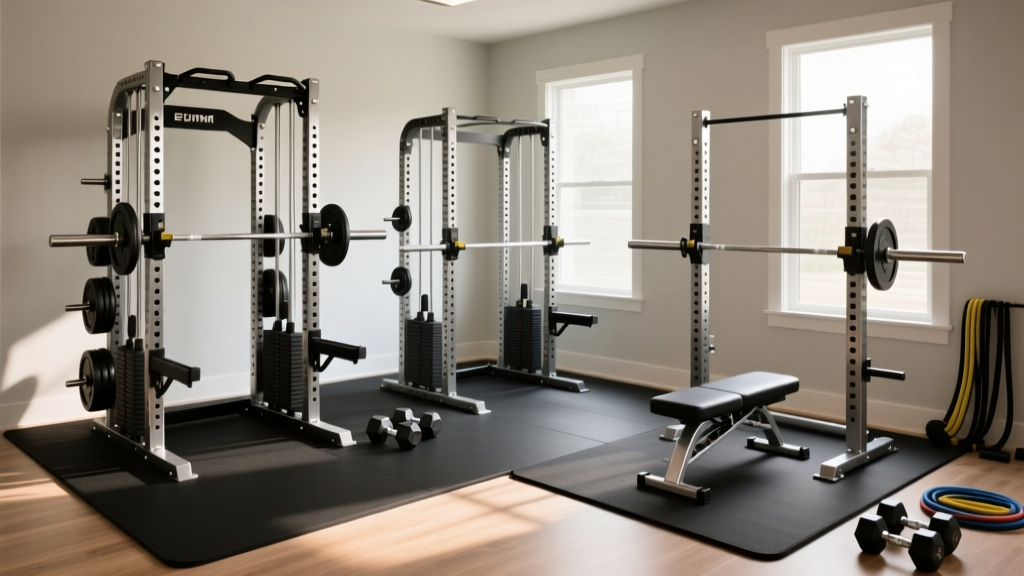
Beyond Dumbbell Squats on Shoulders: Rack Setup & Comparison
Outgrown dumbbell squats on shoulders? Compare power racks, squat racks, and squat stands, plus a complete step-by-step installation walkthrough.

Transitioning from dumbbell squats on shoulders to a dedicated barbell setup is a major milestone in any lifter's journey. While resting heavy dumbbells on your anterior deltoids (often referred to as dumbbell front squats or shoulder-loaded dumbbell squats) is an excellent way to build quad and core strength, it inevitably introduces a biomechanical ceiling. Once you surpass 100 to 120 pounds of total load, grip endurance, wrist extension mobility, and upper back isometric stability become the limiting factors long before your lower body reaches true muscular failure.
To unlock your true lower-body potential, you need a barbell and a dedicated racking system. But with gym floorspace at a premium and equipment prices fluctuating, choosing between a power rack, a squat rack (half rack), and a squat stand requires careful consideration. This guide provides a comprehensive comparison and a complete installation walkthrough to get your home gym dialed in for heavy, safe squatting.
The Biomechanical Ceiling of Dumbbell Squats on Shoulders
When performing dumbbell squats on shoulders, the load is anteriorly placed. This demands immense thoracic extension and core bracing to prevent the torso from collapsing forward. According to biomechanical analyses of anteriorly loaded squats, the compressive forces on the spine and the sheer demand on the wrist flexors and anterior deltoids create a hard bottleneck. You simply cannot clean-and-press 70-pound dumbbells into a shoulder rack position safely for high-volume hypertrophy work. Moving to a barbell back squat or front squat inside a rack shifts the limiting factor back to where it belongs: the quadriceps, glutes, and hamstrings.
Power Rack vs. Squat Rack vs. Squat Stand: The Buyer's Matrix
Before unboxing hardware, you must select the right footprint for your space and safety requirements. Below is a 2026 market comparison of the three primary racking categories, featuring benchmark models like the Rep Fitness PR-1100 (Stand), Titan T-2 Short Power Rack (Enclosed), and Rogue R-3 (Power Rack).
| Feature | Squat Stand (e.g., Rep PR-1100) | Half Rack / Squat Rack (e.g., Titan T-2 Half) | Full Power Rack (e.g., Rogue R-3) |
|---|---|---|---|
| Average Price Range | $250 - $350 | $450 - $650 | $900 - $1,400+ |
| Footprint (W x D) | 48" x 48" (wide base) | 48" x 24" (plus 24" spotter arms) | 49" x 43" (enclosed) |
| Weight Capacity | 600 - 800 lbs | 800 - 1,000 lbs | 1,000 - 1,500+ lbs |
| Safety Mechanism | Extended spotter arms (can tip if not anchored) | Extended spotter arms + rear weight storage counterbalance | Enclosed safety straps or pin-pipe safeties |
| Best For | Garage gyms with low ceilings & strict budgets | Lifters wanting open space for Olympic lifts + storage | Heavy, unspotted maximal squatting & kipping pull-ups |
Pre-Installation: Subfloor Prep and Spatial Mapping
Do not assemble your rack directly on bare concrete or standard laminate flooring. The point-load of a racked barbell can exceed 1,500 pounds per square inch, which will crack standard residential concrete pads and shatter tiles.
The 86-Inch Ceiling Rule
Standard power racks are 90 inches tall. If you are installing in a basement or garage, measure your ceiling height. If you have less than 86 inches of clearance, you must order a "short" upright kit (usually 82 or 84 inches) to allow room for the pull-up bar and overhead pressing. Always leave at least 2 inches of clearance above the highest point of the rack to avoid drywall scuffing during dynamic movements.
Building a Lifting Platform Base
For optimal vibration dampening and subfloor protection, construct a 4-foot by 8-foot platform using two layers of 3/4-inch OSB or plywood, topped with 3/4-inch horse stall mats. This 2.25-inch thick base distributes the kinetic energy of dropped weights and provides a perfectly level surface for rack assembly, which is critical for preventing frame wobble.
Step-by-Step Rack Assembly and Anchoring Walkthrough
Whether you are building a squat stand or a full power rack, the structural integrity of your rig depends on proper hardware sequencing. Do not fully tighten any bolts until the entire frame is assembled and squared.
- Base Assembly and Squaring: Lay the base crossmembers flat on your platform. Attach the front and rear gussets or upright bases. Before tightening, measure the diagonal distance from the front-left corner to the back-right corner, and compare it to the front-right to back-left measurement. If the measurements are not identical down to the millimeter, your rack is out of square and will wobble under load.
- Upright Erection: With a partner holding the uprights plumb (use a magnetic torpedo level), insert the primary crossmember bolts. Use a rubber mallet to seat the hardware through the laser-cut holes. Thread all nuts by hand to prevent cross-threading.
- Torquing the Hardware: Using a calibrated torque wrench, tighten all structural bolts. For standard 1/2-inch hardware (common on budget squat stands), torque to 60-75 ft-lbs. For heavy-duty 5/8-inch hardware (found on Rogue and Titan 3x3 racks), torque to 80-90 ft-lbs. Over-torquing can strip the zinc plating and lead to premature rust.
- Concrete Anchoring (If Applicable): If you opted for a squat stand or half rack without a rear weight storage counterbalance, you must anchor the base to concrete. According to Simpson Strong-Tie Concrete Anchoring Systems, 1/2-inch x 3-3/4-inch wedge anchors are the industry standard for 3,000 PSI concrete. Drill a 1/2-inch hole, vacuum the concrete dust out of the hole (crucial for grip), hammer the anchor in, and torque to 45 ft-lbs.
Calibrating J-Cups and Spotter Arms for the Barbell Transition
Moving from dumbbell squats on shoulders to the barbell back squat requires precise J-cup calibration. Because you no longer need to clean the weight to your shoulders, the unracking height should be optimized for mechanical leverage.
- J-Cup Height: Set the J-cups exactly at mid-sternum height. You should only need to rise onto your toes by 1 to 2 inches to clear the hooks. Setting them too high forces you to perform a partial squat just to unrack, wasting energy and destabilizing your core.
- Spotter Arm Height: As detailed in the ExRx.net Barbell Back Squat Biomechanics Guide, safety spotter arms should be set 2 to 3 inches below your deepest hole position (the bottom of your squat). This allows you to fail safely without the bar crushing your spine, but prevents you from 'riding' the safeties during normal reps.
- UHMW Plastic Protection: Ensure your J-cups and spotter arms feature UHMW (Ultra-High Molecular Weight) plastic liners. Bare metal-on-metal contact will knurl and destroy your barbell sleeves and shaft over time.
Troubleshooting Wobble and Hardware Fatigue
Even high-end power racks and squat rigs can develop a wobble after 6 to 12 months of heavy use. The vibration from dropped barbells and dynamic kipping movements acts as a vibratory loosener on nylon-insert lock nuts.
Expert Maintenance Tip: Every 90 days, perform a 'rack audit'. Take your torque wrench and re-check all 5/8-inch structural bolts. If you notice the uprights shifting, consider upgrading your standard nylon lock nuts to all-metal Stover nuts (prevailing torque nuts), which resist vibratory loosening far better in high-impact gym environments.
By properly selecting your rack style, prepping your subfloor, and adhering to precise torque specifications, you will build a lifting station that safely supports your transition away from the limitations of dumbbell squats on shoulders and into years of heavy, progressive barbell training.
More gear to consider
All reviews
Dumbbell Rack Care for Your Inner Thigh Dumbbell Workout

Neoprene Dumbbell Rotator Cuff Rehab: 2026 Home Buying Guide

Best Adjustable Dumbbells for the Dumbbell Oblique Twist (2026)
Space Layouts: Kettlebells vs Dumbbell Workouts for Arms and Chest

Budget Dumbbell Racks: Storing Weights for the Dumbbell Woodchopper
