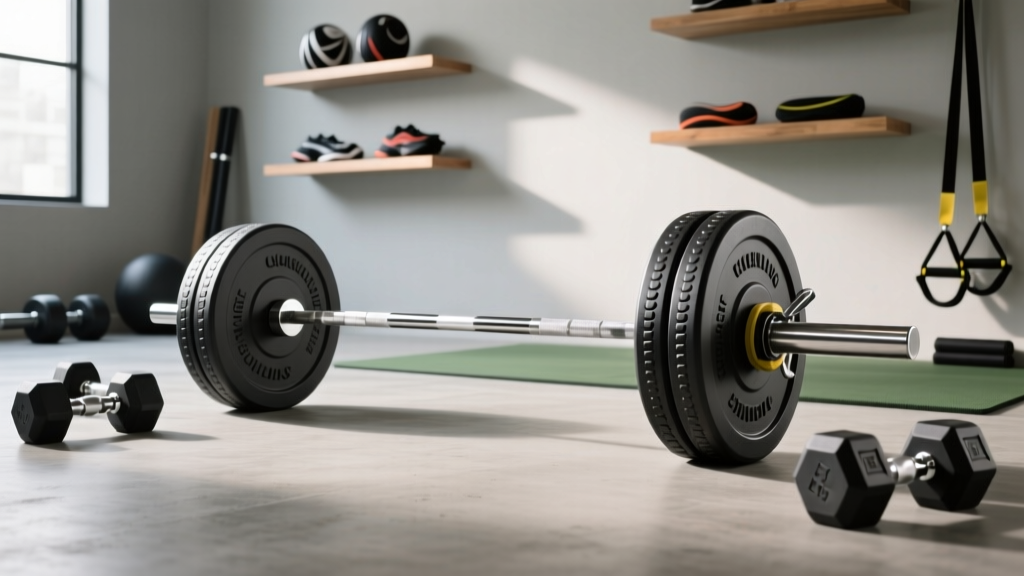
Barbell Weight & Knurling: Upgrading Your Dumbbell Swing Workout Setup
Master your Olympic barbell setup. We break down weight tolerances, knurling depths, and spatial requirements compared to a dumbbell swing workout.

Introduction: The Biomechanical Shift to Olympic Barbells
Transitioning from a high-rep, hip-hinge focused dumbbell swing workout to heavy Olympic barbell training requires a fundamental shift in how you approach equipment selection and gym floor installation. While a dumbbell swing workout primarily demands open floor space and a single piece of cast iron or urethane, setting up an Olympic barbell station hinges on microscopic tolerances in weight calibration and the aggressive metallurgy of knurling patterns. If you are upgrading your home gym in 2026 to accommodate heavy deadlifts, squats, and Olympic lifts, this complete setup and installation walkthrough will guide you through selecting the right bar, decoding knurl depths, and configuring your rack footprint for maximum safety and performance.
Expert Insight: The grip mechanics required to stabilize a 20kg Olympic barbell under a 400lb load are vastly different from the relaxed, hook-grip or neutral-grip mechanics used during a dynamic dumbbell swing workout. Your barbell's knurling is the only point of contact transferring force from your posterior chain to the steel.Phase 1: Decoding Barbell Weight Tolerances & Standards
Before you unbox your barbell and mount it to your rack, you must verify its weight calibration. Not all 20kg (44lb) barbells are created equal. The manufacturing tolerances dictate whether the bar is suitable for competitive lifting or general home gym use.
IWF vs. IPF Calibration Standards
According to the International Weightlifting Federation (IWF) Technical Rules, an official men's Olympic weightlifting bar must weigh exactly 20kg with a tolerance of just +/- 10 grams. The shaft diameter is strictly 28mm to allow for elastic whip during the clean and jerk. Conversely, powerlifting bars governed by the International Powerlifting Federation (IPF) Technical Rulebook also mandate a 20kg total weight but feature a thicker 29mm shaft to minimize whip during heavy squats and deadlifts. Commercial 'multi-purpose' bars often skirt these strict tolerances, sometimes weighing in at 19.5kg or 20.5kg, which can skew your progressive overload tracking over a 12-week mesocycle.
Installation Step 1: Calibration Verification
Upon delivery, place your new barbell on a calibrated digital floor scale (accurate to 0.1kg). If the bar deviates by more than 50 grams from the stated 20kg, contact the manufacturer immediately. In 2026, premium brands like Eleiko, Rogue, and Uesaka maintain strict QC, but budget imports frequently fail this test.
Phase 2: The Knurling Matrix (Grip Mechanics & Depth)
When you perform a dumbbell swing workout, the handle is typically smooth or lightly textured, allowing the bell to rotate slightly in your palm at the apex of the swing. A barbell knurl, however, is designed to bite into the epidermis to prevent catastrophic slippage. Knurling is categorized by its geometric pattern and depth, measured in millimeters.
| Knurl Pattern | Depth / Aggressiveness | Best Application | 2026 Benchmark Model |
|---|---|---|---|
| Hill | Shallow (0.8mm - 1.0mm) | High-rep conditioning, CrossFit | Rogue Echo Bar |
| Mountain | Medium (1.1mm - 1.2mm) | Olympic lifting, Multi-purpose | Eleiko OPW Bar |
| Volcano | Deep / Sharp (1.3mm - 1.5mm) | Heavy Powerlifting, Deadlifts | Rogue Ohio Power Bar |
Cost Analysis: As of early 2026, a premium stainless steel power bar with deep volcano knurling retails between $395 and $450. If you are transitioning from a dumbbell swing workout and have sensitive hands, start with a 'Hill' or medium 'Mountain' knurl to allow your calluses to adapt over 4 to 6 weeks before moving to aggressive volcano patterns.
Phase 3: Spatial Setup & Rack Installation Walkthrough
Setting up the physical footprint for an Olympic barbell requires precise spatial awareness, especially if your gym space is currently optimized for dynamic movements like a dumbbell swing workout.
Step 1: Flooring and Shock Absorption
A standard Olympic barbell is exactly 86.4 inches (2.2 meters) long. When dropping bumper plates from overhead, the impact force can exceed 2,000 lbs of localized pressure. You must install 3/4-inch (19mm) vulcanized rubber flooring mats. These currently average $2.50 to $3.50 per square foot. Do not use interlocking foam tiles; they will compress and destabilize your rack base during heavy squats.
Step 2: Rack Placement and Clearance
While a dedicated dumbbell swing workout zone requires a 6x6 foot open clearance to allow for the forward and backward arc of the bell, a barbell station requires a rigid, anchored footprint. Position your power rack or squat stand so that the center of the barbell aligns with the middle of your lifting platform. Ensure there is a minimum of 24 inches of clearance on both ends of the sleeves to allow for loading and unloading 45lb bumper plates.
Step 3: J-Cup and Spotter Arm Configuration
Install your J-cups at a height where you only need to rise onto your tiptoes to unrack the bar. For squats, set the spotter arms exactly 2 to 3 inches below your lowest squat depth. This prevents the bar from resting on the arms during normal reps but catches it safely if you fail a lift.
Warning: Never mix UHMW plastic-lined J-cups with bare steel or zinc-coated barbells if you plan to do dynamic rack pulls. The friction will tear the plastic lining within months. Use sandwich J-cups for heavy, abrasive barbell work.
Phase 4: Oxidation, Coating, and Maintenance
The environment of your home gym dictates the coating you should select. Bare steel offers the best knurl feel but requires weekly maintenance. Zinc provides moderate rust resistance but dulls the knurl over time. In 2026, Cerakote (a ceramic-polymer coating) and Stainless Steel are the gold standards for home gyms, offering near-zero oxidation while preserving the sharp bite of the knurl.
The Weekly Maintenance Protocol
- Brush the Knurl: Use a stiff brass wire brush (never steel, which will damage the bar's coating) to scrub chalk and dead skin out of the knurl valleys. Brush in the direction of the machined grooves.
- Wipe Down: Use a microfiber cloth lightly dampened with a 50/50 mix of water and white vinegar to neutralize sweat acidity.
- Lubricate the Shafts: Apply two drops of 3-in-One oil or synthetic barbell oil into the sleeve bushings or needle bearings to maintain smooth sleeve rotation. This is critical for Olympic lifts where the bar must spin freely in your hands during the turnover phase of a clean.
Troubleshooting Common Setup Failures
- Sleeve Spin-Out: If the barbell sleeves do not spin freely when you drop the bar, the internal bushings are likely dry or clogged with chalk dust. Disassemble the end-cap (if your manufacturer allows) and re-grease with white lithium grease.
- Knurl Tearing Calluses: If your hands are tearing during deadlifts, your grip is likely too tight or you are gripping the bar in the middle of your palm rather than at the base of the fingers. Adjust your grip mechanics, similar to how you manage grip pressure during the downswing of a dumbbell swing workout.
- Rack Wobble: If your squat rack shakes during re-racking, your floor is likely uneven. Use composite shims under the base plates to level the rack before tightening the structural bolts to 80 ft-lbs of torque.
Final Thoughts on Your Gym Upgrade
Upgrading from a minimalist dumbbell swing workout setup to a comprehensive Olympic barbell station is a major investment in your strength journey. By prioritizing strict weight tolerances, selecting the correct knurl depth for your training style, and executing a precise spatial installation, you ensure that your equipment will safely support your progressive overload for decades. Treat your barbell not just as a piece of iron, but as a precision-calibrated instrument that demands respect, proper installation, and rigorous maintenance.
More gear to consider
All reviews
Barbell Collar Types Compared: Secure Dumbbell V Raise Guide

Beginner Dumbbell Workout Routine: Rubber Hex vs Urethane Budget

EZ Curl Bar vs Straight Bar: Beyond the 10 Min Dumbbell Workout

Dumbbell Rack Maintenance: Protecting Your Light Dumbbell Sets

Best Dumbbell Racks of 2026: Storing Your Lying Leg Curl Dumbbell
