
Rack Setup: Barbell Knurling & the Dumbbell Squat Exercise
Master your home gym installation with our guide to Olympic barbell weight, knurling types, and optimizing your rack for the dumbbell squat exercise.

Phase 1: Spatial Planning and Rack Anchoring
Building a comprehensive free-weights zone in 2026 requires more than just dropping a power rack onto a rubber mat. A proper installation ensures safety, maximizes equipment lifespan, and provides the necessary clearances for both heavy barbell work and dynamic movements like the dumbbell squat exercise. Before assembling your uprights, map out a minimum footprint of 8 feet by 8 feet. This allows for standard 7-foot barbell clearance on both sides and ample lateral space for dumbbell trajectories.
Anchoring to Concrete: The 90 ft-lb Standard
If you are bolting down a flat-foot or bolt-down rack, use 3/8-inch wedge anchors designed for 3,000 PSI concrete. The installation sequence is critical:
- Mark the drill holes through the rack base plates.
- Use a rotary hammer drill with a 1/2-inch carbide-tipped masonry bit. Drill to a depth of 3.5 inches.
- Vacuum the concrete dust from the hole—failure to do so reduces holding strength by up to 40%.
- Insert the wedge anchor and tighten with a torque wrench to exactly 90 ft-lbs. Overtightening can snap the bolt; undertightening risks rack lift-off during heavy pull-ups or re-racking.
Phase 2: Olympic Barbell Buying Guide — Weight and Tolerances
When selecting the centerpiece of your rack, the Olympic barbell, weight accuracy is non-negotiable. According to the International Weightlifting Federation (IWF) Technical Rules, a competition-grade 20kg barbell must weigh exactly 20,000 grams with a tolerance of just +/- 15 grams.
In the consumer market, however, cheaper import barbells often weigh anywhere from 18.5kg to 19.8kg. While a 1.5kg discrepancy seems minor, it introduces a 3% to 7% error into your progressive overload calculations. Over a 12-week training cycle, this miscalibration can lead to stalled progress or unexpected central nervous system fatigue. Always look for manufacturers that guarantee IWF or IPF weight tolerances, verified by independent scale testing.
Tensile Strength and Whip
For a multi-purpose home gym, target a barbell with a tensile strength between 190,000 PSI and 205,000 PSI. Bars below 165,000 PSI are prone to permanent bending (plastic deformation) when dropped with heavy loads. A 29mm shaft diameter offers the ideal balance of rigidity for heavy squats and the slight 'whip' desired for Olympic lifts.
Phase 3: Decoding Knurling Profiles
Knurling is the cross-hatched pattern machined into the steel shaft to provide friction. The depth and geometry of these cuts dictate how the bar feels in your hands. According to comprehensive metallurgical reviews by BarBend, knurling is generally categorized into three distinct profiles:
| Knurl Profile | Geometry & Feel | Best Application |
|---|---|---|
| Volcano | Features a sharp outer rim with a hollowed-out center. Provides aggressive grip without tearing calluses. | Powerlifting, Heavy Squats, Deadlifts |
| Mountain | Continuous, sharp peaks. Highly aggressive and can cause skin tearing during high-rep work. | Competition Deadlifts, Low-Rep Max Effort |
| Hill | Rounded, shallow peaks. Passive grip that is gentle on the hands but may slip with heavy chalk use. | Olympic Weightlifting, High-Rep Conditioning |
For a home gym where you will be performing everything from heavy axial loading to high-volume accessory work, a volcano knurl with a medium-depth cut (approx. 0.015 inches deep) offers the most versatile performance.
Phase 4: Configuring the Rack for the Dumbbell Squat Exercise
While the barbell back squat is a staple, the dumbbell squat exercise (including dual-dumbbell front squats, goblet squats, and Bulgarian split squats) is essential for addressing unilateral strength deficits and reducing spinal compression. Biomechanical analyses published in the National Center for Biotechnology Information (NCBI) highlight that dumbbell variations shift the center of mass, demanding greater core stabilization and altering the torque applied to the knee and hip joints.
Spatial and Safety Adjustments
To properly integrate the dumbbell squat exercise into your rack setup, you must adjust the hardware to prevent injury and equipment damage:
- Remove the J-Cups: When performing heavy dual-dumbbell squats (e.g., holding 70 lb dumbbells in each hand), the eccentric descent requires significant elbow clearance. Leaving standard J-cups on the uprights risks striking the dumbbells or your wrists against the steel hardware. Remove them entirely to create an open 4x4 foot working footprint inside the rack.
- Safety Spotter Arm Placement: Unlike a barbell that rests on the clavicle or upper traps, dumbbells are held at chest or shoulder level. If a lifter fails a heavy dumbbell squat, they typically drop the weights laterally. However, if the lifter's core collapses inward, they will fall forward. Set the safety spotter arms at the height of the lower sternum (xiphoid process) rather than the clavicle. This ensures the arms catch the lifter's torso before their face or shoulders strike the crossmembers.
- Floor Protection: Dumbbell squats often result in the weights being dropped at the top of the movement due to grip fatigue. Ensure your rack is situated over 3/4-inch thick vulcanized rubber mats to absorb the localized impact of 100+ lb dumbbells hitting the floor.
"Transitioning from barbell to dumbbell squats within the same session requires a rack setup that prioritizes open space. The ability to quickly strip the rack of hardware allows for seamless transitions between heavy axial loading and unilateral hypertrophy work."
Phase 5: 2026 Equipment Maintenance Checklist
Once your rack is anchored and your barbell selected, ongoing maintenance ensures your investment lasts a lifetime. The oxidation rate of your barbell depends heavily on the finish:
- Bare Steel: Requires daily brushing and weekly oiling (3-in-One oil or mineral oil).
- Zinc / Black Oxide: Requires weekly brushing and monthly oiling. Prone to white rust if exposed to high humidity.
- Cerakote / Stainless Steel: The 2026 standard for premium home gyms. Requires only occasional wiping with a damp microfiber cloth. Stainless steel shafts resist corrosion entirely, though the sleeves may still require light lubrication for the bushings or bearings.
Use a stiff nylon brush—not wire—to clean knurling. Wire brushes can snap the microscopic peaks off a volcano or mountain knurl, effectively turning an aggressive bar into a passive 'hill' profile over time. Keep a block of gym chalk and a nylon brush stationed directly on your rack's storage pegs for immediate post-session maintenance.
Final Walkthrough Verification
Before loading your first plate, perform a dry run. Rack the empty barbell, check the sleeve rotation, and verify that the safety spotter arms lock securely into the uprights without excessive wobble. Finally, step into the rack with a pair of moderate-weight dumbbells and perform a set of the dumbbell squat exercise to verify your lateral clearances and spotter arm heights. A meticulously planned setup not only safeguards your body but elevates the quality of every training session for years to come.
More gear to consider
All reviews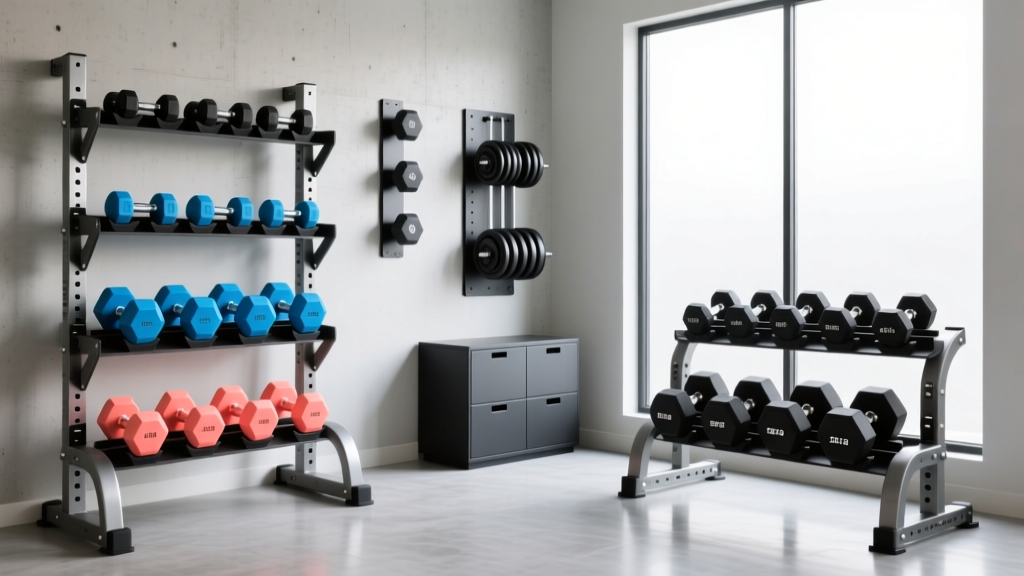
2026 Rack Trends: Storage Solutions for Chest Presses with Dumbbells

Upgrading Your Dumbbell PPL: EZ Curl Bar vs Straight Bar Value Analysis

Power Rack vs Squat Stand Setup: Integrating 5 lb Dumbbells & Bars
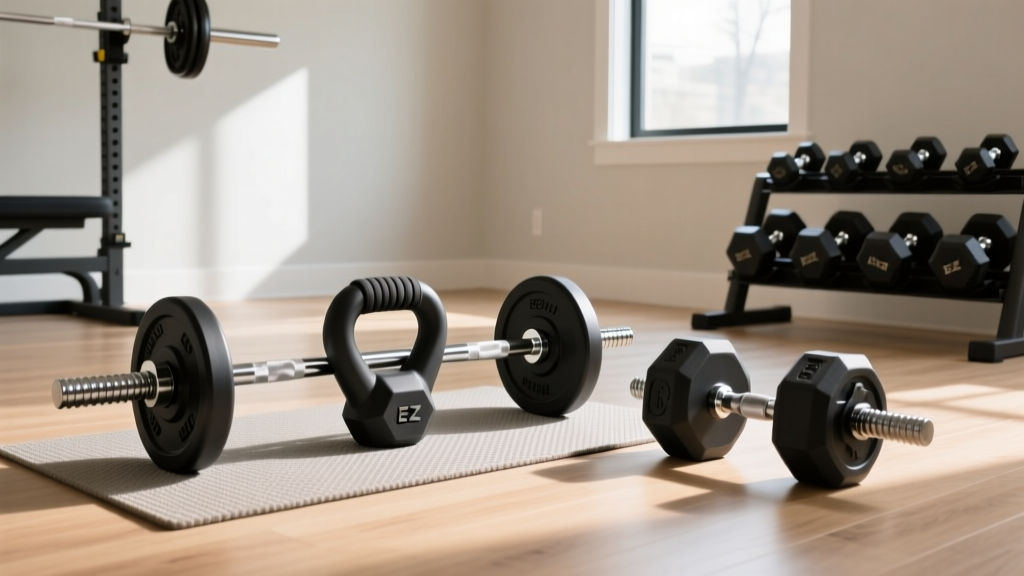
EZ Curl Bar vs Straight Bar & Dumbbell Sumo Squats for Glutes
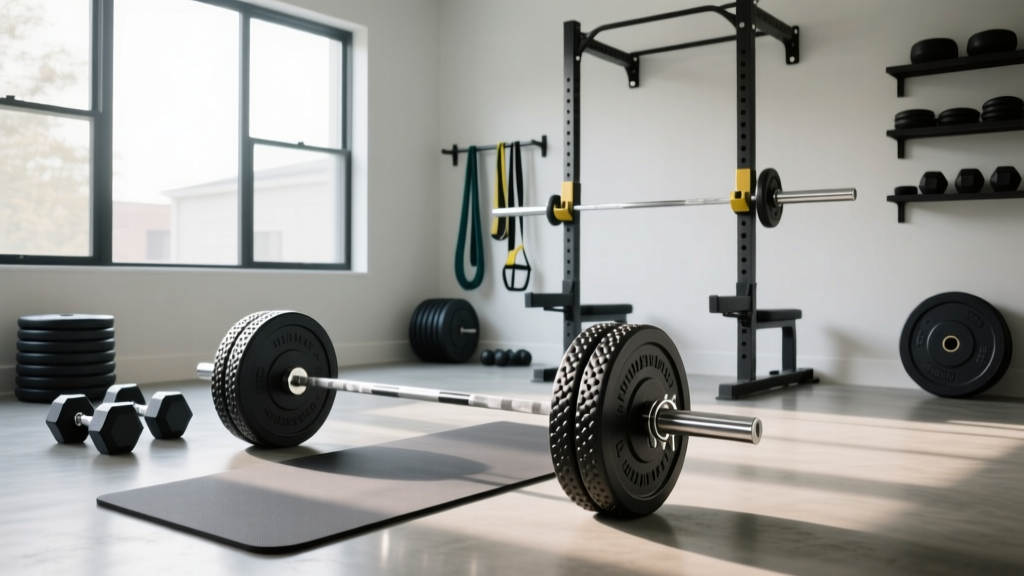
Beyond a Full Body Dumbbell Workout Beginner Routine: Barbell Setup
