
Optimizing Space for the Barbell Curl Dumbbell Superset Routine
Discover space-saving dumbbell rack layouts and precise clearance metrics to optimize your home gym for barbell curl and dumbbell superset routines.

When designing a high-performance home gym, space optimization is rarely just about fitting equipment into a room; it is about engineering the biomechanical flow of your workouts. If your programming frequently features a barbell curl dumbbell superset—perhaps pairing heavy EZ-bar curls with 40-pound dumbbell hammer curls for maximum bicep hypertrophy—your storage layout dictates the efficiency of your session. A poorly placed dumbbell rack forces you to walk across the garage, cooling down your muscles, dropping your heart rate, and ruining the metabolic demand of the superset. In 2026, with home gym footprints shrinking and equipment density increasing, mastering the spatial relationship between your barbell working zone and your dumbbell storage is critical for both safety and gains.
The Biomechanics of Space: Why the Transition Matters
The physiological goal of a superset is to maintain time under tension and elevate metabolic stress. When you finish a set of barbell curls, you have roughly 10 to 15 seconds to transition to your dumbbells before your central nervous system begins to down-regulate from the stimulus. If your dumbbell rack is placed parallel to your barbell zone but 10 feet away, you waste precious seconds navigating around power racks or plate trees. By integrating your dumbbell storage into the immediate periphery of your barbell curling zone, you create a 'Superset Pocket.' This layout design ensures that the barbell curl dumbbell transition requires nothing more than a two-step pivot, keeping the equipment density high without sacrificing the necessary clearance for safe lifting mechanics.
Footprint Analysis: Horizontal vs. A-Frame vs. Wall-Mounted
Selecting the right rack is the first step in space reclamation. According to comprehensive equipment breakdowns by Garage Gym Reviews, the market has evolved to offer highly specialized storage solutions that cater to different garage geometries. Below is a footprint analysis of the three primary rack styles available for home gyms.
| Rack Type | Floor Footprint (L x W) | Max Capacity | Best Layout Application |
|---|---|---|---|
| 3-Tier Horizontal (e.g., Rogue) | 47.25' x 24' | 500+ lbs | Open floor plans, flush against front of power racks |
| A-Frame (e.g., Rep Fitness) | 32' x 25' | 800+ lbs | Tight corners, dead-space utilization |
| Wall-Mounted (e.g., Titan) | 44' x 6' (0 sq ft floor) | 300 lbs | Narrow corridors, flush-wall configurations |
The 3-tier horizontal rack, such as the Rogue Fitness 3-Tier Dumbbell Rack (priced around $495), offers the best ergonomic picking angle but consumes roughly 7.8 square feet of floor space. Conversely, the A-frame design utilizes vertical space, making it ideal for corners where lateral wall space is limited. For ultra-compact gyms under 150 square feet, wall-mounted brackets from Titan Fitness Storage Solutions (often under $150) completely eliminate the floor footprint, though they require mounting into structural studs to handle the shear force of heavy iron.
Designing the 'Superset Zone': Clearance and Layout Metrics
To safely execute a barbell curl dumbbell routine without clipping your walls or knocking over your storage, you must adhere to strict clearance metrics. A standard 7-foot Olympic barbell measures 86.75 inches in length. To perform standing barbell curls, you need a minimum of 96 inches of lateral wall clearance to account for plate diameter and slight lateral drift during fatigue.
Pro-Tip: The 60-Degree Pivot Rule
Place your dumbbell rack exactly 45 to 60 degrees behind your primary barbell working zone. This angle allows you to drop the barbell, pivot on your heel, and step directly into the dumbbell rack without walking backward or turning your head blindly. This specific geometric placement reduces transition time to under 4 seconds.
Follow this step-by-step layout flow to establish your zone:
- Mark the Barbell Zone: Tape off a 4-foot by 8-foot rectangle on your floor mats. This is your exclusive barbell curling area.
- Establish the 36-Inch Buffer: Industry safety standards dictate a minimum of 36 inches of clearance in front of any dumbbell rack to allow for proper hinging and deadlifting the weights to the starting position.
- Position the Rack: Align the edge of your dumbbell rack so it intersects with the rear corner of your barbell zone tape, maintaining the 36-inch buffer.
- Test the Pivot: Hold an empty barbell, simulate a set, drop it, and pivot to the rack. If you take more than two steps, adjust the rack angle.
Real-World Layout Configurations for Small Garages
The L-Shape Corner Pocket
If your gym is confined to a single-car garage bay, utilize the L-Shape Corner Pocket. Place your power rack or squat stand flush against the back wall. Position an A-frame dumbbell rack in the adjacent corner, angled at 45 degrees toward the center of the room. When you step out of the rack to perform your barbell curls, the A-frame is immediately to your dominant side. This layout capitalizes on 'dead space' that is normally unusable for swinging kettlebells or dropping barbells.
The Flush-Wall Corridor
For narrow basement gyms, the Flush-Wall Corridor is mandatory. Mount a heavy-duty wall shelf or specialized wall-mounted dumbbell pegs directly behind where you stand for barbell curls. Ensure the wall is reinforced with plywood backing behind the drywall to distribute the 200+ lb load across multiple studs. You perform your barbell curls facing away from the wall, and when the set ends, you simply turn 180 degrees to access your dumbbells. This requires zero additional floor space and keeps the center of the room entirely open for dynamic movements.
Common Storage Failure Modes and Edge Cases
Even with a perfect layout, improper loading and material choices can ruin your space optimization. One of the most common failure modes with A-frame racks is forward tipping. If you load 50-pound dumbbells on the top tier and 10-pound dumbbells on the bottom, you raise the center of gravity dangerously high. Always load A-frames from the bottom up to maintain a low center of mass, especially in high-traffic areas where a bumped rack could cause a catastrophic tip-over.
Another critical edge case in small, enclosed spaces is material off-gassing. Cheap rubber-coated dumbbells release volatile organic compounds (VOCs) that can make a small, unventilated garage unbearable during high-exertion supersets. Investing in virgin urethane dumbbells (such as those from Rogue or REP) costs roughly 30% more upfront but eliminates the toxic odor and prevents the black residue from transferring to your hands and barbell knurling.
'The layout of your gym should force you into good habits. If your dumbbell rack is placed optimally, you will naturally perform your supersets with higher intensity simply because the friction of transitioning has been removed from the environment.' — Home Gym Ergonomics & Layout Principles
Ultimately, optimizing your space for the barbell curl dumbbell superset is about respecting the geometry of your body and the physics of your equipment. By choosing the right rack profile, enforcing strict clearance metrics, and utilizing angular placement, you can transform a cramped garage into a highly efficient hypertrophy lab.
More gear to consider
All reviews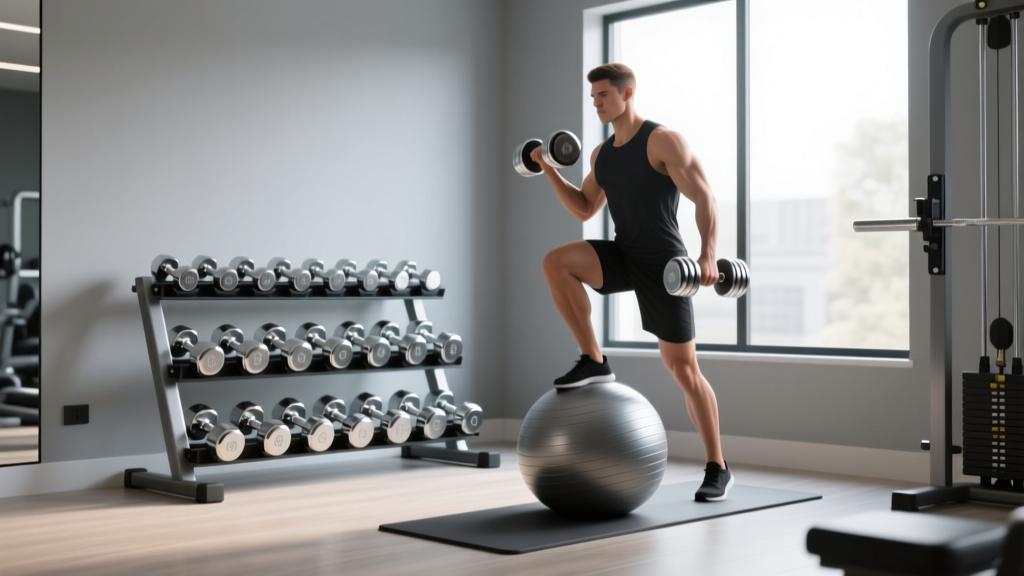
Space-Saving Dumbbell Racks for a Dumbbell Stability Ball Workout

Cast Iron vs Competition Kettlebells: 2026 Trends & Dumbbell Diagonal Raises
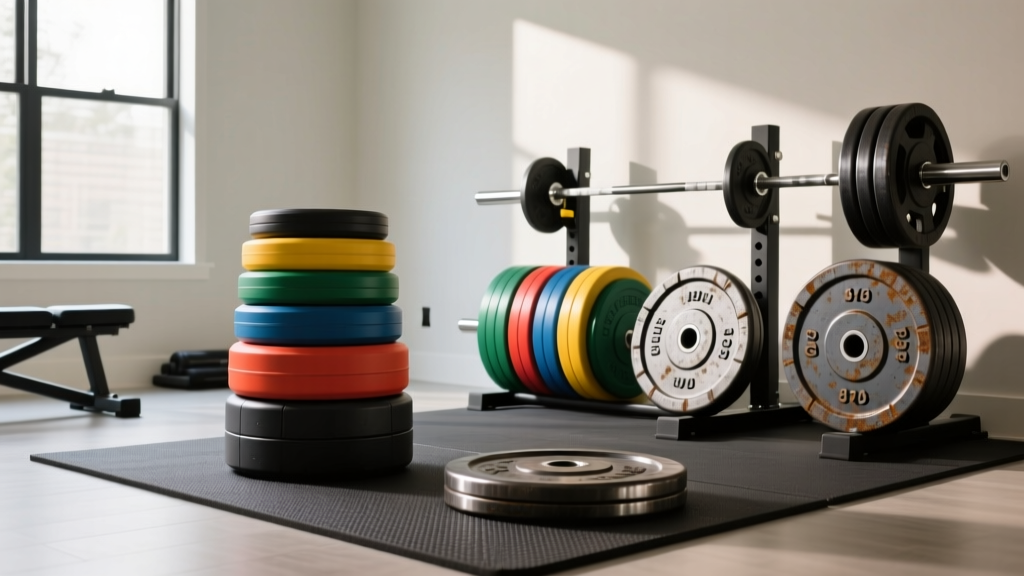
Beyond The Dumbbell Cartoon: Bumper vs Iron Plate Layouts

Power Rack vs Squat Rack vs Stand: The Dumbbell Rollback Guide

Best Dumbbell 50 kg Set Options: 2026 Adjustable Guide
