Barbell Collar Types & Close Grip Dumbbell Press Muscles Worked
Master weight room safety with our step-by-step guide to barbell collar types, plus a breakdown of close grip dumbbell press muscles worked.

Stepping into the free weights section of the gym can be intimidating for beginners. Between navigating the power racks, selecting the right weight plates, and figuring out exercise biomechanics, safety and proper technique must remain your top priorities. This beginner-friendly, step-by-step guide tackles two foundational pillars of free weight training: securing your barbell with the right collars and understanding the specific muscle activation patterns of essential pressing movements.
Step 1: Demystifying Barbell Collar and Clamp Types
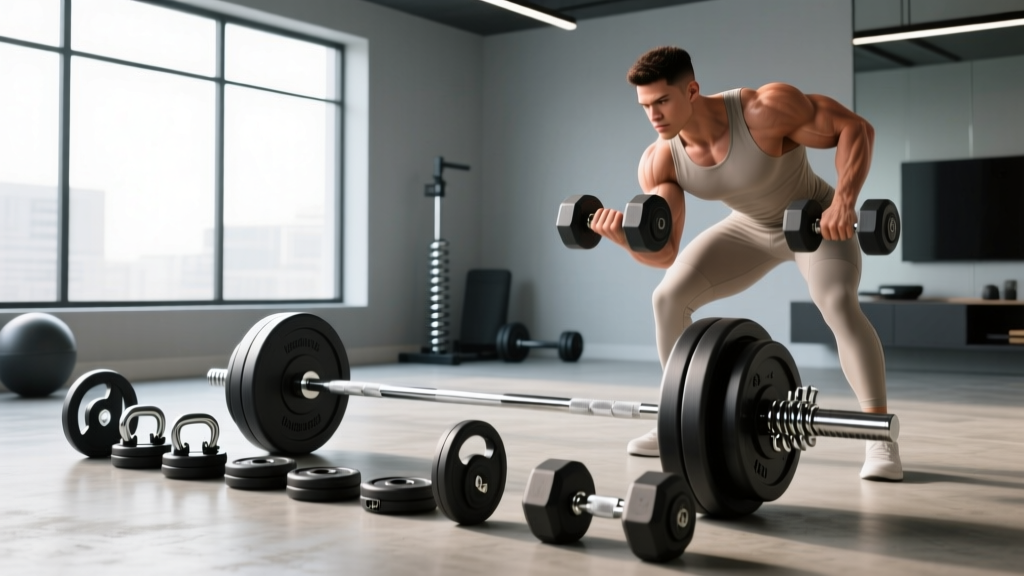
Before you load a barbell for squats, deadlifts, or presses, you must secure the plates. Dropping a weight plate mid-lift due to a failed collar can lead to severe injury or damaged equipment. As of 2026, the market offers three primary categories of barbell collars, each with distinct failure modes and use cases.
1. Spring Collars (The Budget Option)
Spring collars feature coiled steel wire with plastic or rubber-coated handles. While they are ubiquitous in commercial gyms due to their low cost (typically $5 to $12 a pair), they are the least secure option. Failure Mode: Over time, the steel coils lose tension. Furthermore, on slick or sweaty Olympic barbell sleeves, spring collars can slide outward during dynamic movements like the barbell hip thrust or drop sets.
2. Clamp-Style Collars (The Modern Standard)
Clamp collars, such as the popular Lock-Jaw Pro or Rogue Work Saver Clamps, use a hard plastic or aluminum body with a rubberized inner lining and a locking latch. Priced between $18 and $35, they provide immense lateral pressure. Edge Case: Clamp collars typically consume 1.15 to 1.5 inches of barbell sleeve space. If you are loading heavy deadlifts on a standard 16.3-inch Olympic sleeve, this lost real estate can prevent you from fitting all your bumper plates.
3. Spinlock Collars (The Olympic Classic)
Spinlocks utilize a threaded barbell sleeve and a heavy-duty steel or brass nut that screws into place. They are virtually fail-proof and take up minimal sleeve space (often less than 0.75 inches). However, threading them on and off takes significantly longer, making them ideal for powerlifting meets or dedicated heavy lifting days, but poor for fast-paced circuit training.
Quick Tip: According to BarBend's comprehensive equipment reviews, if your training involves dropping the barbell from overhead (like Olympic weightlifting), avoid rigid plastic clamp collars, as the impact can crack the locking mechanism over time. Opt for aluminum competition clamps or spring collars for Olympic lifts.Barbell Collar Comparison Matrix
| Collar Type | Avg. Price (2026) | Security Rating | Sleeve Space Used | Best Use Case |
|---|---|---|---|---|
| Spring Clips | $8 - $12 | Low / Medium | ~0.5 inches | Light accessory work, commercial gyms |
| Plastic Clamps (e.g., Lock-Jaw) | $25 - $35 | High | ~1.5 inches | Heavy squats, bench press, home gyms |
| Aluminum Clamps (e.g., Rogue) | $18 - $22 | High | ~1.15 inches | Powerlifting, deadlifts, CrossFit |
| Spinlock Nuts | $15 - $40 | Maximum | ~0.75 inches | Heavy singles, competitive meets |
Step 2: How to Properly Secure Your Barbell (Step-by-Step)
Choosing the right collar is only half the battle; applying it correctly is where beginners often make mistakes. Follow this sequence every time you load a bar:
- Load Symmetrically: Always load plates evenly on both sides. An asymmetrical barbell can tip, even with collars applied.
- Push Plates Flush: Ensure all bumper or iron plates are pushed completely flush against the barbell's inner sleeve lip. Gaps cause plates to shift and create dangerous momentum.
- Apply Collar Flush: Slide the collar directly against the outermost plate. Do not leave a gap between the plate and the collar.
- Engage the Lock: For clamp collars, pull the latch down until you hear or feel a definitive 'click'.
- The Push-Pull Test: Grip the collar and attempt to slide it laterally. If it moves even a millimeter, readjust and tighten.
Step 3: Exercise Selection – Barbell vs. Dumbbell Pressing
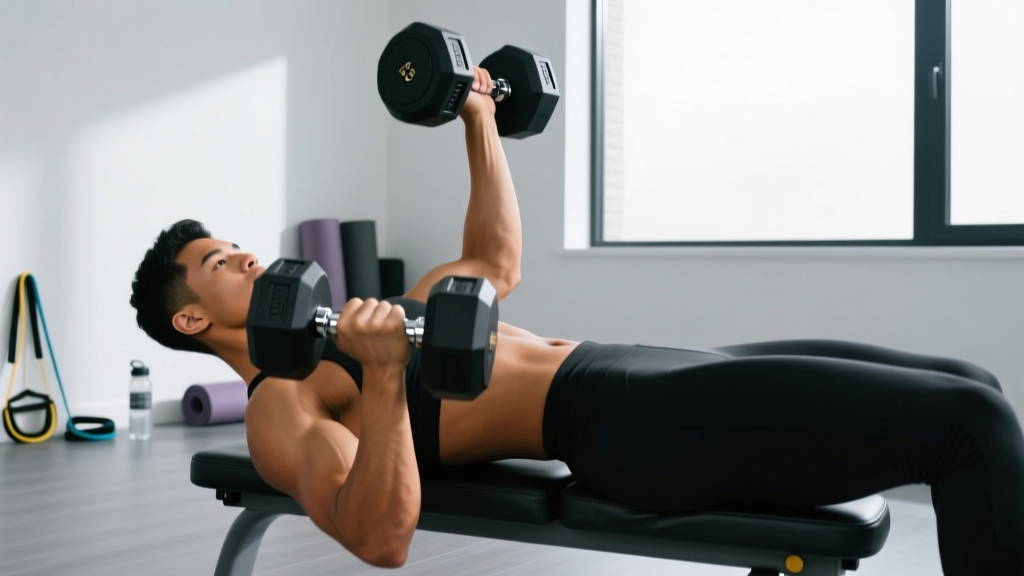
Once your barbell is safely secured, the next step in your free weight journey is selecting the right pressing variations for your goals. While the barbell bench press is a staple, dumbbells offer unique biomechanical advantages. When designing a triceps-focused hypertrophy block, beginners and intermediate lifters frequently research the close grip dumbbell press muscles worked to see how it compares to the traditional barbell close-grip press.
Biomechanics and Muscle Activation
According to kinesiology data from ExRx.net's exercise directory, pressing movements with a narrowed hand placement shift the mechanical tension away from the mid-chest and onto the elbow extensors and upper chest.
- Triceps Brachii (All Three Heads): The close grip position demands massive elbow extension. The lateral and medial heads act as primary movers, while the long head is heavily recruited due to the shoulder stabilization required when holding independent dumbbells.
- Pectoralis Major (Sternal and Clavicular Heads): While the overall chest activation is lower than a wide-grip press, the sternal (lower/mid) and clavicular (upper) pecs still act as synergists to bring the arms across the body's midline.
- Anterior Deltoids: The front deltoids assist in shoulder flexion, particularly at the bottom of the pressing range of motion.
- Stabilizers (Rotator Cuff & Core): Unlike a fixed barbell, dumbbells require constant micro-adjustments. The ACE Fitness Exercise Library notes that independent free weights significantly increase the activation of the rotator cuff and core stabilizers to prevent the weights from drifting laterally.
Why Choose Dumbbells Over the Barbell?
The barbell close-grip press allows for absolute maximum load (e.g., lifting 225 lbs for reps). However, the barbell locks your wrists into a fixed, straight alignment. The close grip dumbbell press allows for a neutral grip (palms facing each other). This neutral wrist position is vastly superior for beginners experiencing wrist impingement or elbow tendonitis, as it aligns the radius and ulna bones directly under the load, reducing joint torque while maximizing triceps isolation.
Step 4: Building Your First Free Weight Safety Kit
If you are outfitting a home gym or upgrading your lifting gear, here is a practical, budget-conscious shopping list for 2026:
- Primary Collars: Purchase a pair of Rogue Work Saver Clamps ($18.50). They offer 90% of the security of premium models but take up less sleeve space, leaving room for more plates.
- Backup Collars: Keep a pair of heavy-duty metal spring collars ($10) in your gym bag for quick accessory movements or travel.
- Dumbbells: Invest in urethane-coated hex dumbbells (e.g., REP Fitness Urethane Hex). The hex shape prevents rolling, which is a critical safety feature when performing floor presses or close-grip variations where the weights rest near your face and torso.
Frequently Asked Questions
Can I use spring collars for heavy squats?
It is highly discouraged. While spring collars might hold plates in place during a controlled squat, if you fail a rep and have to dump the barbell or drop it onto the safety pins in a power rack, the sudden deceleration can cause spring collars to pop off. This leads to plates sliding off the sleeve, creating a severe asymmetric hazard. Always use clamp or spinlock collars for heavy compound lifts.
Does the close grip dumbbell press work the inner chest?
The concept of "inner chest" isolation is largely a fitness myth. The pectoralis major muscle fibers run horizontally and contract as a whole unit. However, the close grip dumbbell press emphasizes the sternal head of the pecs and forces a strong peak contraction at the top of the movement when the dumbbells are pressed together, which can create the sensation of inner chest engagement.
How tight should my grip be on a close grip press?
For barbells, hands should be shoulder-width apart (roughly 12 to 16 inches between index fingers). Going narrower than this does not increase triceps activation but severely compromises wrist health. For dumbbells, the weights should be touching or spaced just one inch apart, with a firm neutral grip to prevent the dumbbell heads from colliding and destabilizing your lift.
"Proper equipment maintenance and exercise selection are the bedrock of long-term lifting longevity. Never compromise on barbell security, and always match your grip variation to your joint health and hypertrophy goals."
More gear to consider
All reviews
Best Dumbbells for an At Home Tricep Workout: Rubber Hex vs Urethane

Bumper vs Iron Plates: 2026 Trends & Dumbbell Shadow Boxing Rigs

Dumbbell Rack Storage Solutions & Dumbbell Back Exercises No Bench
Budget Breakdown: Loadable Dumbbells for Dumbbell Stationary Lunges

Rack Storage & Care Tips for Heavy Leg Lunges With Dumbbells