
Barbell Collar Types Compared: Moving Beyond 70 lbs Dumbbells
Transitioning from 70 lbs dumbbells to barbells? Compare barbell collar types, from spring clamps to lock-jaws, in this beginner-friendly safety guide.

The Plateau: Why Moving Past 70 lbs Dumbbells Requires a Barbell
When you finally press, row, or squat a pair of 70 lbs dumbbells, you have hit a major home-gym milestone. However, stabilizing 140 total pounds across two independent axes recruits massive rotator cuff and core stabilizers, often limiting your primary muscle overload. The balance becomes unwieldy, and the risk of a wrist tweak increases exponentially. Transitioning to a barbell allows you to push past this 70 lbs dumbbells plateau safely. But this transition introduces a critical, often overlooked safety variable: the barbell collar.
Beginners frequently assume that gravity alone keeps weight plates in place. In reality, the rotational inertia and lateral forces generated during a lift can cause plates to slide outward, altering the barbell's center of gravity mid-rep. This beginner-friendly, step-by-step guide will walk you through the exact types of barbell collars available in 2026, comparing their failure modes, pricing, and ideal use cases so you can secure your lifts with absolute confidence.
Step 1: Understanding the Physics of Sleeve Shift
Before buying equipment, you must understand the mechanical forces at play. An Olympic barbell sleeve is exactly 50mm (1.968 inches) in diameter. When you perform a dynamic movement like a power clean or even a heavy barbell row, the plates experience lateral G-forces. If the plates shift outward by just two inches on one side, the barbell becomes asymmetrical. This asymmetrical load forces your spine and joints to compensate instantly, which is a primary cause of acute lower back and shoulder injuries in novice lifters. A proper collar must provide enough inward clamping force to counteract these lateral G-forces.
Step 2: Evaluating the Spring Clip (The Beginner Trap)
The standard metal spring clip is the default collar included with most budget home gym sets. Priced between $5 and $10 a pair, they are ubiquitous but fundamentally flawed for heavy loading.
Pros and Cons of Spring Clips
- Pros: Extremely cheap, lightweight, and fast to apply for light static lifts.
- Cons: Prone to metal fatigue, poor grip on chrome sleeves, and catastrophic failure during drops.
Failure Mode: Spring clips rely on the tension of the metal coil. After roughly 50 to 100 uses, the metal fatigues, and the clamping force drops below the threshold required to hold a 45 lb bumper plate during a slight tilt. Furthermore, the small contact points of the spring wire easily slip on slick zinc or chrome barbell sleeves.
Critical Warning: Never use spring clips when dropping a barbell from overhead or during Olympic lifts. The impact shockwave travels down the steel sleeve and will instantly knock a spring clip off the end, causing plates to spill across your gym floor.Step 3: Upgrading to Clamp and Lock-Jaw Collars
As you move beyond the 70 lbs dumbbells phase and start loading the barbell past 135 lbs, you need a collar that utilizes a mechanical locking mechanism rather than simple spring tension. Clamp-style collars use a cam lever or a screw mechanism to tighten a resin or nylon grip around the 50mm sleeve.
The Lock-Jaw Pro 2
Retailing around $28, the Lock-Jaw Pro 2 is constructed from glass-reinforced nylon. It uses a simple latch mechanism that bites into the sleeve. It is highly effective for bumper plates and CrossFit-style workouts where speed of loading is essential. However, the plastic latch can become brittle over several years if left in an unheated garage gym during winter months.
The Rogue AB-2 Aluminum Collar
For approximately $48, the Rogue Fitness collar lineup features the AB-2, a CNC-machined aluminum collar with a resin-infused inner grip. The screw-tightening mechanism provides vastly superior clamping force compared to plastic latches. According to BarBend comprehensive barbell collar guide, aluminum clamp collars like the AB-2 represent the gold standard for general strength training, offering a perfect balance of durability, grip, and sleeve protection.
Step 4: Lever and Competition Collars for Heavy Loading
If your training shifts toward competitive powerlifting or Olympic weightlifting, you will encounter lever collars and calibrated competition collars.
- Lever Collars ($35 - $60): These use an eccentric cam lever to snap tight against the sleeve. They offer immense clamping pressure but can be difficult to remove if chalk builds up in the hinge mechanism.
- Competition Collars ($100 - $130): Brands like Eleiko manufacture collars that weigh exactly 2.5kg each and are calibrated for competition. They feature heavy-duty steel bodies and precision-machined inner diameters. Unless you are competing on a platform, these are overkill for a home gym.
2026 Collar Comparison Matrix
| Collar Type | Estimated Price | Grip Mechanism | Best Use Case | Durability Rating |
|---|---|---|---|---|
| Spring Clip | $5 - $10 | Coil Tension | Light accessories, curl bars | Low (Fatigues quickly) |
| Lock-Jaw (Nylon) | $25 - $30 | Plastic Latch | High-rep WODs, quick changes | Medium (Latch wear) |
| Aluminum Clamp | $45 - $55 | Screw / Resin Grip | Heavy compound lifts, home gyms | High (CNC machined) |
| Eccentric Lever | $35 - $60 | Cam Lever | Powerlifting, max effort | High (Hinge maintenance) |
| Calibrated Comp | $110+ | Precision Steel | Olympic platform lifting | Very High |
Step 5: The Step-by-Step Securing Protocol
Owning the right collar is only half the battle. Applying it correctly ensures maximum safety. Follow this exact protocol every time you load the bar.
- Clean the Sleeve: Before loading, wipe the barbell sleeve with a nylon brush or dry cloth. Chalk and sweat create a lubricating paste that reduces the friction coefficient between the collar and the steel sleeve.
- Load Plates Flush: Push your weight plates entirely flush against the shoulder of the barbell sleeve. Any gap between the inner plate and the barbell shoulder allows for momentum buildup before the plates hit the collar.
- Position the Collar: Slide the collar onto the sleeve, leaving exactly 1/8th of an inch of space between the collar and the outer plate. If you jam it too tightly against the plate before locking, the clamping force will push the collar outward rather than inward.
- Lock and Test: Engage the locking mechanism. Once secured, grab the collar and attempt to twist and pull it laterally. If it rotates freely around the sleeve, the grip has failed, and you must re-tighten or replace the collar.
Expert Insight: Always load and collar the lighter side of the barbell first if you are loading asymmetrically for rehabilitation or unilateral work. If you collar the heavy side first and the barbell tips off the J-cups, the uncollared light side will spill, creating a dangerous seesaw effect.
Step 6: Maintenance and Edge Cases
Even the best aluminum clamp collars require basic maintenance. In 2026, many lifters use liquid chalk or heavy magnesium carbonate blocks. This chalk dust inevitably works its way into the threading of screw-collars or the hinges of lever-collars. Once a month, use a stiff bristle brush and a drop of 3-in-One oil to clean the threads and moving parts of your collars.
Another edge case involves oversized fat-grip adapters. If you place a 2-inch thick silicone fat-grip adapter over the 50mm Olympic sleeve, the outer diameter expands to roughly 100mm. Standard collars will not fit. You must either place the collar on the exposed steel sleeve between the barbell shoulder and the fat grip, or purchase specialized oversized collars designed specifically for axle bars and fat grips.
Final Thoughts on Upgrading Your Gym
Leaving the 70 lbs dumbbells behind and embracing the barbell is a rite of passage for strength athletes. However, the barbell demands a higher standard of safety and mechanical awareness. By retiring your worn-out spring clips and investing in a reliable pair of aluminum clamp collars or reinforced nylon lock-jaws, you ensure that the only thing failing during your workout is your muscle tissue, not your equipment. Secure your sleeves, respect the physics, and lift with confidence.
More gear to consider
All reviews
Power Rack vs Squat Rack vs Squat Stand: Setup & Standing Marches with Dumbbells

Rack Setup: Barbell Knurling & Dumbbell Shoulder External Rotation
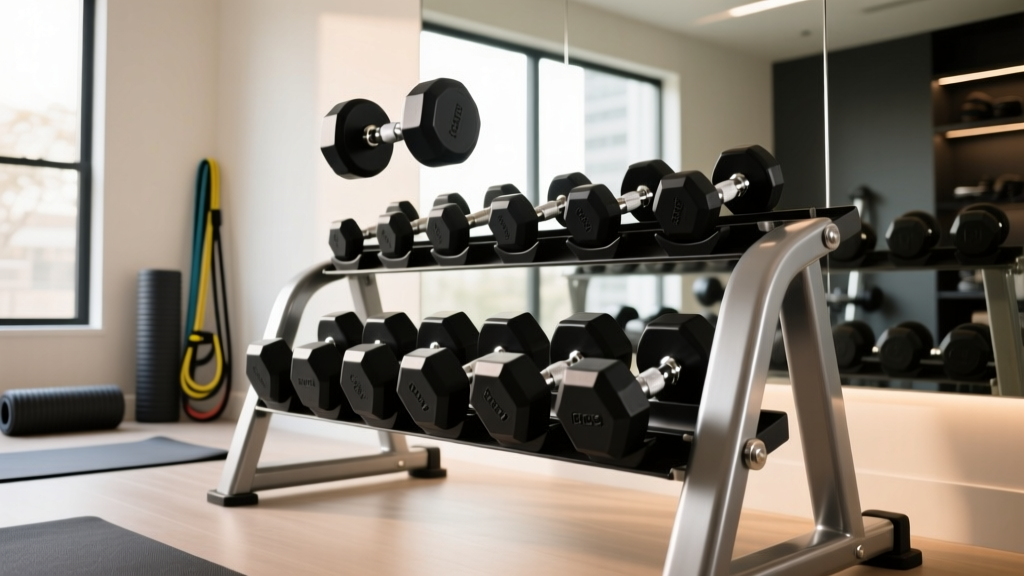
Top 2026 Dumbbell Racks to Support Dumbbell Row Muscles Workouts

What Do Dumbbell Bench Presses Work? Troubleshooting & Olympic Bar Guide

Single Arm Dumbbell Floor Press: Olympic vs Standard Plate Mistakes
