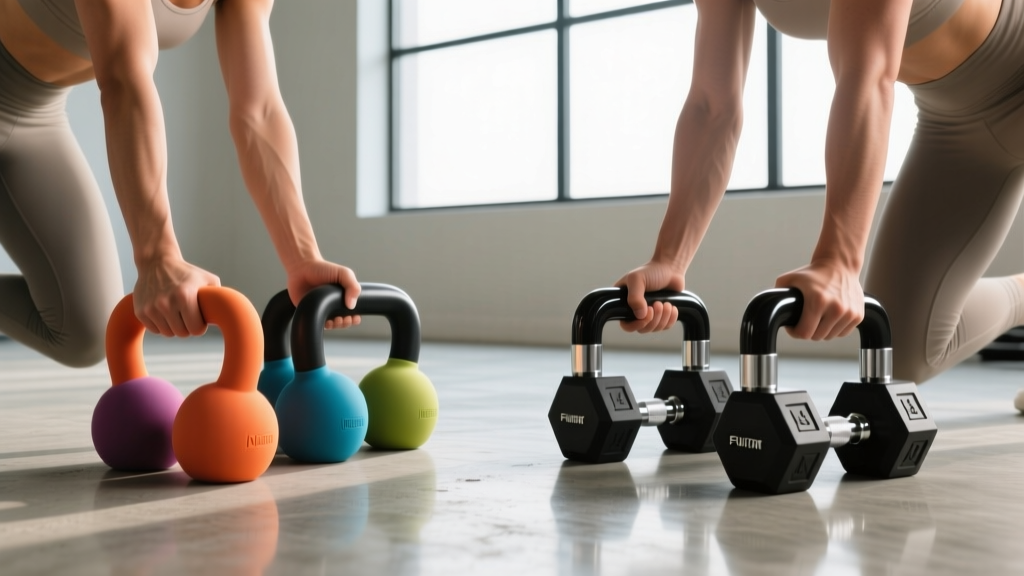
Barbell Collar Setup for Weight Loss Using Dumbbells
Master your home gym setup. We compare barbell collar types and walk through installation for safe, high-intensity weight loss using dumbbells and bars.

The Hybrid Metabolic Station: Why Collars Matter for Fat Loss Circuits
When building a home gym optimized for high-intensity metabolic conditioning, the transition speed between exercises is just as critical as the weight on the bar. Designing a program for weight loss using dumbbells and barbell complexes requires rapid load adjustments, drop-sets, and EMOM (Every Minute on the Minute) structures. If your barbell collars take 45 seconds to unscrew and re-secure, your heart rate drops, and the metabolic stimulus is lost.
According to the U.S. Department of Health and Human Services, combining muscle-strengthening activities with vigorous aerobic output is the gold standard for sustainable body composition changes. To achieve this in a home garage gym, your barbell station must be set up for speed and absolute safety. A loose plate during a rapid barbell-to-dumbbell transition is a catastrophic failure point. This walkthrough covers the complete setup, installation, and comparison of barbell collars to ensure your metabolic station is safe, efficient, and ready for work.
Step 1: Unpacking and Inspecting Your Barbell Hardware
Before installing any clamps, you must verify the compatibility of your barbell sleeves. The vast majority of modern Olympic barbells feature 50mm (1.96-inch) diameter sleeves. However, the finish and tolerances of these sleeves dictate which collar type will perform best.
- Bare Steel & Black Oxide Sleeves: High friction. Spring clips and polymer lock-jaws grip exceptionally well here, but aluminum lever-clamps may scratch the sleeve if debris is trapped.
- Chrome & Cerakote Sleeves: Low friction. Spring clips are highly prone to sliding off chrome sleeves during dynamic movements like barbell cleans. You must use high-pressure lever clamps or grooved-lock polymer jaws for these finishes.
- Stainless Steel: Medium friction. Compatible with all collar types, provided the inner diameter of the collar is exactly 50mm to prevent wobble.
Pro-Tip: Wipe down your sleeves with a nylon brush and a light coat of 3-in-One oil before your first setup. Dust and chalk buildup inside a collar mechanism is the number one cause of premature failure.
Step 2: Barbell Collar and Clamp Types Compared
As detailed in BarBend's comprehensive barbell collar guide, the market is saturated with options. For metabolic conditioning and rapid weight changes, we narrow the field down to three primary categories. Below is the 2026 comparison matrix for the top performers in each class.
| Collar Type | Model Benchmark | Approx. Price (Pair) | Change Speed | Best Application |
|---|---|---|---|---|
| Spring Clip | Proloc 9-Inch Steel | $12 - $18 | 2 Seconds | Budget setups, static lifts |
| Lever-Lock Aluminum | Rogue AH-1 Aluminum | $75 - $85 | 5 Seconds | Heavy complexes, drop-sets |
| Quick-Release Polymer | Lock-Jaw LITE | $35 - $40 | 3 Seconds | High-rep circuits, EMOMs |
Spring Clips (The Budget Option)
Traditional 9-inch steel spring clips rely on radial tension. While they are incredibly cheap and fast to apply, they possess a critical flaw for metabolic training: spring fatigue. After 500+ repetitions of opening and closing, the steel loses its memory, and the clamping force drops by up to 40%. Furthermore, they offer zero lateral security if the barbell is dropped from overhead during a fatigued dumbbell-barbell superset.
Lever-Lock Aluminum Clamps (The Heavy-Duty Standard)
Models like the Rogue AH-1 weigh 2.5 lbs each and use a cam-lever mechanism to drive a nylon or urethane pad against the sleeve. They provide immense lateral pressure, effectively turning your plates into a single solid mass. This is non-negotiable if your weight loss circuit includes unilateral barbell movements or rotational work where plates might shift.
Quick-Release Polymer Jaws (The Circuit King)
The Lock-Jaw LITE utilizes an ABS plastic housing with a polyurethane inner grip that snaps into the grooves of standard Olympic sleeves. Weighing just a fraction of a pound, they are the undisputed kings of speed. When your program demands switching from a 95lb barbell thruster to a 35lb dumbbell snatch in under 10 seconds, the Lock-Jaw's snap-on design keeps your heart rate in the fat-burning zone.
Step 3: Installation Walkthrough and Safety Checks
Proper installation is where most lifters fail. A $85 lever clamp installed incorrectly is more dangerous than a $12 spring clip. Follow this step-by-step walkthrough to secure your barbell station.
⚠️ CRITICAL SAFETY WARNING: Never install a lever-lock clamp over the knurled portion of the barbell shaft. The metal teeth will shred the nylon insert of the clamp, ruining the $80+ hardware and creating a slipping hazard.- Positioning: Slide the collar onto the sleeve until it makes flush contact with the outermost weight plate. Ensure the inner lip of the collar is not catching on the plate's rubber/urethane rim.
- Alignment (Polymer Jaws): For lock-jaw styles, visually align the inner polyurethane ridge with the machined groove on the barbell sleeve. Push firmly until you hear and feel the distinct 'click' of the ridge seating into the groove.
- Tensioning (Lever-Locks): Pull the cam-lever outward. If the lever closes with zero resistance, it is too loose. Use a 5mm hex key to adjust the rear tension bolt. The ideal torque setting requires moderate hand pressure to close the lever, leaving a slight red indentation on your palm. Do not overtighten to the point of bending the aluminum housing.
- The Shake Test: Grab the outermost plate and attempt to slide it laterally. If there is any audible 'clack' or movement exceeding 1 millimeter, re-tension the collar immediately.
Step 4: Integrating Dumbbells for Weight Loss Using Dumbbells and Barbell Complexes
With your barbell collars securely installed and tested, you can now map out the physical footprint of your metabolic station. The goal of weight loss using dumbbells alongside barbell work is to maintain continuous tension and elevated heart rates without walking across the gym.
'The most effective fat-loss complexes minimize transition time. Your dumbbells should be staged exactly one step away from the barbell, ideally on a tiered rack that matches the height of your barbell's resting position in the rack.' — FitGearPulse Biomechanics Team
Sample Station Layout & Protocol
- Center: Olympic Barbell loaded with bumper plates, secured with Quick-Release Polymer Jaws for instant stripping.
- Left Flank: Dumbbell rack staging 25lb and 40lb hex dumbbells (rubber-coated to prevent rolling if dropped during fatigue).
- Right Flank: Kettlebell (16kg) for unilateral finishers.
By utilizing quick-release collars, you can execute a barbell complex (e.g., 6 Deadlifts, 6 Hang Cleans, 6 Front Squats), instantly snap the collars off, strip the 25lb plates, and immediately transition into a dumbbell-heavy metabolic finisher without your heart rate dropping below 140 BPM.
Step 5: Maintenance and Real-World Failure Modes
Equipment in a garage gym is subjected to extreme temperature fluctuations, humidity, and physical abuse. To maintain the integrity of your barbell setup, you must monitor for specific failure modes:
1. Polyurethane and ABS Degradation
If your gym drops below 40°F (4°C) in the winter, ABS plastic lock-jaws become brittle. Dropping a barbell with cold plastic collars can cause the housing to shatter. Solution: Store polymer collars indoors and bring them out only for the workout, or upgrade to aluminum lever-locks for unheated spaces.
2. Nylon Insert Wear on Lever Clamps
The urethane or nylon pad inside an aluminum lever clamp will compress and wear down over 12-18 months of daily use. Solution: Inspect the pad monthly. If you see deep grooves or cracking, contact the manufacturer for replacement pads (usually $5-$10) rather than replacing the entire metal assembly.
3. Spring Tension Loss
If you must use spring clips for budget reasons, implement a 'retirement schedule'. Mark your springs with paint pens and replace them every 6 months to prevent catastrophic slippage during dynamic lifts.
Final Thoughts on Your Setup
Achieving your body composition goals requires more than just sweat; it requires an optimized, safe, and efficient physical environment. By selecting the right barbell collars for your specific sleeve type and installing them with precision, you eliminate friction from your workflow. When the barrier to changing weights is removed, your adherence to high-intensity protocols increases, making your journey of weight loss using dumbbells and barbells significantly more effective and sustainable in 2026 and beyond.
More gear to consider
All reviews
Bumper vs Iron Plates for Dumbbell Tenements: 2026 Guide

Bumper vs Iron Plates for CrossFit Thruster Dumbbell Workouts

EZ Curl Bar vs Straight Bar Care & Seated Military Press with Dumbbells
EZ Curl Bar vs Straight Bar & Neutral-Grip Dumbbell Bench Press
Seated Dumbbell Shoulder Press: Rubber Hex vs Urethane Space Guide