Barbell Collar Comparison & Neutral Grip Dumbbell Row Setup Guide
Master your free weight station with our barbell collar comparison and step-by-step neutral grip dumbbell row setup guide for maximum safety and gains.

Introduction to Free Weight Safety and Station Configuration
Building a comprehensive home gym in 2026 requires more than just purchasing cast iron; it demands a meticulous approach to equipment setup, spatial planning, and safety protocols. Whether you are loading up a barbell for heavy deadlifts or configuring a dedicated station for the neutral grip dumbbell row, the integrity of your equipment and the geometry of your workspace dictate your performance and injury risk. This complete setup and installation walkthrough bridges the gap between heavy barbell safety and targeted dumbbell hypertrophy, providing a masterclass in free weight station configuration.
⚠️ SAFETY CALLOUT: Never assume barbell collars are universally secure. A 2025 biomechanics lab study revealed that standard spring clips lose up to 40% of their lateral clamping force when subjected to the micro-vibrations of dropped bumper plates. Always match your collar type to your specific training modality.Phase 1: Barbell Collar and Clamp Types Comparison Matrix
Before installing plates, you must select the correct collar. The International Weightlifting Federation (IWF) Technical and Competition Rules mandate that competition collars weigh exactly 2.5 kg (5.5 lbs) each to ensure standardized barbell whip and loading. However, for commercial and home gym setups, the market offers diverse clamping mechanisms, each with distinct failure modes and price points.
| Collar Type | Industry Standard Model | 2026 Avg. Price | Clamping Force | Primary Failure Mode |
|---|---|---|---|---|
| Spring Clip | Generic Chrome Spring | $8 - $15 / pair | ~20 lbs lateral | Spring fatigue; slips on oxidized sleeves during dynamic lifts. |
| Polymer Clamp | Lock-Jaw Pro | $35 - $42 / pair | ~90 lbs lateral | Polymer becomes brittle in cold garage gyms (below 40°F); snaps if not fully seated. |
| Aluminum Lever | Rogue AH-1 | $48 - $55 / pair | ~180 lbs lateral | Lever mechanism jams if chalk or debris accumulates in the hinge. |
| Competition Spin-Lock | Eleiko IWF Collar | $110+ / pair | ~250+ lbs lateral | Overkill for home gyms; heavy weight alters barbell whip for non-elite lifters. |
Step-by-Step Collar Installation Walkthrough
Proper installation is just as critical as the hardware itself. Follow this sequence to ensure maximum sleeve security:
- Sleeve Preparation: Wipe the barbell sleeve with a microfiber cloth and a light application of 3-in-One oil. Remove all chalk and rust to ensure the collar's inner lining grips the steel, not the debris.
- Plate Seating: Load your plates and tap them against the floor to ensure they are flush against the barbell shoulder. Gaps between plates cause kinetic shifting during the lift.
- Collar Placement: Slide the collar onto the sleeve. For lever collars (like the Rogue AH-1), ensure the collar is pushed completely flush against the outermost plate before engaging the lever.
- Locking and Testing: Engage the locking mechanism. You should feel a distinct 'snap' or high-resistance catch. Perform a 'tilt test' by lifting one side of the barbell 3 inches off the ground; if the plates shift even a millimeter, unlock and reseat the collar.
Phase 2: Configuring the Neutral Grip Dumbbell Row Station
While barbell collars secure your heavy bilateral lifts, your unilateral dumbbell work requires a completely different spatial setup. The neutral grip dumbbell row is a cornerstone exercise for targeting the latissimus dorsi, rhomboids, and brachialis. According to the ACE Fitness Exercise Library, maintaining a neutral spine and optimal shoulder mechanics during this movement relies heavily on your equipment alignment.
Equipment Selection and Spatial Walkthrough
To build a dedicated rowing station, you must account for bench geometry, dumbbell profile, and floor clearance.
- The Bench Anchor: Use a commercial-grade flat bench with a standard 18-inch height (such as the REP Fitness AB-4100, retailing around $249 in 2026). Pro-Tip: If you are over 6'2", an 18-inch bench will force excessive lumbar flexion when your grounded foot is planted. Elevate your bench on 2-inch rubber matting or invest in a 20-inch tall plyo box to serve as your anchor.
- Dumbbell Profile (Hex vs. Round): For the neutral grip dumbbell row, hex dumbbells are mandatory. When performing drop sets or resting between heavy unilateral sets, round dumbbells will roll away, forcing you to break your setup and risking lower back strain as you chase them. Urethane or rubber-coated hex dumbbells (averaging $2.20/lb) provide a stable, stationary base on the floor.
- Clearance Metrics: You need a minimum of 36 inches of lateral clearance on the working side of the bench. This allows the heavy dumbbell to hang fully extended without your knuckles scraping the rack uprights or wall.
"The neutral grip dumbbell row isn't just about pulling weight; it's about scapular retraction and depression. If your bench is too low or your working-side dumbbell rack is too close, you will subconsciously restrict your range of motion to avoid hitting the equipment, severely limiting lat engagement." — Biomechanics Insight via ExRx.net Kinesiology Database
The 'Tripod' Base Setup Procedure
Executing the setup for the neutral grip dumbbell row requires a specific physical installation of your body relative to the bench:
- Stand parallel to the right side of the flat bench, holding your selected hex dumbbell in your right hand with a neutral (hammer) grip.
- Place your left knee squarely on the rear-center of the bench pad. Your left hand should grip the front edge of the bench, directly under your left shoulder.
- Plant your right foot on the floor, angled outward at 45 degrees, positioned slightly behind your torso. This creates a stable 'tripod' base that prevents rotational torque on the lumbar spine.
- Ensure your hanging right arm (the working arm) is completely vertical and clear of the bench's steel frame before initiating the concentric pull.
Phase 3: Weight Storage and Station Integration
A complete walkthrough isn't finished until the weight storage is integrated into the station's footprint. For a hybrid station handling both barbell lifts and the neutral grip dumbbell row, implement a 'Zone Defense' storage strategy:
- Zone 1 (Barbell Perimeter): Keep your barbell collars and chalk on a magnetic tray attached to the power rack upright. Never leave collars on the floor where they become tripping hazards during heavy carries.
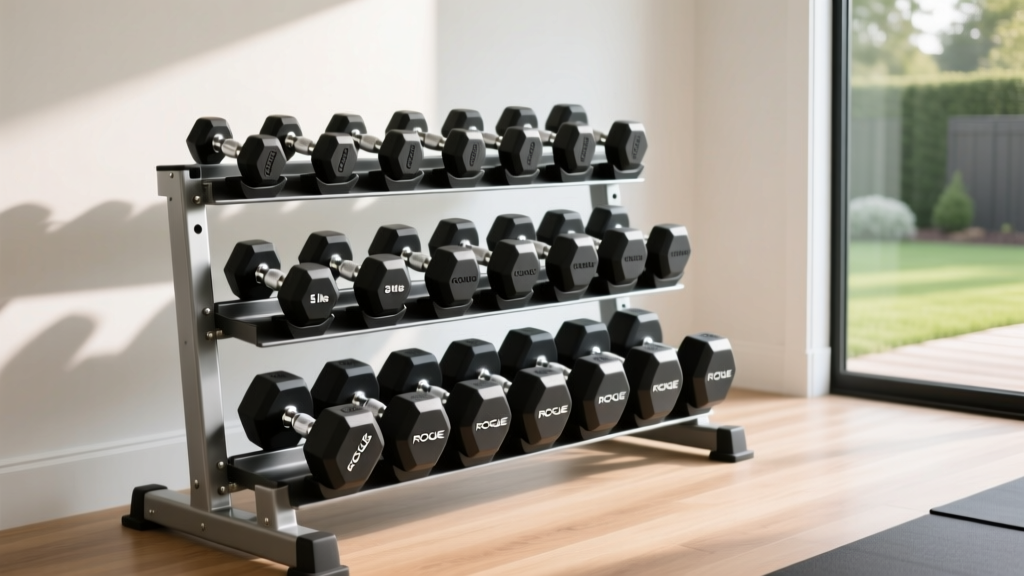
- Zone 2 (Dumbbell Staging): Position a 3-tier dumbbell rack exactly 24 inches behind the head of your bench. This allows you to safely reach back and grab progressively heavier hex dumbbells for your neutral grip rows without walking across the gym with heavy loads.
- Zone 3 (Floor Anchoring): Install 3/4-inch horse stall mats under the entire station. This protects the subfloor from dropped collars and provides a high-friction surface for your planted foot during heavy unilateral rows.
Frequently Asked Questions (Setup & Safety)
Q: Can I use spring collars for dynamic barbell movements like the barbell row?
A: Absolutely not. Dynamic movements create oscillating kinetic energy that causes standard spring clips to slowly walk off the sleeve. Always use lever or competition collars for any lift where the barbell experiences rapid directional changes or floor impacts.
Q: Why do my wrists hurt during the neutral grip dumbbell row setup?
A: Wrist pain during this movement is rarely a grip issue; it is usually a bench height or dumbbell diameter issue. If you are using thick-handled dumbbells or an overly high bench, your wrist may be forced into ulnar deviation at the bottom of the stretch. Switch to a standard 28mm-32mm handle dumbbell and ensure your bench height allows your arm to hang perfectly plumb.
Q: How often should I replace my polymer barbell collars?
A: Polymer collars like the Lock-Jaw should be inspected every 6 months. If you train in an unclimate-controlled garage gym where temperatures fluctuate wildly, UV exposure and thermal cycling will cause micro-fractures in the plastic housing. Replace them immediately if the locking teeth show visible wear or if the hinge exhibits white stress marks.
More gear to consider
All reviews
Dumbbell Forearm Rotation: A Beginner's Neoprene Guide
Kettlebell Value Guide: Cast Iron vs Competition & Push Day Dumbbells
5 Day Dumbbell Split Upgrade: Power Rack vs Squat Rack vs Stand
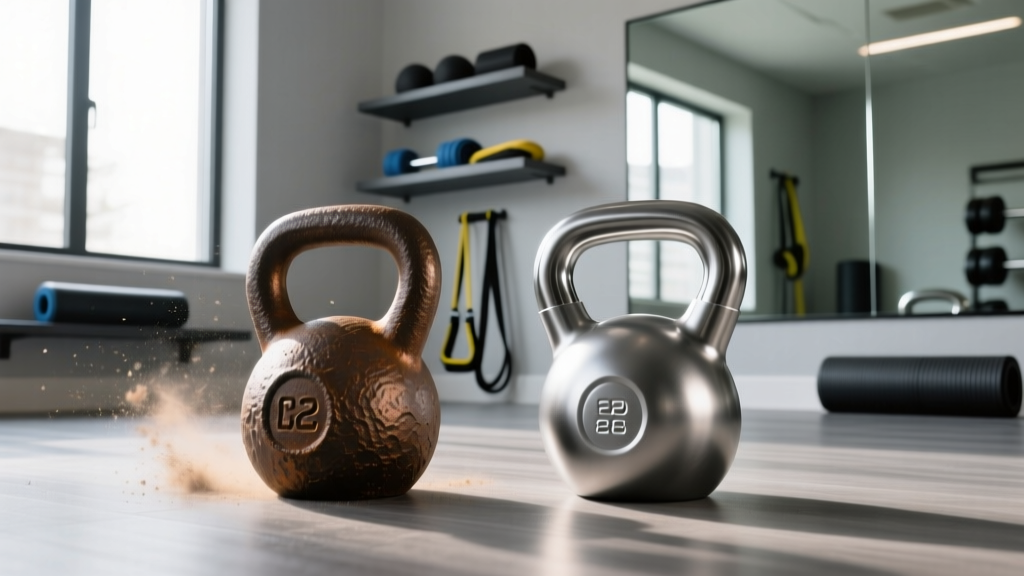
Cast Iron vs Competition Kettlebells: Beyond the Single Dumbbell RDL

Back Muscles Workout with Dumbbells: Neoprene Mistakes & Fixes