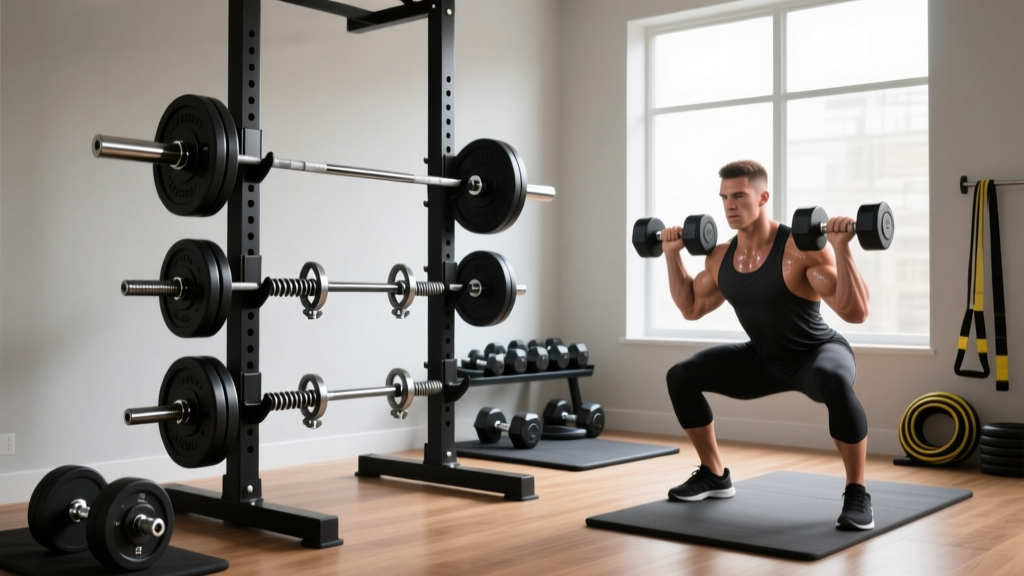
Barbell Collar Setup: Clamp Types & Dumbbell Split Squat Exercise
Master your home gym setup with our barbell collar clamp comparison and installation guide, optimizing transitions to the dumbbell split squat exercise.

The Architecture of Sleeve Security in the Modern Home Gym
When building a comprehensive free weight station, lifters obsess over barbell whip, knurling aggression, and rack stability. Yet, the critical junction between the barbell sleeve and the weight plate is often an afterthought. In 2026, as hybrid home gyms shrink in footprint to maximize living space, the speed at which you can assemble and break down your barbell dictates your entire training flow. This is especially true when programming complex supersets that require rapid transitions from heavy bilateral barbell lifts to unilateral movements like the dumbbell split squat exercise.
A failed collar doesn't just mean a loud crash; it introduces dangerous asymmetrical loading. According to biomechanical research published in the National Center for Biotechnology Information (NCBI), asymmetrical barbell loading forces the spine into lateral flexion and rotation under heavy axial compression, drastically increasing the risk of herniation. Securing your sleeves properly is a non-negotiable safety protocol. This walkthrough covers the complete setup, installation, and maintenance of barbell collars, ensuring your rack is ready for any movement pattern.
Barbell Collar and Clamp Types Comparison
Not all collars are engineered equally. The market is currently dominated by four primary mechanisms, each with distinct installation workflows and failure thresholds. Below is a comparative matrix of the industry standards, evaluating their security, installation speed, and ideal use cases.
| Model / Type | Mechanism | Avg. Price (Pair) | Install Time | Security Rating | Best For |
|---|---|---|---|---|---|
| Rogue Spring Collars | Steel Spring Tension | $16.00 | 1.5 seconds | Low (Slips on drops) | Light accessories, bench press |
| Lock-Jaw Pro 2.0 | Nylon Lever Clamp | $35.00 | 3.0 seconds | High (O-ring grip) | Olympic lifts, daily squatting |
| Rogue AB-2 Quick Release | Aluminum Lever / Cam | $45.00 | 2.5 seconds | Very High | Powerlifting, heavy rack work |
| OSO Pro Barbell Clamps | Machined Aluminum Spin-Lock | $125.00 | 8.0+ seconds | Maximum (Zero slip) | Drop sets, intense vibrational loads |
As highlighted in comprehensive equipment roundups by BarBend, the lever-clamp style (like the Lock-Jaw) remains the gold standard for 90% of home gym users due to the balance of extreme grip strength and rapid release times. However, your specific sleeve diameter will dictate which of these you can actually install.
Step-by-Step Installation Walkthrough
Proper installation is just as important as the hardware itself. A $125 pair of OSO Pro clamps will slip just as easily as a $10 spring collar if installed on a poorly tolerated sleeve. Standard Olympic sleeves measure exactly 50mm (1.968 inches), but budget barbells can vary by up to 0.5mm.
⚠️ Setup Warning: Sleeve TolerancesBefore purchasing spin-lock or rigid aluminum collars, measure your barbell sleeve with digital calipers. If your sleeve measures 49.5mm or less, rigid clamps will fail to seat properly and will slide off during dynamic movements. Stick to flexible nylon lever clamps like the Lock-Jaw Pro 2.0, which feature an internal rubber O-ring that compresses to accommodate sub-50mm tolerances.
Phase 1: Prepping the Sleeve
Before sliding any collar onto the bar, wipe the sleeve down with a microfiber cloth and a light application of 3-in-One oil or barbell-specific cleaner. Built-up chalk and oxidized zinc create a gritty surface that degrades the internal O-rings of lever clamps and shreds the nylon threads of spin-locks. Ensure the plates are pushed completely flush against the inner sleeve shoulder.
Phase 2: Seating the Clamp
- For Lever Clamps (Lock-Jaw / AB-2): Slide the collar onto the sleeve until it makes physical contact with the outermost plate. Do not leave a gap. Pull the lever back to the open position, align the teeth, and snap the lever shut. You should hear a distinct, sharp click. If the lever closes too easily, the collar is too loose; if you cannot snap it shut with moderate thumb pressure, the sleeve is oversized.
- For Spin-Locks (OSO Pro): Thread the collar onto the sleeve. You must push the collar inward against the plates while simultaneously turning it clockwise. This pre-loads the internal tension ring. Stop spinning the moment you feel the plates lock together and cannot be rattled by hand.
- For Spring Collars: Squeeze the handles, slide the collar past the plates, and release. Ensure the coiled loops are facing outward, away from the plates, to prevent them from catching on the rack uprights during re-racking.
Workflow Optimization: Transitioning to the Dumbbell Split Squat Exercise
Why does collar installation speed matter for a lower-body unilateral movement? Consider a high-density hypertrophy block where you superset heavy barbell back squats with the dumbbell split squat exercise. The barbell back squat requires the bar to be loaded in the J-cups, demanding significant floor and rack clearance. The dumbbell split squat exercise, however, requires you to step back into an open floor space or a cleared rack interior while holding heavy dumbbells.
If you are using slow, threaded spin-lock collars, breaking down the barbell to open up your rack space takes 20 to 30 seconds per side. This extended rest period ruins the metabolic stimulus of the superset. By utilizing a quick-release cam collar like the Rogue AB-2, you can unclamp, strip the plates, and hang the empty barbell on the rack's upper storage pegs in under 8 seconds. This rapid teardown allows you to immediately grab your dumbbells and step into your split squat stance, keeping your heart rate elevated and your workout density high.
'The transition between bilateral barbell loading and unilateral dumbbell work is where most home gym sessions lose their intensity. Your collar choice is effectively a pacing tool.' — FitGearPulse Editorial Team, 2026 Home Gym Flow Report
Maintenance, Failure Modes, and 2026 Polymer Upgrades
Even the best clamps degrade. Understanding the failure modes of your specific collar type will prevent catastrophic plate shifts during heavy lifts. Incorporate these checks into your monthly equipment maintenance routine:
- O-Ring Shear (Lever Clamps): The rubber O-ring inside a Lock-Jaw clamp provides 80% of the friction. Over time, exposure to UV light and ozone causes the rubber to dry rot and snap. Inspect the O-ring monthly. Replacement rings cost roughly $5 and take two minutes to install. Never use petroleum-based lubricants on the O-ring, as this dissolves the rubber.
- Spring Fatigue (Tension Collars): Standard spring collars lose their tensile strength after approximately 500 to 800 drop cycles (common in Olympic weightlifting). If you can squeeze the handles together with just two fingers instead of your whole palm, the spring steel has yielded and the collars must be retired to light-duty bench press use only.
- Nylon Warping: Early generations of plastic lever clamps were prone to warping if left clamped onto the barbell in a humid or unclimate-controlled garage. The 2025/2026 iterations of premium collars now utilize glass-filled nylon polymers that resist thermal expansion. However, it is still best practice to unclamp and store your collars on a dedicated pegboard hook rather than leaving them locked onto the barbell sleeve for weeks at a time.
For more details on matching your collars to specific barbell finishes (like Cerakote vs. hard chrome), refer to the sleeve specifications provided by manufacturers like Rogue Fitness. Ultimately, treating your barbell collars as precision safety equipment—rather than cheap accessories—ensures your rack remains a secure environment, whether you are grinding out a one-rep max or stabilizing through a deep, unilateral dumbbell split squat exercise.
More gear to consider
All reviews
EZ Curl vs Straight Bar: Budget & Dumbbell Arnold Arm Day Value

Power Rack vs Squat Stand: Space for Dumbbell Box Step Overs?

Cast Iron vs Competition Bells & CrossFit Workouts with Dumbbells
Best Adjustable Dumbbell for Spider Curls: 2026 Setup Guide
Bulgarian Split Squat One or Two Dumbbells: Neoprene Troubleshooting
