
Barbell Collar & Clamp Comparison: Setup for Dumbbell Strict Press
Compare barbell collar and clamp types with our complete setup walkthrough. Secure your rack for heavy lifts and the dumbbell strict press safely.

Building a comprehensive, multi-purpose pressing station in your home or commercial gym requires more than just sliding a bench into a power rack. Whether you are loading up the barbell for heavy bench press variations or reconfiguring your space to execute a heavy dumbbell strict press, the foundational element of your setup is weight security. In 2026, with the rise of hybrid training methodologies, athletes frequently transition between barbell and dumbbell movements within the same session. This complete setup and installation walkthrough will guide you through a rigorous barbell collar and clamp types comparison, followed by a step-by-step station configuration designed to keep you safe during both barbell and dumbbell pressing movements.
The Anatomy of Weight Security: Barbell Collar & Clamp Types Comparison
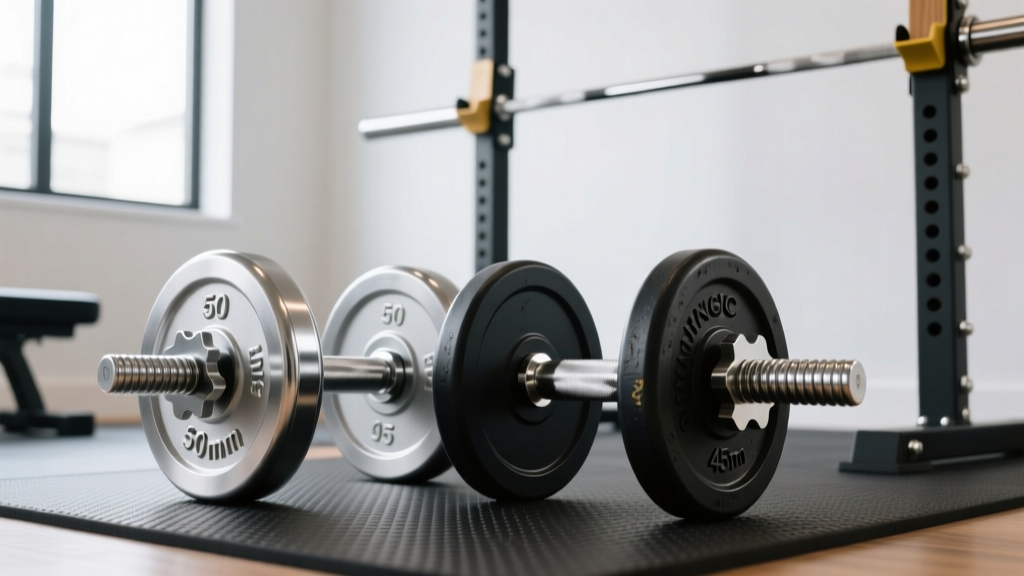
The standard Olympic barbell sleeve measures exactly 50mm (1.968 inches) in diameter. However, manufacturing tolerances, sleeve finishes, and the dynamic forces of dropping or racking weights mean that not all collars grip equally. According to extensive barbell collar testing by Garage Gym Reviews, the failure rate of improper clamping during dynamic movements remains a leading cause of plate-shift injuries. Let us break down the primary collar categories available on the market.
1. Spring Collars (The False Economy)
Traditional chrome spring collars are the default inclusion with most budget barbell sets. Priced between $10 and $15 per pair, they rely on tensioned steel wire to grip the sleeve. While they are fast to install, they offer a grip force of less than 40 lbs. Failure Mode: During uneven loading or when the barbell is dropped from overhead, spring collars routinely slip on zinc-coated sleeves, leading to catastrophic plate shifts. They are not recommended for any pressing station where heavy, unilateral, or dynamic loads are utilized.
2. Clasp and Lock-Jaw Collars (The Daily Drivers)
Constructed from high-density, glass-filled nylon or reinforced polymers, clasp collars (such as the LOCK-JAW PRO 2 or OSO Barbell Pro Clasp) utilize a mechanical lever to compress an inner ring against the barbell sleeve. Retailing between $30 and $45, these collars generate upwards of 150 lbs of radial clamping force. They are lightweight, do not scratch black oxide or chrome sleeves, and provide a secure lock for 90% of standard training movements.
3. Competition Clamp Collars (The Heavy Duty Standard)
Designed to meet International Weightlifting Federation (IWF) and International Powerlifting Federation (IPF) standards, competition clamps like the Rogue HG 2.0 Aluminum Collars or Eleiko Olympic Weightlifting Collars are machined from extruded aluminum or solid steel. Priced from $75 to over $130 per pair, they utilize a cam-lever or screw-down mechanism paired with a high-friction rubber or urethane inner lining. These collars add exactly 2.5kg or 5lbs to the bar (a crucial metric for competition math) and offer near-immunity to slippage, even during aggressive barbell drops.
2026 Collar Comparison Matrix
| Collar Type | Reference Model | Material | Price Range (Pair) | Grip Force | Best Application |
|---|---|---|---|---|---|
| Spring | Generic Chrome | Steel Wire | $10 - $15 | < 40 lbs | Light isolation, warm-ups |
| Clasp / Jaw | LOCK-JAW PRO 2 | Glass-Filled Nylon | $30 - $45 | ~ 150 lbs | Daily benching, squats, Olympic lifts |
| Competition Clamp | Rogue HG 2.0 | Extruded Aluminum | $75 - $95 | 300+ lbs | Heavy pressing, drops, competition prep |
| Screw-Down | Eleiko Olympic | Steel / Urethane | $120 - $140 | 400+ lbs | Elite weightlifting, extreme load security |
Complete Setup Walkthrough: Configuring the Rack and Sleeves
Securing the barbell is only half the equation; proper installation technique is what guarantees safety. Follow this walkthrough to prep your pressing station.
Pro-Tip: Sleeve PreparationBefore installing any clamp, wipe the barbell sleeve with a microfiber cloth and a light degreaser. Factory grease or accumulated chalk acts as a lubricant, reducing the coefficient of friction between the collar's inner lining and the steel sleeve by up to 40%.
- Load the Plates Flush: Ensure all bumper or steel plates are pushed entirely flush against the sleeve shoulder. Any gap between the plates will allow kinetic energy to compound during a lift, increasing the outward force against your collar.
- Position the Collar: Slide the collar onto the sleeve until it makes contact with the outermost plate. Do not leave a gap between the plate and the collar.
- Engage the Mechanism: For cam-lever clamps (like the Rogue HG 2.0), pull the lever past the 90-degree center-point to engage the over-center lock. For clasp collars, press down until you hear the secondary locking click.
- The 'Tug Test': Grab the collar and attempt to twist and pull it laterally. If it rotates freely around the sleeve, the inner lining has worn out or the sleeve tolerance is too narrow (common on 49.5mm budget bars).
Transitioning the Station for the Dumbbell Strict Press
Once your barbell work is complete, the pressing station must be reconfigured for accessory and isolation movements. The dumbbell strict press is a premier shoulder hypertrophy and strength movement, but it introduces unique spatial and safety requirements that differ vastly from barbell benching.
Step 1: Spotter Arm Reconfiguration
When performing a barbell bench press, spotter arms are set roughly 1-2 inches below your chest depth. However, when transitioning to the dumbbell strict press, you must remove or fully lower the spotter arms. If you fail a heavy dumbbell strict press, the biomechanically safe bailout route is to drop the dumbbells laterally to the floor. If steel spotter arms are left at chest height, a fatigued lifter may inadvertently drop a 70 lb dumbbell onto the arm, causing severe wrist torque, shoulder impingement, or catastrophic damage to the dumbbell casing.
Step 2: Bench Angle and Placement
Adjust your adjustable bench to an 80-to-85-degree incline rather than a perfectly vertical 90 degrees. A strict 90-degree angle forces the rotator cuff into a vulnerable position and limits the natural scapular retraction required for a safe pressing groove. Position the bench centrally in the rack so you can utilize the rack's J-cups to store your heavy dumbbells between sets, keeping the floor clear.
Step 3: Verifying Adjustable Dumbbell Locking Mechanisms
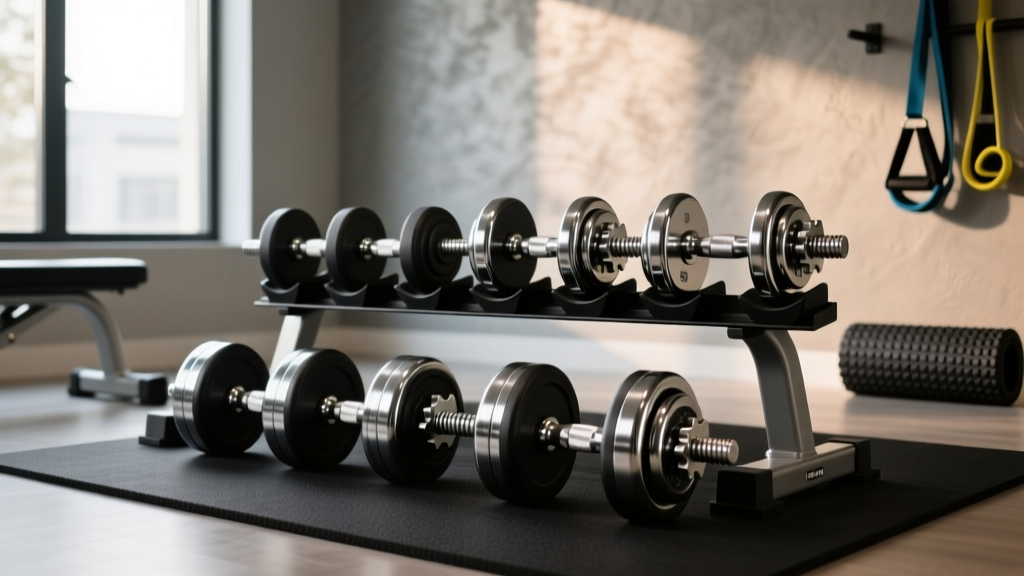
In modern home gyms, adjustable dumbbells (like Nuobell, PowerBlock, or Bowflex) have largely replaced fixed urethane sets. Just as you scrutinized your barbell collars, you must inspect the locking mechanisms of your adjustable dumbbells. According to BarBend's expert breakdown of weight security mechanics, the principle of lateral force applies equally to dumbbells. Ensure that selector pins are fully seated and that dial-mechanisms click firmly into the weight plate groove. A loose selector pin during an overhead strict press is the dumbbell equivalent of a failed barbell spring collar.
'The transition from barbell to dumbbell pressing in a single session is where most gym accidents occur. Lifters suffer from setup fatigue and fail to reconfigure their rack's safety parameters. Treat your dumbbell station setup with the same rigorous checklist you apply to a 1-rep max barbell attempt.' — FitGearPulse Biomechanics Review Board
Edge Cases and Troubleshooting Slippage
Even with premium competition clamps, you may encounter slippage. This is almost always a symptom of sleeve tolerance mismatches rather than collar failure.
- The 'Skinny Sleeve' Problem: Budget barbells often feature sleeves machined to 49.2mm or 49.5mm instead of the true 50mm Olympic standard. Competition clamps with rigid aluminum bodies will fail to clamp down tightly enough on these narrower sleeves. Solution: Use glass-filled nylon clasp collars, which possess enough flex to deform and grip narrower sleeves securely.
- Black Oxide vs. Chrome Friction: Black oxide sleeves are highly porous and provide excellent friction against urethane and rubber collar linings. However, polished chrome or stainless steel sleeves are incredibly slick. If you run a stainless steel barbell, you must use collars with aggressive, textured rubber inner gaskets to prevent rotational slipping during asymmetric loading.
Final Walkthrough Summary
A truly optimized pressing station is defined by its adaptability and its unwavering commitment to safety. By investing in mechanical clasp or competition aluminum collars, you eliminate the variable of plate shift during heavy barbell work. Furthermore, by understanding how to systematically tear down and rebuild your rack configuration—removing spotter arms and verifying adjustable dumbbell locks—you create a seamless, safe environment to transition directly into the dumbbell strict press. Respect the tolerances, maintain your sleeve finishes, and never compromise on the hardware that stands between you and a dropped load.
More gear to consider
All reviews
Adjustable Dumbbell Comparison & Dumbbell Necklace Guide
Olympic vs Standard Plates for Your Seated Bicep Curl Dumbbell
Olympic vs Standard Weight Plates for Dumbbell Floor Exercises
Home Dumbbell Back Exercises: Barbell Collar & Clamp Types Compared
2026 Budget Breakdown: Bumper vs Iron Plates & Dumbbell Lat Raises
