
Barbell Clamp Types Compared: Incline Dumbbell Hammer Curl Setup
Compare barbell collar and clamp types for safe lifting. Includes a beginner step-by-step guide to the incline dumbbell hammer curl using adjustable handles.

The Critical Role of Weight Collars and Clamps
When beginners step into the free weights section, the focus is almost entirely on the plates and the bars. However, the unsung heroes of gym safety are the collars and clamps that keep those plates secured. A failing collar during a heavy compound lift is a major safety hazard, but even during isolation movements, loose hardware can ruin your biomechanics and damage your equipment. In this comprehensive guide, we will break down the exact mechanics of barbell collar and clamp types, and then apply this knowledge to a step-by-step tutorial on executing the incline dumbbell hammer curl using adjustable dumbbell handles.
Barbell Collar and Clamp Types Comparison
Not all collars are created equal. The clamping force, measured in pounds of lateral pressure against the sleeve, varies wildly depending on the mechanism. Below is a detailed comparison matrix of the four primary collar types you will encounter in commercial and home gyms in 2026.
| Collar Type | Mechanism | Avg Price (Pair) | Security Rating | Speed | Best Application |
|---|---|---|---|---|---|
| Spring Clips | Steel tension coils | $12 - $18 | Low (20-30 lbs) | Very Fast | Warm-ups, Olympic lifting drops |
| Lock-Jaw Collars | Polymer body with steel latch | $30 - $45 | High (100+ lbs) | Medium | General hypertrophy, home gyms |
| Lever Clamps | Aluminum body, steel cam lever | $75 - $95 | Elite (200+ lbs) | Fast | Powerlifting, heavy squats/bench |
| Spinlock Nuts | Threaded steel or iron nut | $20 - $35 (Set) | High (Thread-dependent) | Slow | Adjustable dumbbells, standard bars |
Deep Dive: Mechanism Failures and Edge Cases
Spring clips are notorious for losing tension over time. If you leave them clamped onto a barbell sleeve overnight, the steel coils undergo plastic deformation, permanently reducing their clamping force. Lever clamps, while incredibly secure, can suffer from cam-loosening if the aluminum body sustains micro-dents from being dropped on rubber flooring. Lock-jaw collars offer the best middle ground for most beginners, utilizing a steel locking pin that physically prevents the clamp from opening under vibration.
Bridging the Gap: Spinlocks and Adjustable Dumbbells
While Olympic barbells use 50mm sleeves, many beginners start their home gyms with 1-inch standard or 2-inch Olympic adjustable dumbbell handles (such as the CAP Barbell OB-85 or Yes4All adjustable sets). These handles rely entirely on spinlock nuts. Because the incline dumbbell hammer curl requires a neutral grip and generates significant rotational torque and vibration through the handle, a poorly threaded or cross-threaded spinlock nut can slowly back off mid-set. Understanding how to properly secure these smaller collars is vital before we move on to the exercise itself.
Step-by-Step Guide: The Incline Dumbbell Hammer Curl
The incline dumbbell hammer curl is a premier exercise for targeting the brachialis and brachioradialis, while the incline angle places a deep stretch on the long head of the biceps brachii. According to ExRx.net's kinesiology database, the neutral grip shifts the mechanical advantage away from the biceps brachii and heavily onto the underlying brachialis, which pushes the biceps up and creates thicker-looking arms. Here is how to set up and execute it safely using adjustable handles.
Step 1: Bench and Handle Preparation
- Set the Incline: Adjust your bench to a 45-degree or 60-degree angle. Going lower than 45 degrees places excessive shear stress on the anterior deltoid and shoulder capsule.
- Load the Plates: Slide your desired weight plates onto the adjustable dumbbell handles. Always load the larger diameter plates closest to the inner collar to maintain a lower center of gravity.
- Secure the Spinlock Collars: Thread the spinlock nut onto the handle. Critical Safety Tip: Do not just tighten it with your fingers. Grip the handle with one hand and use the palm of your other hand to twist the nut until it is flush against the plate. Give the dumbbell a gentle shake over a padded surface to ensure zero plate rattle.
Step 2: Positioning and Grip
Sit back on the incline bench and let your arms hang straight down toward the floor. This hanging position is what makes the incline variation so effective; it places the long head of the biceps in a fully stretched position behind the torso. Maintain a strict neutral grip (palms facing your body). The American Council on Exercise (ACE) emphasizes that keeping the wrists locked in a neutral position is crucial to prevent lateral epicondylitis (tennis elbow) during hammer curls.
Step 3: The Concentric Phase (The Lift)
Exhale and curl the weights upward by flexing the elbow. Keep your upper arms completely stationary and pinned to your sides. The movement should occur exclusively at the elbow joint. Because you are using a hammer grip, the brachioradialis (the large muscle on the top of your forearm) will heavily assist the movement. Stop the curl when the dumbbell handles are roughly at shoulder height.
Step 4: The Eccentric Phase (The Lowering)
Inhale and slowly lower the weights back to the starting position. The eccentric phase should take a full 2 to 3 seconds. This slow lowering phase causes the micro-tears in the muscle fibers necessary for hypertrophy. As the Cleveland Clinic's anatomy guide notes, controlled eccentric loading is also vital for maintaining the health and elasticity of the distal biceps tendon.
FitGearPulse Pro Tip: If you feel your spinlock collars vibrating or hear a metallic 'clinking' sound during the eccentric phase of your incline dumbbell hammer curl, stop immediately. The rotational torque of the hammer grip can loosen under-tightened nuts. Re-seat the plates and tighten the collars before continuing your set.
Troubleshooting Common Collar and Clamp Issues
Even with the right equipment, beginners often run into hardware issues. Here is a quick troubleshooting guide to keep your lifts safe and efficient.
- Cross-Threading on Spinlocks: If a spinlock nut feels resistant when you start turning it, do not force it. You are likely cross-threading the metal, which will permanently strip the handle. Back it off, align the threads perfectly straight, and try again.
- Lock-Jaw Latch Slippage: If your polymer lock-jaw collars are sliding off the sleeve during heavy deadlifts, check the inner rubber lining. Over time, chalk and dust embed into the rubber, reducing friction. Wipe the inner lining with a damp cloth and let it dry to restore grip.
- Spring Clip Asymmetry: When using spring clips for quick warm-up sets, ensure the 'ears' of the clip are pointing away from the plates. If they point inward, they can catch on the plate edges and fail to apply maximum lateral pressure.
Final Thoughts on Free Weight Security
Mastering the hardware of the gym is just as important as mastering the exercises. By understanding the distinct differences between spring clips, lock-jaws, lever clamps, and spinlock nuts, you can tailor your equipment to your specific training needs. Whether you are loading up an Olympic barbell for heavy squats or meticulously securing adjustable handles for a strict set of incline dumbbell hammer curls, proper collar selection and application will ensure your energy is spent building muscle, not worrying about shifting plates.
More gear to consider
All reviews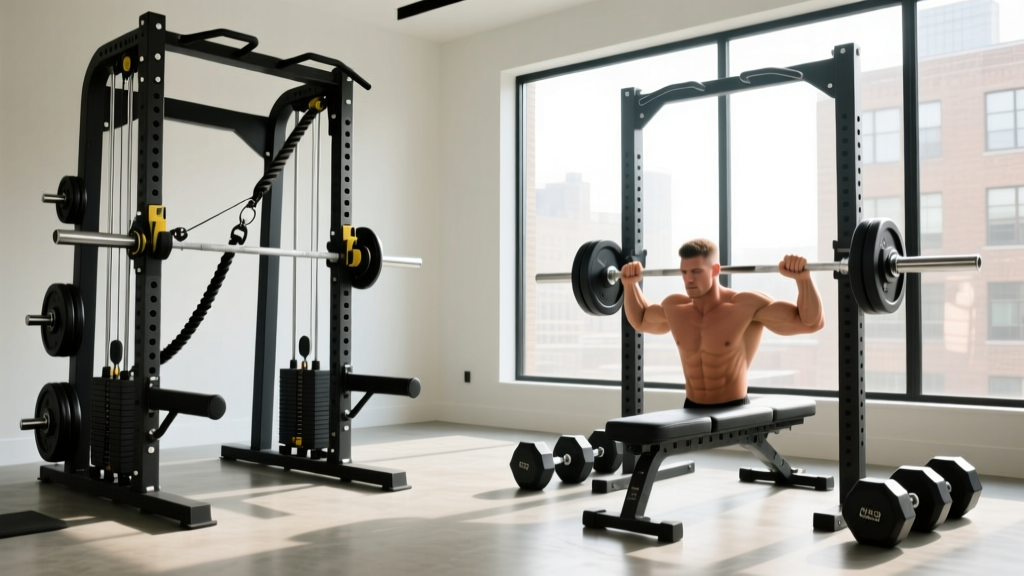
Cable Flys vs Dumbbell Flys: Power Rack vs Squat Rack Setup
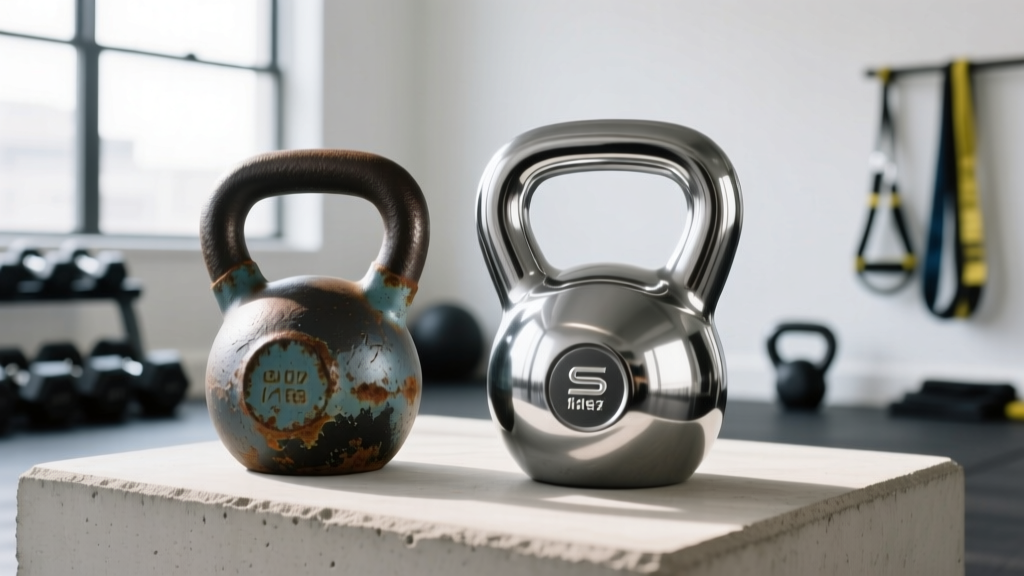
Cast Iron vs Competition Kettlebell Care & Front Raises GIF

A Beginner's List of Dumbbell Workouts Using Neoprene Weights

1 Dumbbell Workout Guide: Rubber Hex vs Urethane Dumbbells

Power Rack vs Squat Rack vs Stand: Setup & SpongeBob Dumbbells
