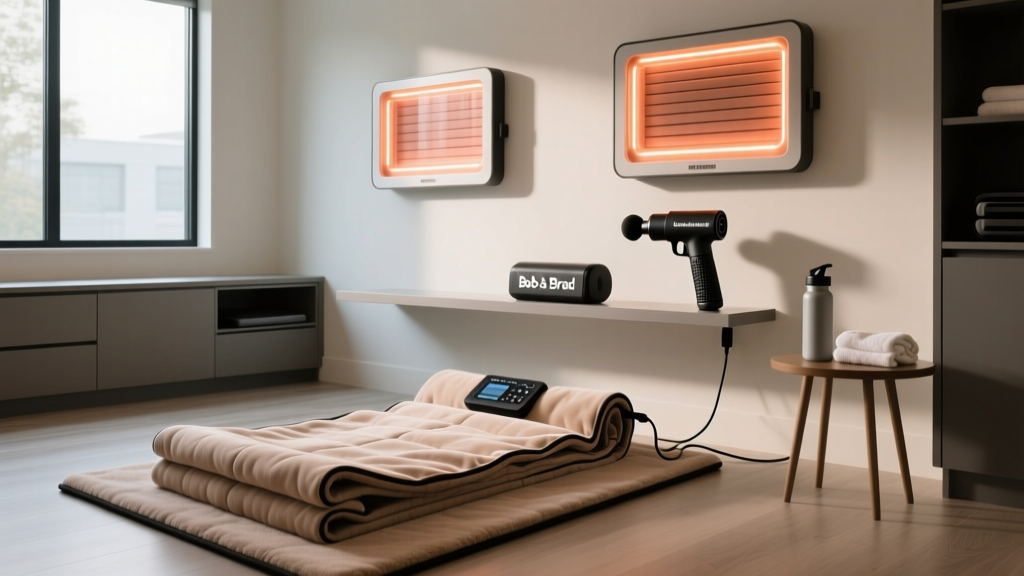
Infrared Sauna Blanket Setup & Bob and Brad T2 Massage Gun Station
Master your home recovery zone with our complete installation walkthrough for infrared sauna blankets, panels, and the Bob and Brad T2 massage gun.

The Architecture of a 2026 Home Recovery Zone
Building a dedicated recovery space in your home requires more than just unboxing equipment and plugging it into the nearest wall outlet. As thermal and percussive therapies become deeply integrated into daily athletic and wellness routines, the spatial and electrical planning of your recovery zone is critical. This comprehensive walkthrough covers the complete setup and installation of far-infrared (FIR) sauna blankets and wall-mounted panels, alongside the strategic integration of a dedicated charging and maintenance station for the Bob and Brad T2 massage gun.
According to a systematic review published in the National Library of Medicine, regular dry sauna bathing yields significant clinical benefits for cardiovascular and neuromuscular recovery. However, achieving these benefits at home requires strict adherence to electrical safety and optimal device placement. Let us break down the installation process phase by phase.
Phase 1: Electrical Load Planning & Circuit Safety
The most common failure point in home recovery room setups is electrical overload. Thermal recovery tools are high-wattage appliances that draw continuous amperage, which can easily trip standard residential breakers if not planned correctly.
⚠️ Amperage Math & Safety Warning:A standard US household circuit is 15 Amps (1800 Watts max). A premium FIR sauna blanket (like the HigherDOSE v4) draws roughly 550W to 600W (approx. 4.5 to 5 Amps). A single wall-mounted FIR panel (such as a Clearlight or Sunlighten 1200W model) draws 10 Amps. If you plug both into the same 15A circuit alongside a space heater or a high-draw treadmill, you will trip the breaker or risk melting the outlet wiring. Always consult the Electrical Safety Foundation International (ESFI) guidelines for high-load appliances.
Circuit Allocation Strategy
- Circuit A (Dedicated 20A): Reserve this strictly for your wall-mounted infrared panel or a full-body sauna tent.
- Circuit B (Standard 15A): Use this for your FIR sauna blanket and the low-draw charging stations for your percussive tools, including the Bob and Brad T2 massage gun.
Phase 2: Infrared Sauna Blanket Unboxing & Burn-In Protocol
Sauna blankets utilize carbon fiber heating pads encased in waterproof, medical-grade polyurethane (PU) leather. Proper initial setup ensures longevity and eliminates manufacturing odors.
- Unfolding & Inspection: Lay the blanket flat on a hard surface. Never fold the blanket in half while it is powered on, as this traps heat and can trigger the internal thermal fuse, permanently disabling the unit.
- Controller Pairing: Connect the heavy-duty DC power cable from the blanket to the digital controller. Ensure the locking collar is twisted securely to prevent voltage arcing.
- The 30-Minute Burn-In: Before your first physical use, turn the blanket to its maximum temperature (usually 150°F - 165°F) and let it run empty for 30 minutes in a well-ventilated room. This off-gasses any volatile organic compounds (VOCs) from the new PU leather and wiring insulation.
- Layering for Hygiene: Always place a thick, dark-colored cotton towel or a specialized bamboo insert inside the blanket. This absorbs sweat and prevents the acidic salts from degrading the interior waterproof lining over time.
Phase 3: Hardwiring vs. Plug-In Infrared Panel Installation
If your recovery zone includes a wall-mounted FIR panel for targeted joint therapy or ambient room heating, the physical installation requires precise structural mounting. A typical 40-inch FIR panel weighs between 40 and 55 lbs and generates significant surface heat.
Step-by-Step Wall Mounting
- Stud Location: Use a magnetic stud finder to locate the wooden or metal studs. Drywall anchors alone will fail under the continuous thermal expansion and contraction cycles of the panel.
- Bracket Alignment: Mount the primary wall bracket using 3-inch lag bolts driven directly into the center of the studs. Use a 24-inch torpedo level to ensure perfect horizontal alignment.
- Cable Management: Route the power cable through a paintable wire channel or, if you own your home, hire an electrician to install a recessed outlet directly behind the panel's junction box for a seamless, floating look.
- Clearance Zones: Maintain a minimum 12-inch clearance above and to the sides of the panel to allow for convective airflow, preventing heat buildup on your drywall.
'Proper installation of infrared heating elements not only maximizes the therapeutic penetration of the light spectrum but also mitigates long-term fire risks associated with thermal degradation of surrounding building materials.' — NCBI Review on Sauna Bathing Benefits and Risks
Phase 4: Bob and Brad T2 Massage Gun Station Setup
A truly optimized recovery room integrates thermal therapy with neuromuscular percussive therapy. The Bob and Brad T2 massage gun is a highly effective, budget-friendly device (typically retailing around $99-$129) featuring a 12mm amplitude, a brushless motor, and a 2500mAh lithium-ion battery. However, lithium-ion batteries are highly sensitive to ambient heat. Setting up a dedicated station for the T2 is crucial to preserve its lifespan.
Designing the Percussive Therapy Dock
Never store or charge your Bob and Brad T2 massage gun directly next to, or on top of, your active or recently used sauna blanket. The residual heat from the blanket can elevate the T2's internal battery temperature above 104°F (40°C), which accelerates lithium-ion degradation and can cause battery swelling.
- The Cart Setup: Position a 3-tier rolling utility cart exactly 4 feet away from your sauna blanket zone. This keeps the T2 within arm's reach for post-sauna muscle work but outside the thermal radiation zone.
- Power Delivery (PD) Charging: The T2 utilizes a USB-C charging port. Plug a dedicated 20W USB-C Power Delivery wall brick into your Circuit B outlet. Keep the cable coiled loosely using a velcro tie to prevent internal wire fraying.
- Attachment Organization: Use a small silicone organizer tray on the top shelf of the cart to hold the T2's five attachments (bullet, flat, fork, ball, and cushion). Silicone prevents the plastic attachment stems from scratching and keeps them free of sweat and massage oils.
Recovery Ecosystem Comparison Matrix
| Equipment | Primary Modality | Avg. Wattage / Power | Setup Complexity | Maintenance Requirement |
|---|---|---|---|---|
| FIR Sauna Blanket | Full-body thermal / vasodilation | 550W - 600W | Low (Plug & Play) | Wipe down, off-gas burn-in |
| FIR Wall Panel | Targeted joint / ambient heat | 1200W - 1500W | High (Stud mounting) | Dusting, wiring inspection |
| Bob and Brad T2 | Percussive / myofascial release | 12V / 2500mAh Battery | Medium (Station building) | Battery cycling, head cleaning |
Edge Cases & Troubleshooting
GFCI Outlet Tripping
If your sauna blanket repeatedly trips a GFCI (Ground Fault Circuit Interrupter) outlet, it is usually due to microscopic moisture ingress into the controller connection point. Ensure your hands are completely dry when plugging in the DC barrel, and never use the blanket in a high-humidity bathroom environment.
Bob and Brad T2 Battery Calibration
If your T2 massage gun begins shutting off prematurely at the 20% battery mark, the battery management system (BMS) needs recalibration. Drain the device completely until it will no longer turn on, then charge it uninterrupted for a full 6 hours. Repeat this cycle twice to reset the internal voltage sensors.
Panel EMF Concerns
While high-quality FIR panels are shielded, cheaper models can emit localized electromagnetic fields (EMF). Maintain a minimum distance of 18 inches from the panel's rear junction box during active use to minimize exposure to magnetic fields generated by the internal transformers.
Final System Calibration & Maintenance
Once your infrared sauna blanket is burned in, your wall panel is securely lag-bolted to the studs, and your Bob and Brad T2 massage gun station is organized on its thermal-safe cart, your recovery ecosystem is complete. Schedule a monthly inspection of your wall panel's mounting hardware, as the continuous heating and cooling cycles can slowly loosen lag bolts over time. By respecting the electrical boundaries and thermal sensitivities of your equipment, you ensure a safe, highly effective recovery environment for years to come.
More gear to consider
All reviews
Theragun vs Hyperice: Which Massage Gun Ball Head Dominates in 2026?

Trakk Massage Gun Value: Percussion vs Vibration Therapy Breakdown
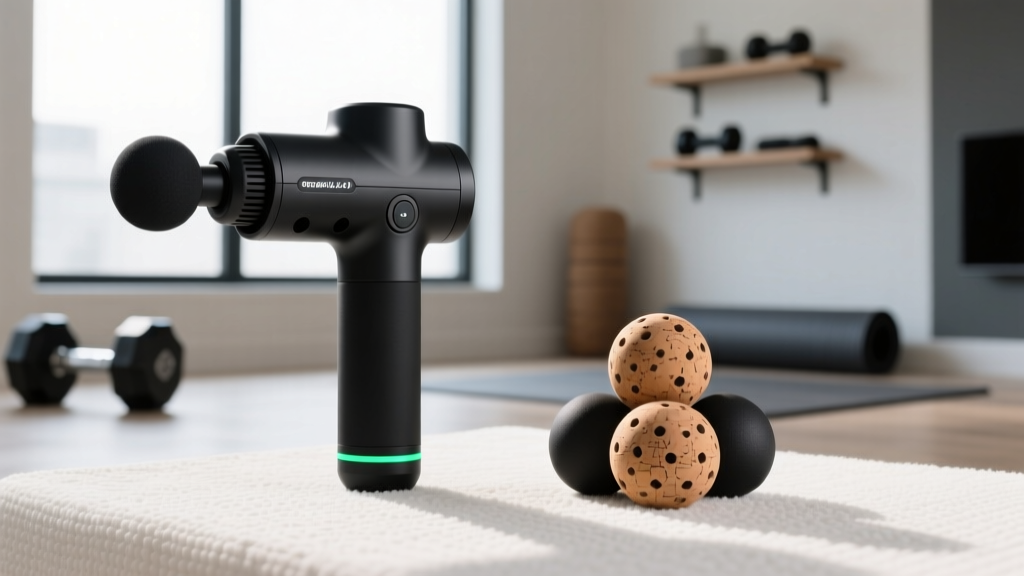
Massage Gun Disadvantages vs Trigger Point Balls: Value Analysis

Brad Common Mistakes: Critical Errors in Equipment Recovery That Cost Time, Money, and Safety

Theragun vs Hyperice vs SLF Massage Gun Care Guide
