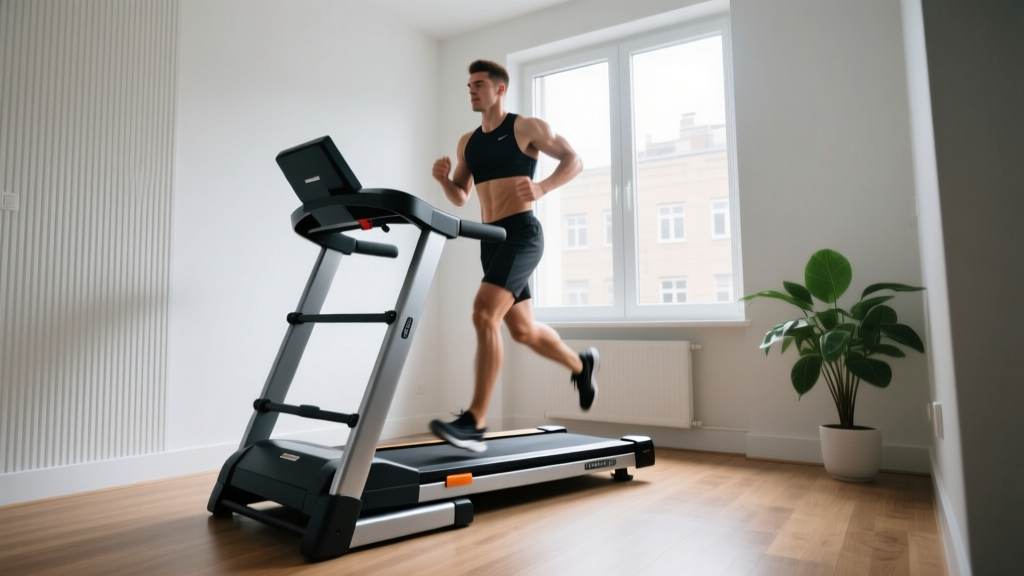
Walking Pad Setup: How to Use a Treadmill to Lose Weight Fast
Master your home gym setup. Compare walking pads vs standard models and learn how to use a treadmill to lose weight fast with our expert installation guide.

When building a home gym dedicated to fat loss, the debate between a compact walking pad and a traditional treadmill is one of the most common dilemmas. While both machines facilitate cardiovascular exercise, their physical footprints, motor capacities, and biomechanical limitations drastically alter your weight loss trajectory. Many beginners search for exactly how to use treadmill to lose weight fast, but the secret isn't just in the workout—it starts with proper spatial installation, electrical safety, and hardware calibration.
In this 2026 comprehensive setup and installation walkthrough, we will compare the leading walking pads against standard treadmills, guide you through the physical assembly, and provide the exact console programming required to maximize caloric expenditure.
The Hardware Matrix: Walking Pad vs. Traditional Treadmill
Before unboxing, you must understand the mechanical differences that dictate your weight loss ceiling. Walking pads are engineered for Non-Exercise Activity Thermogenesis (NEAT)—low-intensity, steady-state movement. Traditional treadmills are built for high-output interval training.
| Feature | WalkingPad R2 (Hybrid) | UREVO Strol 2E | Horizon Fitness T101 (Standard) |
|---|---|---|---|
| 2026 Price Range | $499 - $549 | $329 - $359 | $599 - $649 |
| Motor (Continuous) | 1.25 CHP | 2.0 HP (Peak) | 2.5 CHP |
| Belt Dimensions | 47" x 17" | 41" x 15" | 55" x 20" |
| Max Speed | 7.5 MPH | 6.0 MPH | 10.0 MPH |
| Incline Capability | Fixed (0%) | Fixed (0%) | 0% - 10% Motorized |
| Weight Loss Ceiling | Moderate (LISS only) | Low (Walking only) | High (HIIT & Incline) |
Pre-Installation: Spatial and Electrical Requirements
Improper installation is the leading cause of motor burnout and user injury. According to the U.S. Consumer Product Safety Commission (CPSC), treadmill placement requires strict adherence to clearance zones.
Spatial Clearances
- Walking Pads: Require a minimum footprint of 6' x 2.5'. Because they lack extended handrails, side clearance is less critical, but you must maintain 2 feet of clear space behind the machine to prevent wall damage if you drift backward.
- Traditional Treadmills: Require a minimum footprint of 7' x 3.5'. Critical: You must leave at least 3 feet of unobstructed clearance behind the rear roller. If you fall during a high-speed weight loss sprint, this zone prevents you from being pinned against a wall.
Electrical Load Management
Weight loss protocols often involve high-incline, high-speed intervals. When a 200 lb user runs at 8 MPH on a 10% incline, a 2.5 CHP treadmill motor can draw up to 14 amps continuously.
Expert Tip: Never plug a traditional treadmill into a shared 15-amp living room circuit that also powers a television, air conditioner, or space heater. You will trip the breaker mid-workout. Install the treadmill on a dedicated 15-amp or 20-amp 120V circuit. Walking pads, drawing less than 8 amps, can safely share standard household outlets.
Step-by-Step Physical Setup and Belt Calibration
Whether you are assembling the foldable WalkingPad R2 or the heavier Horizon T101, the calibration phase is where most users fail. A poorly tensioned belt will slip during sprint intervals, ruining your workout and damaging the motor controller.
- Base Positioning: Lay the machine on a high-density EVA foam equipment mat (at least 3/8" thick). This absorbs the kinetic impact of heavy strides, protecting your subfloor and reducing acoustic vibration.
- Upright Assembly (Standard Treadmills Only): With two people, lift the upright mast. Secure the pivot bolts using a torque wrench set to 25 Nm (or tighten firmly with the provided Allen key until the split washers are fully compressed). Connect the primary data ribbon cable before tightening the console bolts to avoid pinching the wires.
- The Belt Tension 'Lift Test': Power on the machine at 1 MPH. Reach under the center of the walking belt on the side. You should be able to lift the belt exactly 2 to 3 inches off the deck.
- If it lifts > 3 inches: The belt is too loose and will slip during sprints. Turn both rear roller adjustment bolts clockwise by one-quarter turn.
- If it lifts < 2 inches: The belt is too tight, creating excess friction that will overheat the motor and lower your machine's lifespan. Loosen counter-clockwise.
- Silicone Lubrication: Apply exactly 15ml of 100% pure silicone treadmill lubricant under the belt in a zig-zag pattern. Run the machine at 3 MPH for 5 minutes to distribute the fluid evenly across the deck.
How to Use a Treadmill to Lose Weight Fast: Programming Protocols
Once your machine is safely installed and calibrated, you can leverage it for rapid fat loss. The American Heart Association recommends at least 150 minutes of moderate-intensity or 75 minutes of vigorous aerobic activity per week for optimal cardiovascular health and weight management. Here is how to program your console to meet and exceed those metrics based on your hardware.
Protocol A: The Incline LISS (For Traditional Treadmills)
Popularized as the '12-3-30' method, this Low-Intensity Steady State (LISS) workout is highly effective for fat oxidation. Set your incline to 12%, speed to 3.0 MPH, and walk for 30 minutes. Note: This is physically impossible on 95% of walking pads, which lack motorized incline and top out at 5-8% manual gradients.
Protocol B: The Walking Pad NEAT Accumulator
If your space only allows for a walking pad, you cannot rely on high-intensity intervals. Instead, you must use CDC-backed physical activity guidelines focusing on volume. Set your walking pad to 2.5 MPH and use it in three 45-minute blocks throughout your workday (morning, lunch, evening) to burn an additional 400-600 calories daily without triggering central nervous system fatigue.
| Day | Traditional Treadmill Routine | Walking Pad Routine |
|---|---|---|
| Monday | HIIT: 1 min sprint (8 MPH) / 2 min walk (3 MPH) x 8 rounds | LISS: 60 mins at 2.5 MPH while working |
| Tuesday | Incline LISS: 12% grade, 3.0 MPH, 30 mins | Active Recovery: 30 mins at 1.5 MPH |
| Wednesday | Tempo Run: 20 mins at 6.0 MPH (0% incline) | LISS: 60 mins at 3.0 MPH |
| Thursday | Active Recovery: 20 mins at 2.0 MPH | LISS: 45 mins at 2.5 MPH |
| Friday | HIIT Incline: 10% grade, 4.5 MPH / 2.0 MPH x 10 rounds | LISS: 60 mins at 2.5 MPH |
Real-World Edge Cases and Troubleshooting
Even with perfect installation, heavy use for weight loss can expose hardware limitations. Here is how to troubleshoot the most common edge cases:
1. Walking Pad Motor Thermal Shutoffs
The Issue: You are using a walking pad for high-speed intervals, and the machine abruptly stops after 25 minutes. The Fix: Walking pad motors (usually 1.0 to 1.25 CHP) lack the internal cooling fans found in traditional treadmills. They are designed for continuous walking, not the friction-heavy start/stop mechanics of HIIT. If you weigh over 180 lbs, limit walking pad use to steady speeds under 4.0 MPH to prevent the internal thermal breaker from tripping.
2. Console Heart Rate Monitor Inaccuracy
The Issue: The grip sensors on your traditional treadmill show a caloric burn that seems impossibly high or low. The Fix: Grip sensors are notoriously inaccurate, often miscalculating by 15-20% due to sweat and grip pressure. For accurate zone-training (crucial for targeting the fat-burning zone of 60-70% of your max heart rate), bypass the console sensors entirely and pair a Bluetooth chest strap monitor (like the Polar H10) directly to the treadmill's smart console.
3. Belt Drift to the Left or Right
The Issue: After two weeks of heavy weight-loss training, the belt rubs against the side rail. The Fix: Do not adjust the tension bolts blindly. Stand behind the machine and watch the rear roller. If the belt drifts left, turn the left rear adjustment bolt clockwise by exactly one-quarter turn. Run the machine at 3 MPH for two minutes to allow the belt to self-center. Repeat if necessary.
Final Verdict on Your Setup
Choosing between a walking pad and a traditional treadmill ultimately comes down to your spatial constraints and your preferred weight loss methodology. If you have the 7-foot clearance and a dedicated electrical circuit, a standard treadmill like the Horizon T101 offers the biomechanical freedom and incline capabilities required for aggressive, fast-tracked fat loss. However, if you are outfitting a small apartment or home office, a properly calibrated walking pad installed on a high-density mat will allow you to accumulate massive daily caloric deficits through consistent, low-impact NEAT movement. Whichever route you choose, meticulous installation and precise console programming are your true catalysts for results.
More gear to consider
All reviews
Rowing Machine Guide & Technique: Cleaning Treadmill Belt Tips
Budget Breakdown: T70 Treadmill vs Upright, Recumbent & Spin Bikes
Precor Treadmill Manual Costs vs. Small Space Folders

NordicTrack T 5.5 Treadmill Belt Maintenance & Value Breakdown
The Cost Advantage of Curved Treadmill Belt Maintenance Explained