How to Unfold a NordicTrack Treadmill & Rower Guide
Learn how to unfold a NordicTrack treadmill safely. Plus, explore our deep-dive rowing machine buying guide and technique tips for flawless cardio.

Troubleshooting: How to Unfold a NordicTrack Treadmill Safely
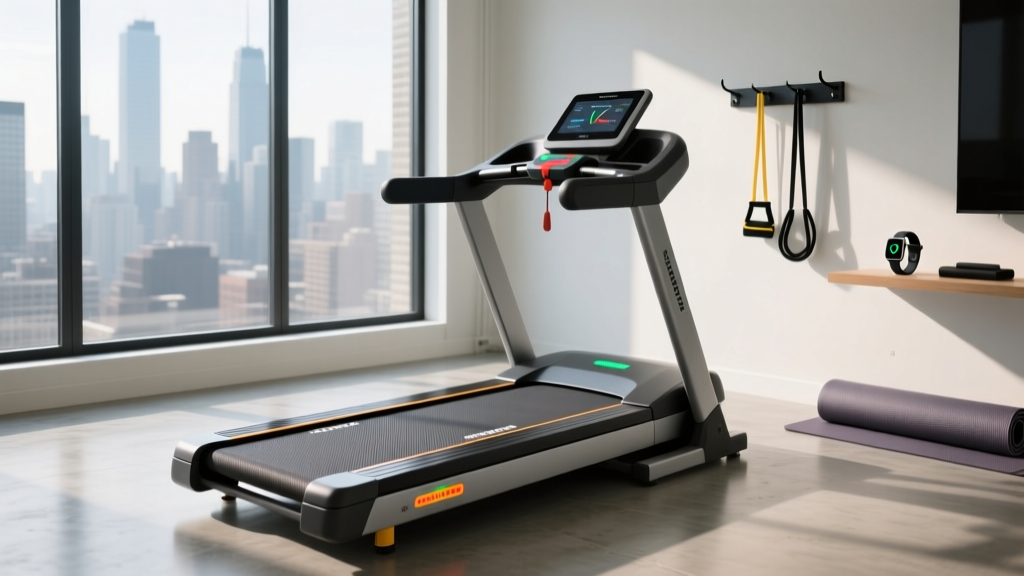
Space-saving folding treadmills are a staple in home gyms, but their mechanical hinges and hydraulic struts can become a source of frustration if not operated correctly. If you are searching for how to unfold a NordicTrack treadmill, you are likely dealing with either a manual latch system (common on the T-Series) or a hydraulic soft-drop system (found on the Commercial Series). Mishandling these mechanisms is the number one cause of bent decks and seized pistons.
Step-by-Step Unfolding for T-Series and Commercial Models
- Locate the Release Mechanism: On T-Series models (like the T6.5S or T8), locate the deck release knob on the side of the upright frame. On Commercial models (like the 1750 or 2450), find the safety locking pin near the base hinge.
- Disengage the Lock: For manual latches, pull the knob to the left while holding the deck with your other hand. For hydraulic models, pull the safety pin outward to disengage the locking catch.
- Guide the Deck Downward: Never let go of the deck. Slowly lower the running belt toward the floor. The hydraulic cylinder should provide smooth, steady resistance.
- Secure the Base: Ensure the front transport wheels are locked and the deck sits flush on the floor stabilizers before plugging in the machine.
Common Unfolding Mistakes and Mechanical Failures
- Pulling the Belt Instead of the Frame: Yanking the rubber running belt to lower the deck stretches the belt and misaligns the rear roller. Always grip the metal side rails.
- Seized Hydraulic Cylinder: If the deck refuses to lower even after pulling the pin, the hydraulic strut has likely seized due to dried internal fluid or rust. Do not force it with your body weight. You will need to order a replacement strut (typically part #219134 or similar, costing around $45 to $65) and unbolt the old one using a 14mm wrench.
- Broken Latch Cable: On older T-Series models, the plastic knob connects to a steel tension cable. If pulling the knob yields zero resistance, the cable has snapped inside the upright. This requires removing the motor hood and threading a new cable through the frame.
The Space-Saving Dilemma: Pivoting to Rowing Machines
While mastering how to unfold a NordicTrack treadmill is essential for current owners, many home gym enthusiasts in 2026 are abandoning heavy, high-maintenance treadmills altogether. Treadmills require frequent belt lubrication, tension adjustments, and occupy massive floor footprints even when folded. According to the American Heart Association, achieving cardiovascular health requires consistent aerobic activity, but it does not mandate high-impact joint stress or mechanical headaches.
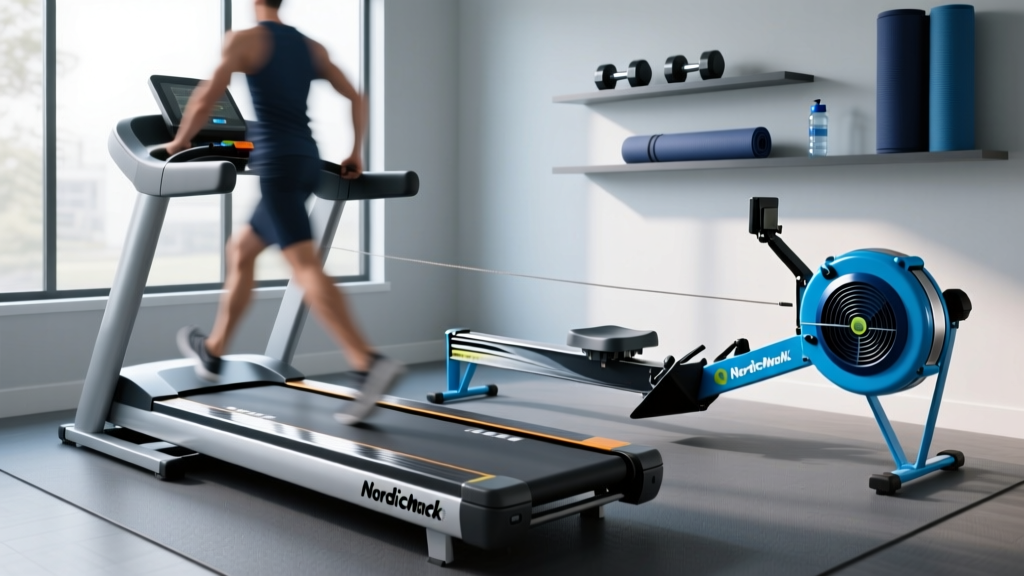
This has led to a massive surge in rowing machine adoption. Rowers offer a superior 86% full-body muscle engagement rate, fold or separate in half for effortless under-bed storage, and eliminate the impact forces associated with running. If you are tired of troubleshooting treadmill hinges, here is your ultimate rowing machine buying guide and technique masterclass.
2026 Rowing Machine Buying Guide: Specs, Prices, and Models
When shopping for a rower, the resistance type dictates the noise level, maintenance requirements, and overall feel. Below is a breakdown of the top contenders in the current market.
| Resistance Type | Top 2026 Model | Price Range | Noise Level | Maintenance |
|---|---|---|---|---|
| Air | Concept2 RowErg | $1,100 - $1,250 | High (Whooshing) | Chain oiling, rail wiping |
| Magnetic | NordicTrack RW900 | $1,299 - $1,499 | Very Low (Silent) | Virtually none |
| Water | WaterRower Natural | $1,399 - $1,599 | Medium (Soothing splash) | Water purification tablets |
Which Resistance Should You Choose?
Air Resistance (The Gold Standard): The Concept2 RowErg remains the undisputed champion for competitive rowers and CrossFit athletes. The harder you pull, the more resistance the flywheel generates. However, the noise level makes it difficult to watch TV without headphones, and the steel chain requires a drop of purified mineral oil every 50 hours of use.
Magnetic Resistance (The Smart Home Choice): If you want interactive programming and quiet operation, magnetic rowers like the NordicTrack RW900 or the Hydrow ($2,495) use electromagnets to create drag. They are virtually silent, making them perfect for apartments, though they lack the raw, dynamic 'catch' feel of air or water.
Water Resistance (The Aesthetic Pick): WaterRower models use a polycarbonate tank and wooden frame. They look like furniture and sound like a gentle stream, but they lack the granular digital metric tracking required by serious data nerds.
Mastering Rowing Technique: The 4-Phase Stroke
Buying the right machine is only 20% of the battle; the other 80% is avoiding the catastrophic technique errors that lead to lumbar strain. According to the Concept2 Official Technique Guide, the rowing stroke is not a single pull, but a highly sequenced four-part movement.
'The rowing stroke is a continuous, fluid motion powered primarily by the legs. Think of it as a horizontal deadlift followed by a slight arm pull, not a bicep curl.'
The Stroke Sequence
- The Catch: Shins are vertical (no further forward to protect the knees), arms are straight, and the torso is hinged forward at roughly 11 o'clock. You should feel tension in your hamstrings and lats.
- The Drive: This is where the power happens. Push explosively with your legs while keeping your arms straight and core braced. Only when your legs are nearly fully extended do you swing the torso back to 1 o'clock, followed finally by pulling the handle to your sternum.
- The Finish: Legs are straight, torso is slightly leaned back (11 o'clock), and the handle is resting just below the chest. Do not lean back to 9 o'clock; this dumps the load onto your lower back.
- The Recovery: The exact reverse of the drive. Extend the arms first, hinge the torso forward past the knees, and then bend the knees to slide back to the catch.
Power distribution should be 60% legs, 30% core/hip hinge, and only 10% arms. If your forearms are burning and your heart rate is low, you are pulling with your arms too early.
Common Technique Mistakes and Troubleshooting
- Shooting the Slide: This happens when your hips shoot up and your legs straighten before the handle moves. This puts massive shear force on the lumbar spine. Fix: Ensure your shoulders and hips rise at the exact same time during the initial drive.
- Death Grip on the Handle: Squeezing the handle causes blisters and premature forearm fatigue. Fix: Hook your fingers over the handle. Your thumbs should not wrap underneath; the handle should rest loosely in the base of your fingers.
- Early Arm Bend: Bending the elbows during the leg drive leaks power and strains the biceps. Fix: Visualize your arms as rigid ropes connecting your torso to the handle until the legs are 90% extended.
Final Verdict: Maintenance and Longevity
Whether you are meticulously maintaining your treadmill's hydraulic hinges or transitioning to the low-impact, high-yield world of rowing, understanding your equipment's mechanics is paramount. Treadmills require constant vigilance regarding belt alignment, deck lubrication, and unfolding mechanisms. Rowing machines, by contrast, demand technique refinement and basic chain or rail care, but offer a vastly superior cardiovascular and muscular stimulus with a fraction of the spatial footprint. Evaluate your space, your joints, and your willingness to troubleshoot mechanical parts before making your next 2026 cardio investment.
More gear to consider
All reviews
Under Desk Treadmill Office Review: Trends & Lubricating Sole F80 Treadmill

Do You Need a Subscription for NordicTrack Treadmills? Compact Cardio

Sunny Health & Fitness WalkStation Slim Flat Treadmill Review (2026)

NordicTrack C950i Treadmill Noise: Step-by-Step Cardio Comparison

Curved Manual vs Motorized & GoYouth 2-in-1 Walking Pad and Treadmill