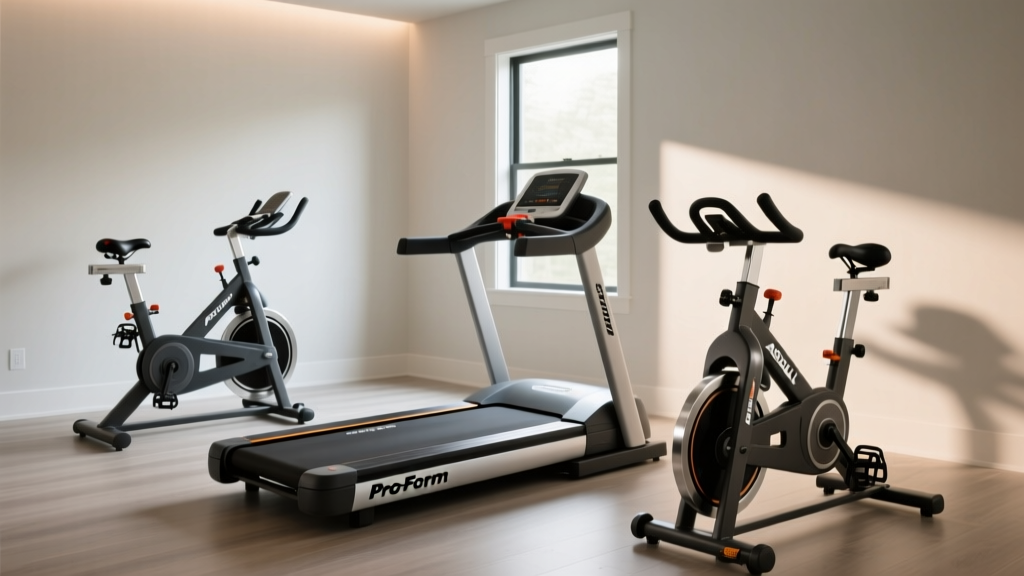
How to Use a Treadmill for Weight Loss: Setup & Buyer Guide
Learn how to use a treadmill for weight loss with our complete setup walkthrough and feature comparison guide to find the right machine for your goals.

The Intersection of Equipment Features and Weight Loss Success
When researching how to use a treadmill for weight loss, most guides jump straight into workout routines, ignoring a critical reality: the machine you buy and how you install it dictates your long-term consistency and safety. A treadmill is a substantial investment, often weighing between 200 and 350 pounds, and requires precise setup to handle the biomechanical forces of daily fat-burning routines. According to the Centers for Disease Control and Prevention (CDC), achieving sustainable weight loss requires consistent, progressive cardiovascular activity. If your treadmill is poorly assembled, improperly powered, or lacks the necessary incline and motor features, your weight loss journey will be derailed by mechanical failures or joint discomfort.
This comprehensive guide bridges the gap between selecting the right treadmill features for fat loss and executing a professional-grade installation walkthrough in your home gym.
Treadmill Feature Comparison Matrix for Weight Loss
Not all treadmills are engineered for the sustained, high-incline walking or high-intensity interval training (HIIT) required for optimal weight loss. For heavy walkers or runners in a caloric deficit, you need a minimum of 3.0 Continuous Horsepower (CHP) and a robust deck cushioning system. Below is a 2026 feature comparison of three top-tier models optimized for weight loss regimens.
| Feature | Horizon 7.0 AT | Sole F80 | NordicTrack Commercial 1750 |
|---|---|---|---|
| Price (Approx.) | $999 | $1,199 | $2,499 |
| Motor | 3.0 CHP | 3.5 CHP | 3.5 CHP (Self-Cooling) |
| Incline/Decline | 0% to 15% | 0% to 15% | -3% to 15% |
| Belt Size | 20" x 60" | 20" x 60" | 22" x 60" |
| Weight Capacity | 350 lbs | 375 lbs | 300 lbs |
| Best For | Budget HIIT & LISS | Heavy Incline Walkers | Interactive Coaching |
Research from Harvard Health Publishing indicates that a 155-pound individual walking at 3.5 mph on a flat surface burns roughly 133 calories in 30 minutes. However, increasing the incline to 10% more than doubles that caloric expenditure, pushing it past 300 calories without the high-impact joint stress of running. This makes a 15% max incline feature non-negotiable for serious weight loss.
Complete Setup and Installation Walkthrough
Buying the right machine is only step one. Improper installation is the leading cause of premature motor burnout, belt fraying, and control board failure. Follow this exact walkthrough to prepare your treadmill for daily weight loss protocols.
Step 1: Site Preparation and Spatial Clearances
Do not push the treadmill flush against a wall. The CDC and equipment manufacturers mandate specific clearances to prevent severe injury in the event of a fall. You must leave a minimum of 3 feet (36 inches) of clear space directly behind the treadmill, and at least 2 feet on each side. This rear clearance allows for safe deceleration if you trip and are ejected off the back of the belt.
Step 2: Electrical and Surge Protection
- Locate a Dedicated Circuit: Plug your treadmill into a dedicated 15-amp or 20-amp wall outlet. Sharing a circuit with a space heater or air conditioner will cause voltage drops, which starves the motor and fries the lower control board.
- Avoid GFCI Outlets: Do not plug a treadmill into a GFCI (Ground Fault Circuit Interrupter) outlet, commonly found in garages or basements. The initial startup surge of a 3.5 CHP motor can trip sensitive GFCI breakers, causing abrupt stops and potential console damage.
- Use the Right Surge Protector: Never use a standard power strip. Invest in a high-joule (minimum 2000 joules), 14-gauge surge protector rated for high-amp appliances, such as those from Tripp Lite or APC.
Step 3: Assembly and Torque Specifications
When assembling the uprights and console mast, do not fully tighten the bolts until all structural pieces are aligned. Once aligned, use a torque wrench if possible, or tighten firmly by hand. Over-tightening can strip the threading in the pre-welded nuts inside the frame, compromising the structural integrity during heavy, high-incline walking.
Step 4: Belt Tracking and Tension Calibration
This is the most critical step for user safety and motor longevity. Turn the treadmill on to 2.0 mph and observe the belt.
- Tracking: If the belt drifts to the left, the left rear roller is too loose. Turn the left rear adjustment bolt clockwise by exactly one-quarter turn. Wait 30 seconds for the belt to center. Never adjust by more than a quarter turn at a time.
- Tension (The Lift Test): Stop the machine. Reach under the center of the walking belt and lift. You should be able to lift it 2 to 2.5 inches off the deck. If it lifts higher, it is too loose and will slip underfoot during weight loss sprints. If it barely lifts, it is too tight and will cause the motor to overheat and shut down.
Programming Your Treadmill for Maximum Fat Burn
Once your machine is safely installed and calibrated, you can focus on how to use the treadmill for weight loss effectively. Relying solely on a flat, moderate walk will yield diminishing returns. You must manipulate intensity, incline, and heart rate zones.
Protocol 1: Zone 2 LISS (Low-Intensity Steady State)
Zone 2 training involves exercising at 60-70% of your maximum heart rate. At this intensity, the body primarily utilizes stored fat for fuel rather than glycogen. Set your treadmill to a 2% to 4% incline and a speed of 2.8 to 3.4 mph. Maintain this for 45 to 60 minutes. This is highly sustainable and prevents the central nervous system fatigue associated with HIIT, allowing for daily execution.
Protocol 2: The 12-3-30 Method
Popularized by fitness influencers and validated by biomechanists, this protocol is a staple for fat loss. Set the incline to 12%, the speed to 3.0 mph, and walk for 30 minutes. According to data cited by the Mayo Clinic, incorporating high-incline walking significantly increases posterior chain activation (glutes and hamstrings) while keeping the impact forces on the knees and ankles remarkably low compared to jogging.
Protocol 3: Incline HIIT (High-Intensity Interval Training)
For those short on time, HIIT maximizes Excess Post-exercise Oxygen Consumption (EPOC), keeping your metabolism elevated for hours post-workout.
- Warm-up: 5 minutes at 0% incline, 2.5 mph.
- Work Interval: 1 minute at 10% incline, 3.5 mph (brisk, challenging pace).
- Recovery Interval: 1 minute at 2% incline, 2.0 mph.
- Repeat: 8 to 10 cycles.
- Cool-down: 5 minutes flat walking.
Common Setup and Usage Failure Modes
Even the best weight loss routine will fail if the equipment breaks down. Be aware of these common edge cases and failure modes.
Motor Strain from Max-Incline Walking
If a user weighing over 250 lbs consistently walks at a 15% incline on a treadmill with only a 2.5 CHP motor, the motor will draw excessive amperage to maintain belt speed. Over time, this thermal stress degrades the motor windings, leading to a catastrophic burnout. Always match the Continuous Horsepower (CHP) to your body weight and intended incline usage. For heavy incline walking, 3.5 CHP is the recommended baseline.
Deck Friction and Belt Degradation
'A dry walking belt increases the coefficient of friction between the belt and the deck. This forces the motor to work up to 30% harder, spiking your electricity usage and generating enough heat to literally melt the underside of the walking belt.' - FitGearPulse Maintenance Guidelines
To prevent this, apply 100% silicone treadmill lubricant under the belt every 3 months or every 130 miles, whichever comes first. Simply loosen the belt, apply the silicone in a zig-zag pattern across the deck, and run the treadmill at 1.0 mph for 3 minutes to distribute the lubricant evenly.
Final Thoughts on Your Weight Loss Journey
Understanding how to use a treadmill for weight loss requires a holistic approach that begins long before you step on the belt. By selecting a machine with the correct CHP, incline capabilities, and belt dimensions, and by executing a meticulous, code-compliant installation, you guarantee that your equipment will support your caloric deficit goals for years to come. Pair your properly setup treadmill with a disciplined nutritional strategy, and you will build a sustainable, joint-friendly engine for lifelong fat loss.
More gear to consider
All reviews
Small Space Folding Treadmill Review: Is Treadmill Removal Free?
Walking Pad vs. NordicTrack EXP 7i Treadmill Review & Error Fixes

Stair Climber vs Treadmill: Uphill Walking Calories Burned at Home
Bike Types vs Benefits of Inclined Treadmill Walking: Value Analysis

AirGo Treadmill Belt Maintenance: 2026 Market Trends