Rowing Guide: Why It Beats the Typical Burn Fat on Treadmill Workout
Discover why rowing outperforms a standard burn fat on treadmill workout. Includes a beginner buying guide, step-by-step technique, and top 2026 models.

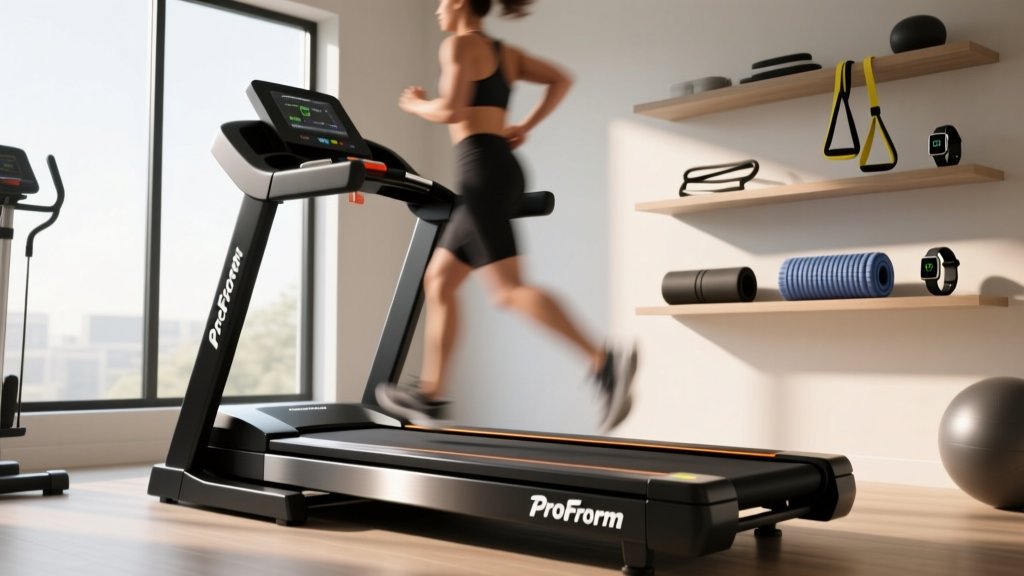
When most beginners decide to get lean, their default plan is a standard burn fat on treadmill workout—usually involving 45 minutes of steady-state jogging or high-incline walking. While treadmills are excellent for building baseline endurance, they primarily target the lower body and subject your joints to repetitive impact. If you are looking for a more efficient, full-body fat-loss engine, it is time to look across the gym floor at the indoor rowing machine (ergometer).
Rowing recruits approximately 86% of the muscles in your body, according to the English Institute of Sport. This massive muscle recruitment demands more oxygen, elevates your heart rate faster, and triggers a higher post-exercise calorie burn (EPOC) compared to walking on a treadmill. In this comprehensive 2026 guide, we will break down exactly how to transition from the treadmill to the rower, master the technique, and choose the right machine for your home gym.
Rowing vs. Treadmill: The Fat-Loss Showdown
Before we dive into technique, let us look at the hard data. Why should you swap your go-to burn fat on treadmill workout for a rowing session? The table below highlights the core physiological and practical differences between the two cardio staples.
| Feature | Indoor Rowing Machine | Standard Treadmill |
|---|---|---|
| Muscle Recruitment | 86% (Legs, Core, Back, Arms) | 40-50% (Primarily Lower Body) |
| Joint Impact | Zero-impact (Seated, fluid motion) | High-impact (Running) to Low (Walking) |
| Caloric Expenditure | High (up to 800+ kcal/hr at vigorous effort) | Moderate to High (depends on incline/speed) |
| Posture Benefits | Strengthens posterior chain (counteracts desk sitting) | Neutral (can tighten hip flexors) |
| Noise Level | Loud (Air) to Silent (Magnetic) | Moderate (Motor + footstrike noise) |
For a deeper look at how different exercises compare in caloric expenditure, Harvard Health Publishing notes that vigorous stationary rowing consistently ranks at the top of the list for calorie burn, often edging out moderate-paced treadmill running for individuals across various weight classes.
Step-by-Step Rowing Technique for Beginners
The most common failure mode for beginners is treating the rower like an arm-pull machine. Rowing is actually a pushing exercise. The power distribution should be 60% legs, 30% core, and 10% arms. Mastering the four phases of the stroke is critical to avoiding lower back pain and maximizing fat loss.
1. The Catch (The Setup)
- Slide forward until your shins are completely vertical (do not let your heels lift too high).
- Keep your arms straight and relaxed, shoulders down and away from your ears.
- Hinge slightly forward from the hips (about 11 o'clock position), keeping your chest up and lats engaged.
2. The Drive (The Power Phase)
- Legs First: Push explosively through your mid-foot and heels. Your arms remain straight and your torso angle stays the same until your legs are almost fully extended.
- Core Swing: Once the legs are nearly straight, hinge your torso backward to a slight layback (about 1 o'clock).
- Arms Last: Finally, pull the handle to your lower ribcage/sternum, keeping your elbows tucked close to your body.
3. The Finish
Your legs are flat and fully extended, your torso is slightly leaned back, and the handle is resting lightly against your lower chest. Your wrists should be flat, not bent.
4. The Recovery (The Reset)
The recovery is the exact reverse of the drive and should take twice as long. Arms away first, then hinge the torso forward past your knees, and finally bend the knees to slide back to the Catch.
⚠️ Common Failure Mode: Shooting the Slide
If your hips shoot backward before the handle moves, you are 'shooting the slide.' This disconnects your leg power from the handle and places massive, dangerous shear force on your lumbar spine. Ensure your hips and the handle move together during the first half of the Drive.
2026 Rowing Machine Buying Guide: What to Look For
If you are convinced to replace your burn fat on treadmill workout with rowing intervals, you need the right equipment. The 2026 market is dominated by three resistance types. Here is how to choose based on your living situation and budget.
Air Resistance (The Gold Standard)
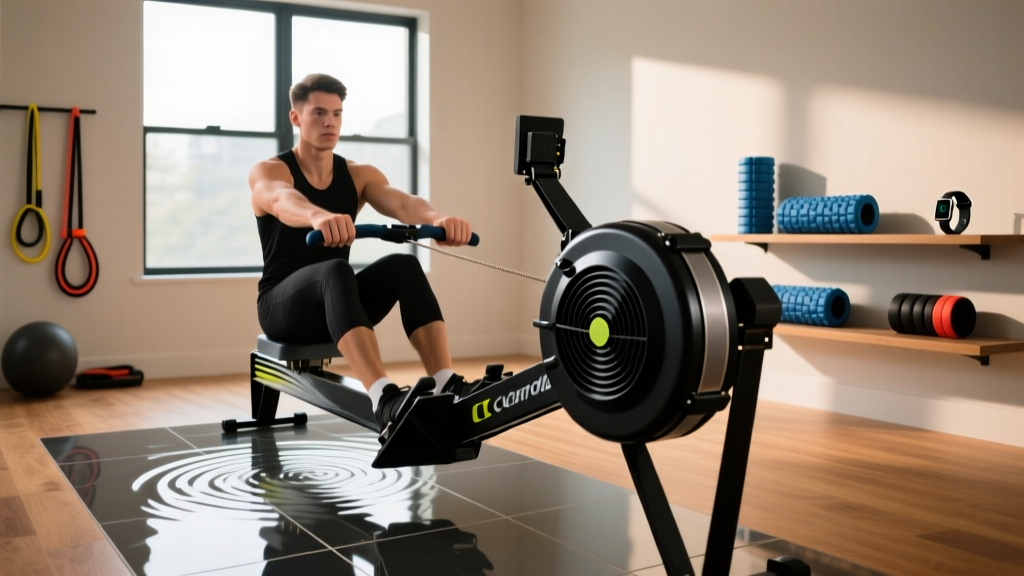
Air rowers use a flywheel with fan blades. The harder you pull, the more resistance is generated. They are incredibly durable and offer infinite resistance curves but are notably loud. Best for: Serious athletes, garage gyms, and CrossFitters.
Magnetic Resistance (The Quiet Contender)
Magnetic rowers use electromagnets to create drag on a metal flywheel. They are nearly silent and offer precise, adjustable resistance levels, though they lack the dynamic 'catch' feel of air rowers. Best for: Apartment dwellers, early-morning exercisers, and tech-focused users.
Water Resistance (The Aesthetic Choice)
Water rowers use a paddle spinning in a tank of water. They provide a smooth, realistic on-water feel and a soothing 'swoosh' sound, but require water purification tablets and are heavy to move. Best for: Living room placement and design-conscious buyers.
Top 3 Beginner-Friendly Rowers in 2026
| Model | Resistance Type | Approx. Price (2026) | Best For |
|---|---|---|---|
| Concept2 RowErg | Air | $1,100 | Longevity, resale value, competitive tracking |
| Echelon Row | Magnetic | $699 | Quiet home use, budget-friendly smart classes |
| Hydrow | Electromagnetic | $2,495 | Immersive outdoor simulations, premium tech |
💡 Pro-Tip: Understanding 'Drag Factor'
Beginners often make the mistake of setting the damper lever on an air rower to 10, thinking it equals a heavier workout. This is a myth that leads to rapid fatigue and poor form. According to Concept2's official training resources, a damper setting of 3 to 5 yields a drag factor between 110 and 130, which most accurately simulates the feel of a sleek racing shell on water. Set it to 5, focus on your leg drive, and let your cardiovascular system do the work.
Your First Fat-Burning Rowing Protocol
Ready to test your new machine? Ditch the 45-minute steady-state treadmill slog and try this 5x500m Fat-Loss Interval Protocol. It takes less than 25 minutes but triggers a massive metabolic response.
- Warm-Up: 5 minutes of easy rowing (18-20 Strokes Per Minute / SPM). Focus on the 1:2 drive-to-recovery ratio.
- Work Interval: Row 500 meters at a hard, sustainable pace (24-26 SPM). Note your finish time.
- Rest Interval: Rest for exactly the same amount of time it took you to row the 500m (1:1 work-to-rest ratio). Sit still or paddle very lightly.
- Repeat: Complete 5 total rounds.
- Cool-Down: 3 minutes of easy paddling and off-machine hamstring stretches.
Final Thoughts on Making the Switch
There is nothing inherently wrong with a traditional burn fat on treadmill workout; walking at a 12% incline is a fantastic tool for zone-2 cardio. However, if you are dealing with joint pain, hitting a weight-loss plateau, or simply want to build a stronger, more resilient posterior chain, the rowing machine is an unparalleled upgrade. By investing in a quality ergometer and dedicating your first two weeks strictly to form over speed, you will unlock one of the most efficient fat-burning tools in the history of fitness.
More gear to consider
All reviews
DeerRun Treadmill Oil Mistakes & Cardio Noise Comparison

Best HIIT Training Treadmill: Sole F85 vs AssaultRunner Elite

Under Desk Treadmill Office Review: Space Layouts & How to Fix Treadmill Belt Slipping to One Side

NordicTrack Treadmill EXP 1000 xi vs Curved Manual: 2026 Guide

Treadmill Motor Size Guide & NordicTrack T10 Treadmill Review