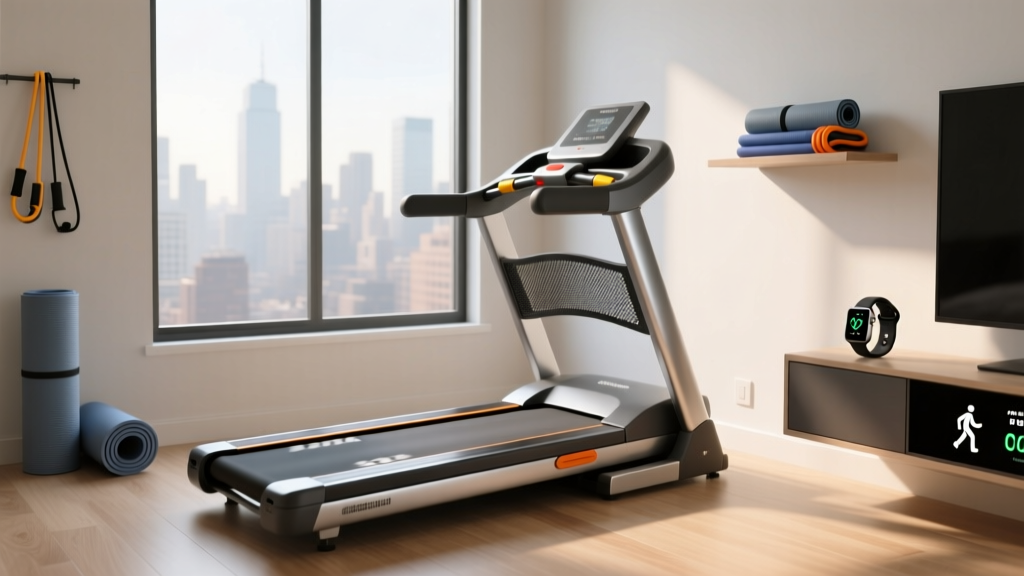
Treadmill Walking Challenge: Belt Maintenance in Small Spaces
Optimize your home gym layout for your daily treadmill walking challenge. Learn expert belt maintenance, lubrication, and space-clearance tips.

The Space-Maintenance Paradox in Home Gyms
Embarking on a daily treadmill walking challenge—whether it is the viral 12-3-30 method or a straightforward 10,000-step goal—is one of the most effective ways to build cardiovascular endurance. According to the Mayo Clinic, consistent walking improves circulation, joint health, and metabolic function. However, as more urban dwellers and apartment residents integrate folding treadmills into space-optimized layouts, a critical mechanical issue emerges: tight clearances are destroying treadmill belts and decks.
When you push a heavy-duty machine like the Sole F85 or NordicTrack EXP 7i flush against a wall to maximize floor space, you inadvertently block access to the rear roller and motor hood. Friction between the running belt and the wooden deck generates immense heat. Without a hydrodynamic layer of silicone lubricant, deck temperatures can exceed 140°F. This not only triggers the motor's thermal cutoff switch but also melts the PVC backing of the belt, leading to catastrophic failure. In 2026, maintaining your machine in a confined layout requires a strategic approach to both spatial design and chemical maintenance.
Space-to-Maintenance Ratio Callout
Did you know? Static electricity generated by a dry running belt acts as a magnet for dust and pet hair. In tight, unventilated corners, this debris is pulled directly into the motor housing, reducing cooling efficiency by up to 30%. Proper spatial clearance is just as vital as the lubricant itself.
Designing a Maintenance-Friendly Layout
Space optimization does not mean sacrificing the physical footprint required for routine maintenance. The Consumer Product Safety Commission (CPSC) emphasizes that adequate clearance around exercise equipment is essential for both user safety and mechanical upkeep. If your treadmill is wedged into a corner, you cannot properly tension the belt or clean the deck.
The Minimum Clearance Matrix
| Zone | Minimum Clearance | Maintenance Purpose |
|---|---|---|
| Rear (Back of Deck) | 24 inches | Access to 15mm rear roller adjustment bolts and vacuuming dust bunnies. |
| Sides (Left & Right) | 18 inches | Motor hood removal, belt tracking alignment, and emergency dismount safety. |
| Overhead (Folding) | 12 inches above max height | Safe operation of hydraulic folding latches without drywall impact. |
If your room layout strictly forbids 24 inches of rear clearance, consider placing the treadmill on a heavy-duty rolling equipment mat. This allows you to pull the machine forward for maintenance and push it back against the wall when your treadmill walking challenge resumes.
Step-by-Step Belt Lubrication in Confined Spaces
Lubricating a treadmill belt requires applying 100% silicone fluid between the belt and the deck. In a spacious gym, you simply lift the belt and squeeze the bottle. In a tight, space-optimized apartment layout, you may not have the leverage to lift the belt edges safely. Here is the expert workaround for confined spaces.
- Power Down and Unplug: Never apply lubricant while the machine is connected to a 120V/240V power source. Safety is paramount in tight spaces where water or silicone spray could reach nearby outlets.
- Use an Extension Applicator Wand: Purchase a silicone lubricant bottle that includes a long, flexible plastic wand (such as the Impresa Products Treadmill Belt Lube applicator). This eliminates the need to pry the belt up with your hands.
- Center the Wand: Slide the wand under the belt from the side edge, pushing it as close to the center of the deck as possible.
- Apply the Silicone: Squeeze exactly 0.5 ounces of silicone in a zig-zag pattern as you slowly withdraw the wand. Repeat on the opposite side.
- Distribute the Fluid: Plug the machine in, stand on the side rails, and start the belt at 3.0 MPH. Let it run for 5 minutes. The rotation will naturally spread the hydrodynamic layer across the entire wooden deck.
Choosing the Right Lubricant
Using the wrong chemical compound will permanently ruin your treadmill deck. Modern decks (2024-2026 models) are coated with a factory wax or phenolic resin that reacts poorly to petroleum distillates.
| Lubricant Type | Chemical Base | Deck Compatibility | Expert Verdict |
|---|---|---|---|
| Pure Silicone | Polydimethylsiloxane | Safe for PVC/Nylon | Highly Recommended |
| WD-40 Multi-Use | Petroleum Distillates | Melts deck coating | Never Use |
| Teflon Spray | PTFE / Solvents | Degrades rubber | Avoid |
| Paraffin Wax | Solid Wax | Older models only | Niche Use |
Troubleshooting Belt Slippage and Edge Cases
High-mileage routines, like a rigorous 90-day treadmill walking challenge, put immense lateral stress on the belt. If you experience slippage—where the belt hesitates for a fraction of a second when your foot strikes the deck—the issue is rarely a lack of lubricant. It is almost always a tension problem exacerbated by uneven flooring in small rooms.
The Quarter-Turn Rule for Tensioning
In space-optimized rooms, floors are rarely perfectly level, especially in older apartments. This causes the belt to track left or right, eventually fraying the edges against the plastic side rails.
- Locate the Rear Roller Bolts: Found at the very back left and right of the deck. They require a 6mm or 8mm Allen wrench.
- Adjust in Quarter-Turns: If the belt slips, tighten both the left and right bolts exactly one quarter-turn clockwise. Never tighten one side more than the other, or you will permanently warp the tracking.
- Test at High Speed: Run the treadmill at 8.0 MPH without walking on it. Observe the belt for 60 seconds. If it still slips, repeat the quarter-turn adjustment. Do not exceed two full turns from the factory baseline, or you will over-stress the front roller bearings.
Pro Tip for Compact Treadmills: If you are using an under-desk walking pad (like the WalkingPad R2 or KingSmith models) for your daily steps, these units lack adjustable rear rollers. Tension is maintained via an internal hex key slot at the rear. Because these are often shoved under beds or desks, dust accumulation is severe. You must vacuum the underside of the belt monthly using a crevice tool to prevent the silicone from turning into an abrasive paste.
Summary: Protecting Your Investment
A successful treadmill walking challenge relies on consistency, and your machine's consistency relies on proper spatial planning and deck lubrication. By enforcing a strict 24-inch rear clearance rule, utilizing 100% polydimethylsiloxane silicone with an extension wand, and performing quarterly tension checks, you will extend the life of your treadmill deck from the industry average of 3 years to well over 7 years. Space optimization should enhance your home gym experience, not compromise the mechanical integrity of your most valuable cardio asset.
More gear to consider
All reviews
Beyond Commercial 1750 Treadmill Reviews: Feature Comparison Guide
Air Bike vs Assault Bike Care: Is StairMaster or Treadmill Better?

Treadmill Motor Size Guide for Arm Exercises on Treadmill Routines

Rowing Machine Buying Guide: Technique & Kids Treadmill Alternatives

2026 Market Trends: Translating Treadmill Speed km h Metrics to Stationary Bike Types
