
Treadmill Setup & Features for a 20 Minute Treadmill Walking Workout
Master treadmill feature comparison and installation. Test your new machine's calibration and belt tracking with our expert 20 minute treadmill walking workout.

Comparing Treadmill Features for Home Installation and Walking
When evaluating cardio equipment for your home gym, a treadmill buying guide features comparison usually focuses heavily on top speed and interactive touchscreens. However, if your primary fitness goal is low-impact, steady-state cardio, the most critical features to compare are those that affect physical installation, spatial footprint, and walking biomechanics. In 2026, the fitness industry has seen a massive surge in hybrid folding models and specialized walking pads, making it essential to understand which machine architecture best supports your space and your routine.
For dedicated walkers, a massive 4.0 CHP (Continuous Horsepower) motor is overkill and adds unnecessary weight, complicating home assembly. Instead, a 2.25 to 2.5 CHP motor provides optimal torque for walking speeds (2.0 to 4.5 mph) while keeping the base unit light enough for a two-person setup. Furthermore, comparing deck cushioning is vital. While runners need aggressive shock absorption to protect joints from high-impact landings, walkers benefit from a firmer, more responsive deck that mimics outdoor terrain and prevents the 'sinking' feeling that can cause Achilles strain over long distances.
| Feature Category | Fixed Commercial Treadmill | Hydraulic Folding Treadmill | Under-Desk Walking Pad |
|---|---|---|---|
| Motor Size (Ideal for Walking) | 3.0 - 4.0 CHP | 2.25 - 2.75 CHP | 1.5 - 2.0 HP |
| Belt Dimensions | 22' x 60' | 20' x 55' | 16' x 42' |
| Assembly Weight | 250 - 350 lbs | 130 - 180 lbs | 50 - 70 lbs |
| Setup Time (2 People) | 90 - 120 Minutes | 45 - 60 Minutes | 10 - 15 Minutes |
| Incline Capability | -3% to 15% | 0% to 12% | 0% (Fixed) |
As the American Heart Association recommends at least 150 minutes of moderate-intensity aerobic activity per week, choosing a machine that fits seamlessly into your living space ensures you actually use it. The hydraulic folding treadmill remains the gold standard for home setups, offering a robust walking surface without permanently dominating a guest bedroom or garage.
Pre-Installation: Space, Power, and Flooring Requirements
Before unboxing your new machine, you must prepare the installation zone. The most common setup failure occurs when users place the treadmill flush against a wall, which creates a severe safety hazard and restricts motor ventilation.
- Safety Clearances: You must leave a minimum of 24 inches of clearance behind the treadmill. If a user falls and the safety key detaches, the belt will take 2 to 4 seconds to stop. The rear clearance prevents the user from being pinned against a wall. Leave at least 6 inches on both sides for arm swing and motor airflow.
- Electrical Demands: Modern 2026 treadmill models with digital incline motors draw significant inrush current when the belt starts or the incline shifts. Plug the machine directly into a dedicated 15-amp or 20-amp wall outlet. Never use a GFCI (Ground Fault Circuit Interrupter) outlet. The initial power surge of a treadmill motor frequently trips GFCI sensors, causing the machine to shut off mid-workout.
- Floor Protection: Do not place the treadmill directly on carpet or hardwood. Purchase a 3/8-inch thick, high-density rubber equipment mat. This dampens acoustic vibrations, prevents dust from being sucked into the motor hood, and distributes the dynamic weight of a 180-lb machine plus a 200-lb user to prevent floor indentations.
Step-by-Step Assembly & Calibration Walkthrough
Proper assembly goes beyond tightening bolts; it requires precise calibration of the belt tracking and tension. Follow this walkthrough to ensure your machine is ready for its inaugural test run.
Step 1: Base Placement and Upright Wiring
Use a furniture dolly to move the base deck to your prepared mat. When attaching the upright masts, pay extreme attention to the internal data cables. The most frequent point of failure in home treadmill assembly is a pinched console wire. Route the wire through the designated plastic grommets and ensure it has a slight slack loop before tightening the mast bolts. If the wire is pulled taut, the vibration of your daily walks will eventually sever the copper strands, resulting in console error codes like E01 or E02.
Step 2: Belt Tension and Tracking Calibration
Out of the box, walking belts are often slightly loose to prevent motor strain during shipping. Before plugging the machine in, manually check the belt tension. You should be able to lift the center of the belt about 2 to 3 inches off the deck. If it lifts higher, locate the left and right rear roller adjustment bolts at the back of the machine. Using the provided Allen wrench, turn both bolts exactly one-quarter (1/4) turn clockwise. Re-test the tension. Never turn one side more than the other, as this will immediately throw the belt off-track.
The Test Run: 20 Minute Treadmill Walking Workout
Once assembled, you must test the machine's incline motor, belt grip, and console accuracy. The best way to do this is with a structured 20 minute treadmill walking workout that cycles through varying speeds and inclines. This specific protocol stresses the incline actuator and tests for belt slip under load.
The Calibration & Test Protocol
- Minutes 0-3 (Warmup & Baseline): 2.5 mph at 0% incline. Test focus: Listen for rhythmic thumping (indicates a warped roller) and ensure the console speed matches your perceived pace.
- Minutes 3-8 (Incline Actuator Stress): 3.0 mph at 6% incline. Test focus: The incline motor will engage. Listen for grinding gears. Maintain a neutral spine; do not hold the handrails, as this alters your biomechanics and defeats the purpose of the incline.
- Minutes 8-14 (Peak Load & Belt Grip): 3.5 mph at 10% incline. Test focus: This is the highest load phase. If the belt hesitates or 'slips' when your foot strikes the deck, the drive belt or walking belt tension needs further adjustment.
- Minutes 14-18 (Incline Descent): 3.0 mph, dropping incline by 2% every minute. Test focus: Verify the decline mechanism lowers smoothly without jerking.
- Minutes 18-20 (Cooldown): 2.0 mph at 0% incline. Test focus: Check the console's distance and calorie calculations for logical consistency.
According to the Mayo Clinic, brisk walking at an incline significantly boosts cardiovascular health and calorie expenditure without the joint degradation associated with running. By using this specific 20 minute treadmill walking workout as your setup test, you simultaneously validate the hardware and complete a highly effective daily fitness session.
Troubleshooting Common Setup & Walking Issues
Even with meticulous assembly, new treadmills can exhibit quirks during their first few weeks of use. Here is how to diagnose and resolve the most common issues encountered during daily walking routines.
Expert Insight: If your treadmill emits a high-pitched whining noise during the 20 minute treadmill walking workout, do not immediately assume the motor is failing. In 90% of cases, this is caused by friction between the walking belt and the wooden deck due to a lack of factory lubrication. Apply 100% silicone treadmill lubricant under the belt according to the manufacturer's specifications.
Belt Drifting to One Side
If the belt drifts to the left during your walk, it means the left side of the rear roller is tighter than the right. To fix this, turn the left adjustment bolt one-quarter turn counter-clockwise, and the right bolt one-quarter turn clockwise. Run the machine at 3.0 mph for two minutes to allow the belt to center itself. Never make adjustments while the machine is turned off, as you cannot observe the real-time tracking response.
Console Dropping Out at High Incline
If the screen flickers or resets when the machine reaches a 10% or 12% incline, your machine is experiencing voltage drop. The incline motor is drawing too much power, starving the console. First, verify you are not using an extension cord or a power strip, which restrict amperage. If the machine is plugged directly into a dedicated 15-amp wall outlet and the issue persists, the incline motor's internal capacitor may be defective and require a warranty replacement.
By carefully comparing features tailored to walking, executing a precise physical installation, and validating the hardware with a targeted 20 minute treadmill walking workout, you ensure your investment delivers safe, reliable, and effective cardio for years to come. For more insights on the systemic health benefits of daily walking routines, refer to the Cleveland Clinic's comprehensive guide on walking physiology.
More gear to consider
All reviews
How to Prevent a Skin Burn From Treadmill Use: 2026 Buying Guide

Mahomes Kids Treadmill Fall: Cardio Machine Noise Comparison
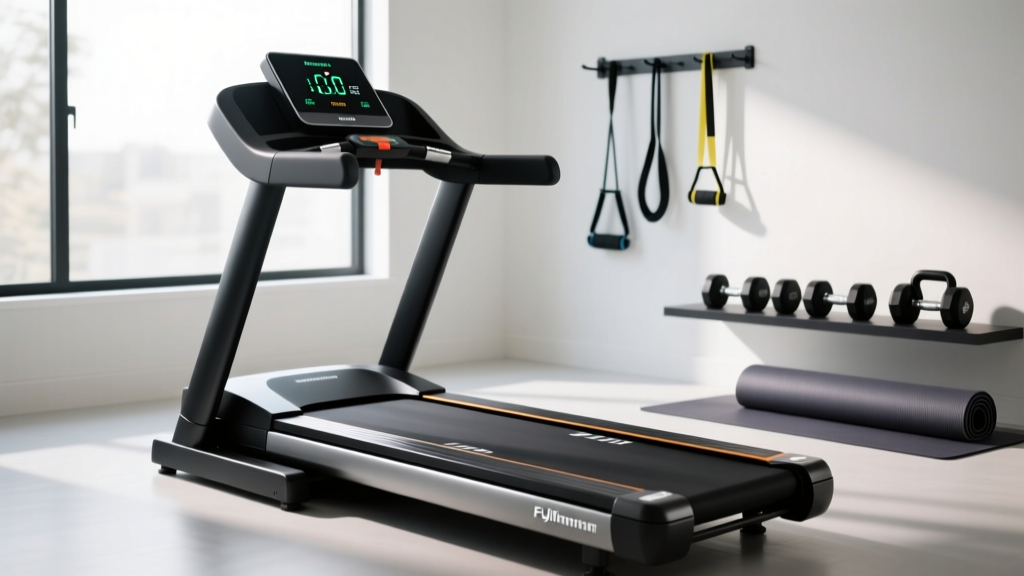
Free Treadmills: Motor Size Guide & Common Troubleshooting Mistakes
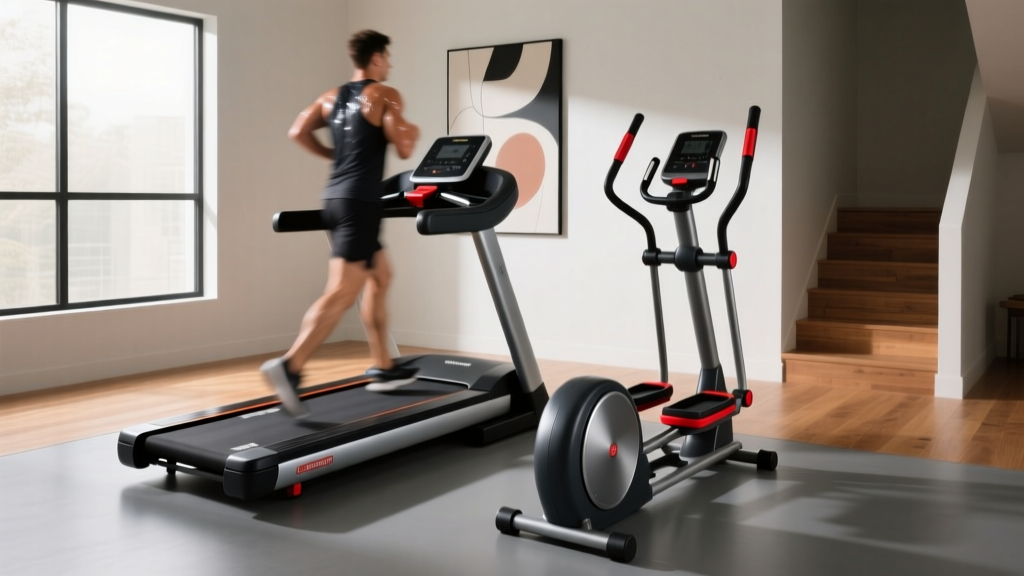
Stair Climber vs Treadmill: Is Incline Treadmill Good for Fat Loss
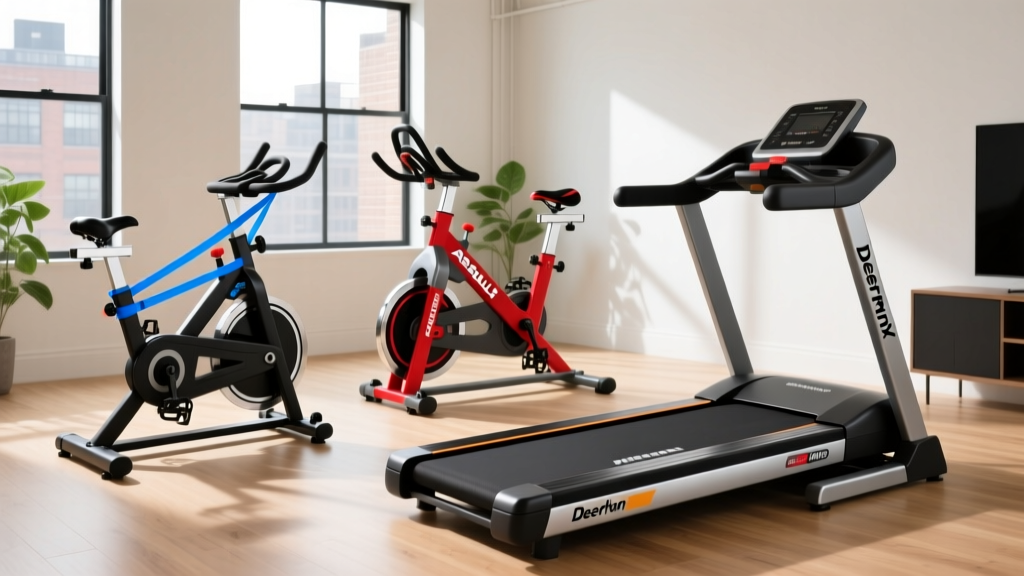
Air Bike vs Assault Bike & DeerRun Z10 Pro Muse Type 2 in 1 Foldable Treadmill
