
Which Is Better: Treadmill, Stationary Bike, or Stair Climber Setup?
Wondering which is better, a treadmill or stationary bike? If you chose a stair climber, read our complete 2026 home setup and installation walkthrough.

The Ultimate Cardio Pivot: Why Choose a Stair Climber?
Every year, thousands of home gym builders ask: which is better treadmill or stationary bike? While treadmills offer versatile pacing and bikes provide low-impact joint relief, neither matches the sheer metabolic demand, posterior-chain activation, and spatial efficiency of a stair climber. According to the American Heart Association, vigorous-intensity aerobic activity is crucial for cardiovascular health, and stair climbing rapidly elevates heart rate into the vigorous zone much faster than walking on a flat treadmill.
If you have decided to bypass the standard treadmill-versus-bike debate and invest in a stair climber (such as the StairMaster 10G, Matrix CXP, or Sunny Health SF-SBE71003), proper installation is non-negotiable. Unlike a stationary bike that you simply unbox and plug in, a stair climber is a heavy, dynamic piece of machinery with complex drive trains and strict vertical clearance requirements. This 2026 walkthrough provides a master-class in home setup, structural prep, and assembly.
Pre-Installation: Spatial, Structural, and Electrical Prep
Before unboxing, you must verify your room's dimensions and structural integrity. The most common installation failure for stair climbers is inadequate ceiling height. As you climb, your body rises significantly. If your ceiling is too low, you will instinctively hunch over, ruining your biomechanics and causing lower back strain.
The Ceiling Height Formula
To calculate your minimum ceiling height, use this formula: User Height + 16 inches (max step-up height) + 6 inches (safety clearance). For a 6-foot-tall user, you need a minimum ceiling height of 8 feet 10 inches. Standard 8-foot ceilings are often insufficient for taller users on true step-mills.
Footprint and Load Matrix
| Machine Type | Avg. Footprint (2026) | Min. Ceiling Height | Dynamic Point Load | Electrical Need |
|---|---|---|---|---|
| Treadmill | 20 - 25 sq ft | 7.5 - 8 ft | High (impact) | Dedicated 15A/20A |
| Stationary Bike | 6 - 10 sq ft | Standard (No limit) | Low (static) | Standard 15A |
| Stair Climber | 10 - 14 sq ft | 8.5 - 10 ft | Very High (shifting) | Dedicated 15A/20A |
A commercial stair climber weighs 250-350 lbs. Add a 200 lb user, and you are generating over 550 lbs of dynamic, shifting point-load. Do not place these machines on second-floor rooms with engineered I-joists without reinforcing the subfloor. Always install over a concrete slab or reinforced ground-floor joist, using a 3/8-inch vulcanized rubber mat (e.g., Rogue Fitness Horse Stall Mats) to dampen impact noise and prevent floor gouging.
Step-by-Step Stair Climber Assembly Walkthrough
While specific manuals vary by brand, the mechanical architecture of motorized step-mills remains consistent. Allocate 2.5 to 4 hours for this process and enlist a second person for the upright mast installation.
Step 1: Base Frame and Stabilizer Leveling
Begin by assembling the base frame on top of your rubber mat. Attach the front and rear stabilizer bars using the provided M10x30mm hex bolts. Critical E-E-A-T Tip: Do not fully tighten the rear stabilizer until the machine is in its final position. Use a laser level to ensure the base is perfectly flat. An unlevel base will cause the internal drive chain to wear unevenly and lead to premature pedal-arm bearing failure. Tighten all base bolts to 35 Nm using a calibrated torque wrench.
Step 2: Upright Masts and Wire Routing (The Edge Case)
This is where 90% of home-installation errors occur. The upright masts house the data cables connecting the lower motor-control board to the upper console. When sliding the masts into the base receivers, you must carefully feed the wiring harness through the designated channels.
- Failure Mode: Pinching the data cable between the steel mast and the base plate.
- Result: The console will power on, but it will fail to register RPMs or will reboot randomly when the motor draws peak amperage.
- Solution: Use electrical tape to bind the data cable to the inside wall of the mast tube before sliding it down, ensuring it cannot slip into the pinch-point.
Step 3: Pedal Arms and Drive Mechanism
Attach the left and right pedal arms to the main crankshaft. If your model utilizes an exposed drive chain (common in budget and mid-tier models like the Sunny Health series), you must check the chain tension before installing the plastic shrouds. Press down on the midpoint of the chain; it should have exactly 1/2-inch of vertical deflection. Too tight, and you will destroy the motor bearings; too loose, and the chain will slip off the sprocket during high-cadence climbs.
Electrical Setup and Initial Calibration
The Mayo Clinic notes that ensuring a safe home gym environment goes beyond just physical space; electrical safety is paramount for heavy motorized equipment. Stair climbers draw massive startup current (often 12-15 amps) to overcome the inertia of the user's body weight on the pedals.
"Never plug a commercial-grade stair climber into a standard shared bedroom circuit. The voltage drop caused by the motor startup can trip standard AFCI/GFCI breakers or, worse, degrade the machine's internal control board over time."
Have a licensed electrician install a dedicated 20-amp circuit with 12 AWG copper wiring for your stair climber. Once powered on, run the machine through its initial calibration mode (usually accessed by holding the 'Pause' and 'Level Up' buttons simultaneously for 5 seconds). This allows the hall-effect sensor to map the full range of the pedal travel and set the software limits.
Real-World Troubleshooting & Maintenance
Even with a perfect installation, stair climbers require specific maintenance to combat their unique mechanical stresses. Here is a troubleshooting matrix based on real-world service data from 2026 home gyms.
| Symptom | Probable Cause | Expert Fix |
|---|---|---|
| High-pitched squeak from pedal arms | Dry bronze bushings or pivot bearings | Apply 100% PTFE (Teflon) dry lubricant. Never use WD-40, which attracts dust and creates an abrasive paste. |
| Console reboots at Level 12+ | Voltage drop / Motor brush wear | Check dedicated circuit voltage under load. If voltage drops below 108V, upgrade wiring. Inspect motor brushes if machine is 3+ years old. |
| Pedals feel "spongy" or lag | Drive belt stretching or chain slack | Remove side shroud. Adjust the idler pulley tensioner bolt clockwise until deflection is exactly 1/2-inch. |
Final Thoughts on Your Home Gym Build
When you finally answer the question of which is better treadmill or stationary bike by choosing to install a stair climber instead, you are committing to a premium, high-intensity training experience. By respecting the vertical clearance requirements, reinforcing your subfloor, meticulously routing your data cables, and providing dedicated electrical power, your stair climber will deliver decades of elite cardiovascular conditioning right in your home.
More gear to consider
All reviews
6.0 Speed on Treadmill: Walking Pad vs Standard 2026 Review
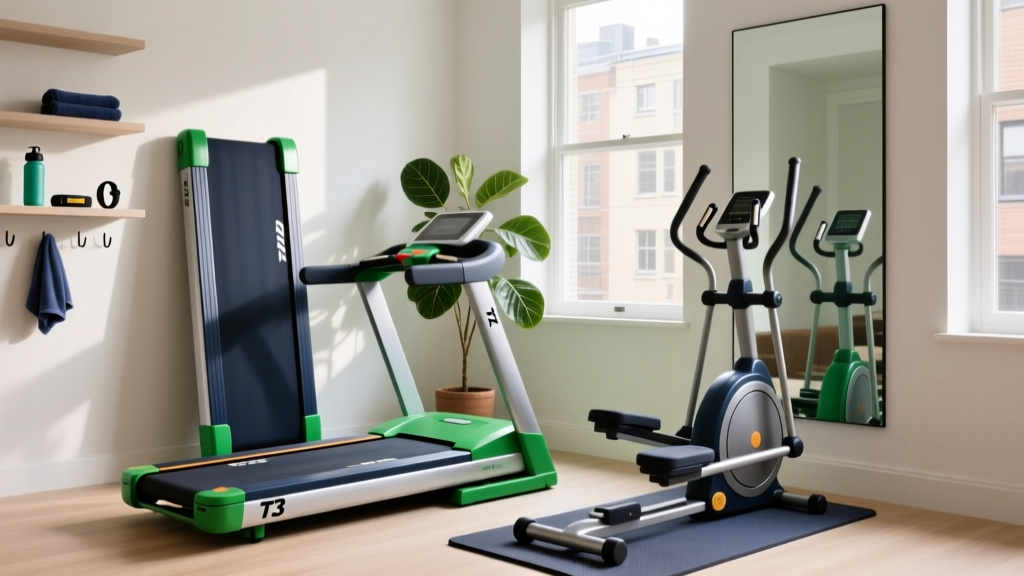
Compact Portable Cardio and T3 Treadmill Gym Layouts
Brazzers Treadmill Myth: Real Walking Pad Guide 2026

Lijiujia Treadmill vs UREVO: 2026 Walking Pad Review

Does Treadmill Help Weight Loss? Curved vs Motorized Mistakes
